
How to Build a Strength Workout, from Start to Finish(er)
Get the expert roadmap to crafting a balanced strength session.
By Andrew Gutman•
Identify Your Training Focus
Select Your Exercises
Perform a Warm Up
Determine Sets and Reps
Choose Your Weights
Consider a Workout Finisher
End with a Cooldown and Recovery
How Peloton Can Help You Plan the Perfect Strength Workout
Strength training is one of the most effective ways to build muscle, develop physical capacity, and move better both in the gym and in everyday life. But walking into a workout with nothing but good intentions can lead to unfocused and ineffective training or, at worst, potential injury.
What you need is a roadmap: clear guidance on what to train, when to train it, and how hard to push. While there’s nuance involved in building an effective strength workout, the fundamentals are straightforward. Once you understand them, you can easily apply them to your own routine.
With guidance from Peloton instructor Jess Sims and Alex Rothstein, a certified exercise physiologist and program coordinator of exercise science at the New York Institute of Technology, this article breaks down how to build a balanced strength workout from start to finish. You’ll learn how to choose your training focus, organize your exercises, dial in intensity, and support recovery so your effort has a purpose. And if it’s all a little too much? We’ll tell you exactly how Peloton can help.
Identify Your Training Focus
Any worthwhile session starts with a training focus. Do you want to train your upper body, lower body, full body, or hone in on a single muscle group? The muscles and movement patterns you choose to train shape everything that follows, from exercise selection to how much total work you do.
It also helps to zoom out and think about your weekly training structure. Deciding how many days per week you can realistically commit to strength training informs how you should approach a single workout. For most people, Jess and Rothstein recommend strength training two or three days per week as a practical starting point; it’s frequent enough to see results, while still leaving room for other workouts and activities you enjoy.
“If I were talking to a beginner strength person, I would recommend a full body workout twice a week,” Jess says. “As you get deeper into your strength training, you can do a three-, four-, or five-day workout split.” A workout split involves dividing up your strength routine to focus on different muscle groups on different days. “But the basis behind split programming is that you want to lift often,” Jess continues. “You can’t and shouldn’t do full body every single day, because you’ll be too sore to keep going.”
Full-body workouts are especially effective if you’re training two to three days per week for two key reasons. First, they allow you to train all major muscle groups multiple times per week. Second, they’re more forgiving: If you miss a workout, you’ve still trained your entire body at least once that week.
The bottom line: If you’re new to strength training, returning after an extended break, or are looking to get the most out of a one-off session, a full-body approach keeps things simple, effective, and sustainable.

Peloton App
Access thousands of classes with no equipment needed.
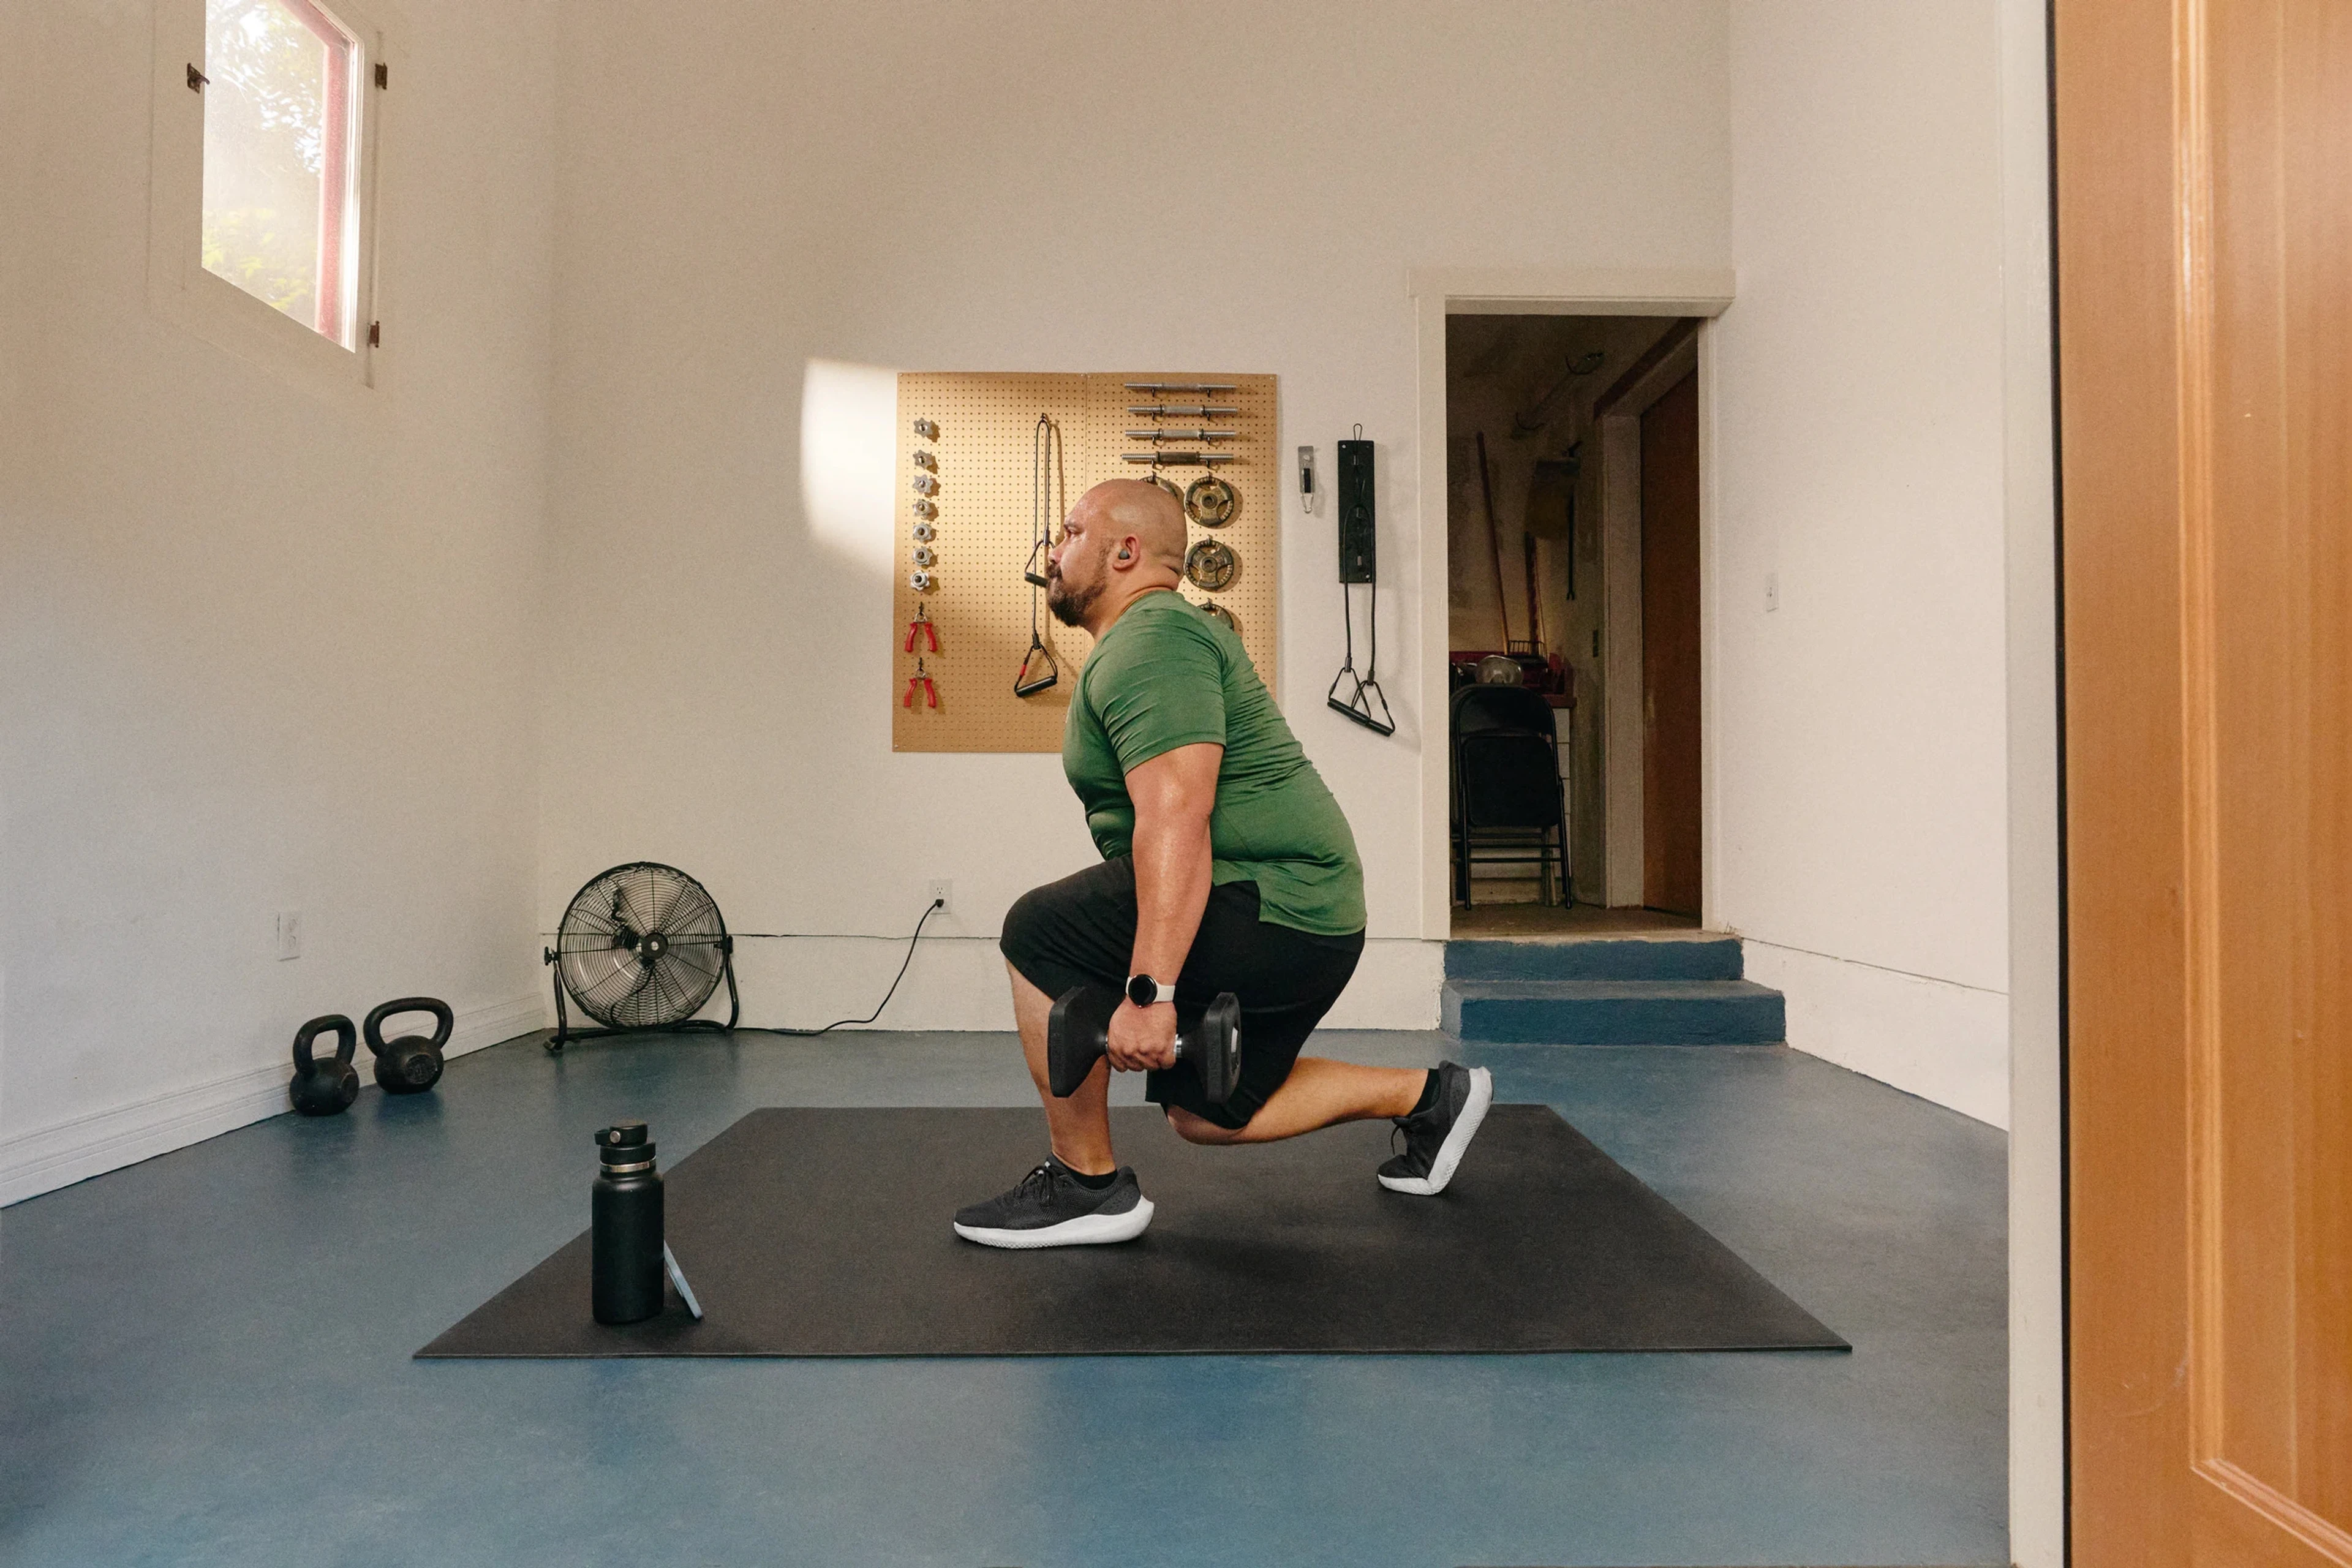
Select Your Exercises
With thousands of exercises to choose from, the easiest way to build a balanced strength workout is to think in terms of movement patterns. These patterns reflect how your body naturally moves in daily life, and they ensure you’re training all your major muscles without overcomplicating things.
According to Rothstein, most strength exercises fall into these primary movement categories:
Lower Body Pull (Hip Hinge): glute bridge, Romanian deadlift
Lower Body Push (Knee Bend): squat, reverse lunge, walking lunge
Upper Body Push: push-up, bench press, overhead press
Upper Body Pull: dumbbell row, pull-up, dumbbell pullover
Core/Abs: plank, hollow hold, woodchop, sit-up
Loaded Walking: farmer’s carry, sled drag, kettlebell march
How many exercises should you do? To hit all your major muscle groups in a single, full body session, aim to include one exercise per movement pattern. Or, if you’re focusing on a specific area, like lower body, you could instead choose two different lower body “pull” exercises and two lower body “push” exercises, plus core and loaded walking.
Jess often opens her workouts with a core-focused activation to wake up the deep stabilizers that support nearly every lift. Prioritize more fatiguing compound exercises (such as squats, presses, and rows) earlier in the session, and save isolation exercises (think biceps curls and calf raises) for later. Finish with loaded carries if you have the time and energy, since they tend to drain you quickly.


Perform a Warm Up
Once you have your main workout mapped out, you can get started by warming up—which is a vital part of any strength session. The goal of your warm-up is twofold: raise your body temperature and prepare your bones, muscles, tendons, and nervous system for the loads you’re about to lift.
To do that, Jess recommends incorporating two types of warm-up exercises: general warm-up exercises that raise your heart rate and get your whole body working, and specific moves that are directly related to the workout you’re about to do.
“The general warm-up is to get your focus on your body and out of your head,” she explains. “It also elevates the heart rate and makes you a little bit sweaty—the ‘glazed donut’ look, if you will.” This might look like 5–10 minutes of low-impact cardio (such as cycling or walking) or bodyweight moves that get your heart rate up, (such as jumping jacks, pogo hops, and inchworms).
The specific warm-up can include moves that target the muscles and movement patterns you plan to do in your workout. This could include dynamic stretches, mobility exercises, and bodyweight reps of moves you’ll do later with weights. “If we’re doing lower body today or if we're doing full body and there are squats coming up, you would do squats without weight to prep your body for the load that you’ll be adding,” Jess explains.
On the Peloton App, you’ll find 5- to 10-minute strength warm up classes that tick both these boxes, including many taught by Jess. “All my warm-ups are mixtures of both,” she says.
As for techniques like foam rolling and joint prep, Rothstein says most people don’t need to include them unless they have a movement limitation or tightness. If that’s the case, then Jess recommends thoroughly rolling the area out before hitting the weights. “When you're trying to get a knot out of a necklace, you don't put the necklace on and then try to take out the knot—that just makes it tighter,” says Jess. “The same thing goes for foam rolling. You want to do it at the beginning.”
Try a Strength Warm Up Class on the Peloton App


Determine Sets and Reps
Let’s start with the basics. A repetition, or rep, is one complete movement of an exercise. A set is a group of reps performed without rest. If a workout calls for 2 sets of 10 reps, you’ll perform 10 full reps, rest, then repeat for another 10 reps before moving on to the next exercise.
Sets and reps matter because they determine your training volume, which is the total amount of work you perform in a session (calculated by multiplying the number of sets and reps by the amount of weight you lift). Both Rothstein and Jess suggest 3–4 sets per exercise as a solid general rule of thumb. Rep ranges are more flexible, since different ranges emphasize different training goals.
The recommendations below are based on guidelines from the National Academy of Sports Science (NASM). How long you should rest between sets varies depending on how intensely you’re lifting, so suggested rest times are included as well.
Strength: 1–5 reps, rest 2–5 minutes between sets
Muscle Growth: 6–12 reps, rest 30–90 seconds between sets
Muscular Endurance: 12–20 reps, rest 30–60 seconds between sets
You don’t have to lock yourself into a single rep range, either. It’s possible to train multiple qualities in one workout. For example, you might start with 4 sets of 5 reps of a bench press to build upper body strength, then follow it with 3 sets of 10 to 12 reps on a secondary pushing exercise to accumulate more volume and grow your muscles.
Also, the goal is to gradually increase the demands you place on your body over time—a principle known as progressive overload. If you repeat a workout week to week, aim to improve just one variable at a time, whether it’s an extra rep, a slightly heavier load, or better control. Small, consistent increases are what drive long-term strength and muscle gains.
Choose Your Weights
The amount of weight you should lift varies widely from person to person, depending on your experience, strength level, and familiarity with a given exercise. And in most cases, the weight of the dumbbell or barbell matters less than how hard the set feels.
“I always say you should be struggling for the last couple of reps in a set,” says Jess. “If you’re at rep 10, 11, or 12 and you’re still repping them out comfortably, the weight is way too light. You should feel that productive struggle toward the end.”
Instead of chasing a specific weight, use reps in reserve (RIR) to guide your effort. RIR is a subjective measure of how many more reps you could have completed at the end of a set. It’s a useful tool for regulating intensity, but it works best once you have a firm understanding of your own limits. That can be challenging for beginners, who may not yet know what true fatigue feels like.
Measuring RIR and knowing which weight to choose is a learned experience, and it requires time in the gym under various loads to find your limits. To build that awareness, Rothstein suggests occasionally (and safely) taking a set close to failure (i.e., to the point where you can’t do another rep with good form) so you can better calibrate your effort. “I’d also tell people to stop earlier rather than later unless they have a spotter, and to pay attention to how different weights feel at different rep ranges,” he says. Over time, you’ll learn which weights to pick up and to anticipate how much energy you have left in the tank during each set.
Consider a Workout Finisher
A workout “finisher” is an add-on at the end of your main session—often a short bodyweight circuit, conditioning effort, or cardio intervals—designed to fully exhaust you. For example, in a Peloton strength class, you might finish with an EMOM or AMRAP circuit, or spend your final minute holding a plank or doing push-ups.
“I always love a finisher because it makes me feel really accomplished at the end,” says Jess. “It’s kind of this last-ditch effort, everything you’ve got. It’s usually not your heaviest stuff, because there’s often some sort of cardio component.”
Finishers aren’t required, and they’re not always the most effective use of your energy. During intentional strength workouts, Rothstein suggests focusing on the quality and intensity of your main lifts instead of worrying about ending with a finisher that leaves it all out on the gym floor.
During strength training specifically, Rothstein prefers techniques like drop sets or burnout sets that target a specific muscle group. Those techniques allow you to push your muscles harder without tacking on extra (and potentially unrelated) work at the end. Rothstein’s go-to option is the drop set; to perform one, take your final set of an exercise to failure, then immediately reduce the weight by about 30 percent and continue doing reps until you reach failure again.
Think of finishers as optional. If you enjoy them, they can add a conditioning element or a mental challenge. But if your goal is to build more strength or muscle, you’ll often get more out of making your main sets more demanding. Likewise, if you consistently find yourself with too much energy left at the end of a strength session, it could be a sign you need to increase the challenge during the meat of your workout by picking up heavier weights or adding more sets or reps.
End with a Cooldown and Recovery
A cooldown isn’t mandatory after every workout, but it can help you mentally and physically transition safely out of your training. Abruptly stopping strenuous exercise can cause dizziness or lightheadedness, for example.
How you should cool down depends on how hard you trained and how high your heart rate climbed. If your workout was hard enough to raise your heart rate at least 20–30 beats per minute above your resting level, Rothstein recommends continuing to move with five to 10 minutes of light activity, such as walking or easy cycling, until your heart rate returns to your baseline range.
Stretching can also feel really good following a strength session, Jess says. Strength training repeatedly stretches and contracts your muscles, temporarily altering their length and tension. Stretching after strength training can help them return to their resting state, Rothstein says. “I recommend static stretching to allow your muscles to return to a resting length and tension,” he explains. “It’s not the end of the world if you don’t—you’ll just have a little bit of extra stiffness the next day.”


How Peloton Can Help You Plan the Perfect Strength Workout
There are a lot of factors to consider when building your own strength training workout, from which exercises to choose and how many reps to do to how much weight to lift. Luckily, Peloton can help take some of this mental work off your plate.
Take instructor-led strength classes: You’ll find thousands of on-demand strength workouts led by Jess and other instructors on the Peloton App and any Peloton device. Filter for your desired body part focus, length, music preferences, and equipment (dumbbells, kettlebells, resistance bands, or bodyweight) to find the perfect workout to meet your needs.
Get routine guidance: Need help figuring out how to structure your whole strength routine? Try one of Peloton’s Programs, which are guided training routines that help you work towards a specific goal. For more flexible routine guidance, you can generate your own personalized workout plan, which will give you weekly class recommendations that help you stick to a balanced routine and pursue a certain goal.
Bring instructor-designed workouts and programs to the gym: If you’re headed to the gym and want to train with more equipment or without having to keep up with a class, try the Peloton Strength+ app, which allows you to follow instructor-led programs or generate custom workouts you can take at your own speed.
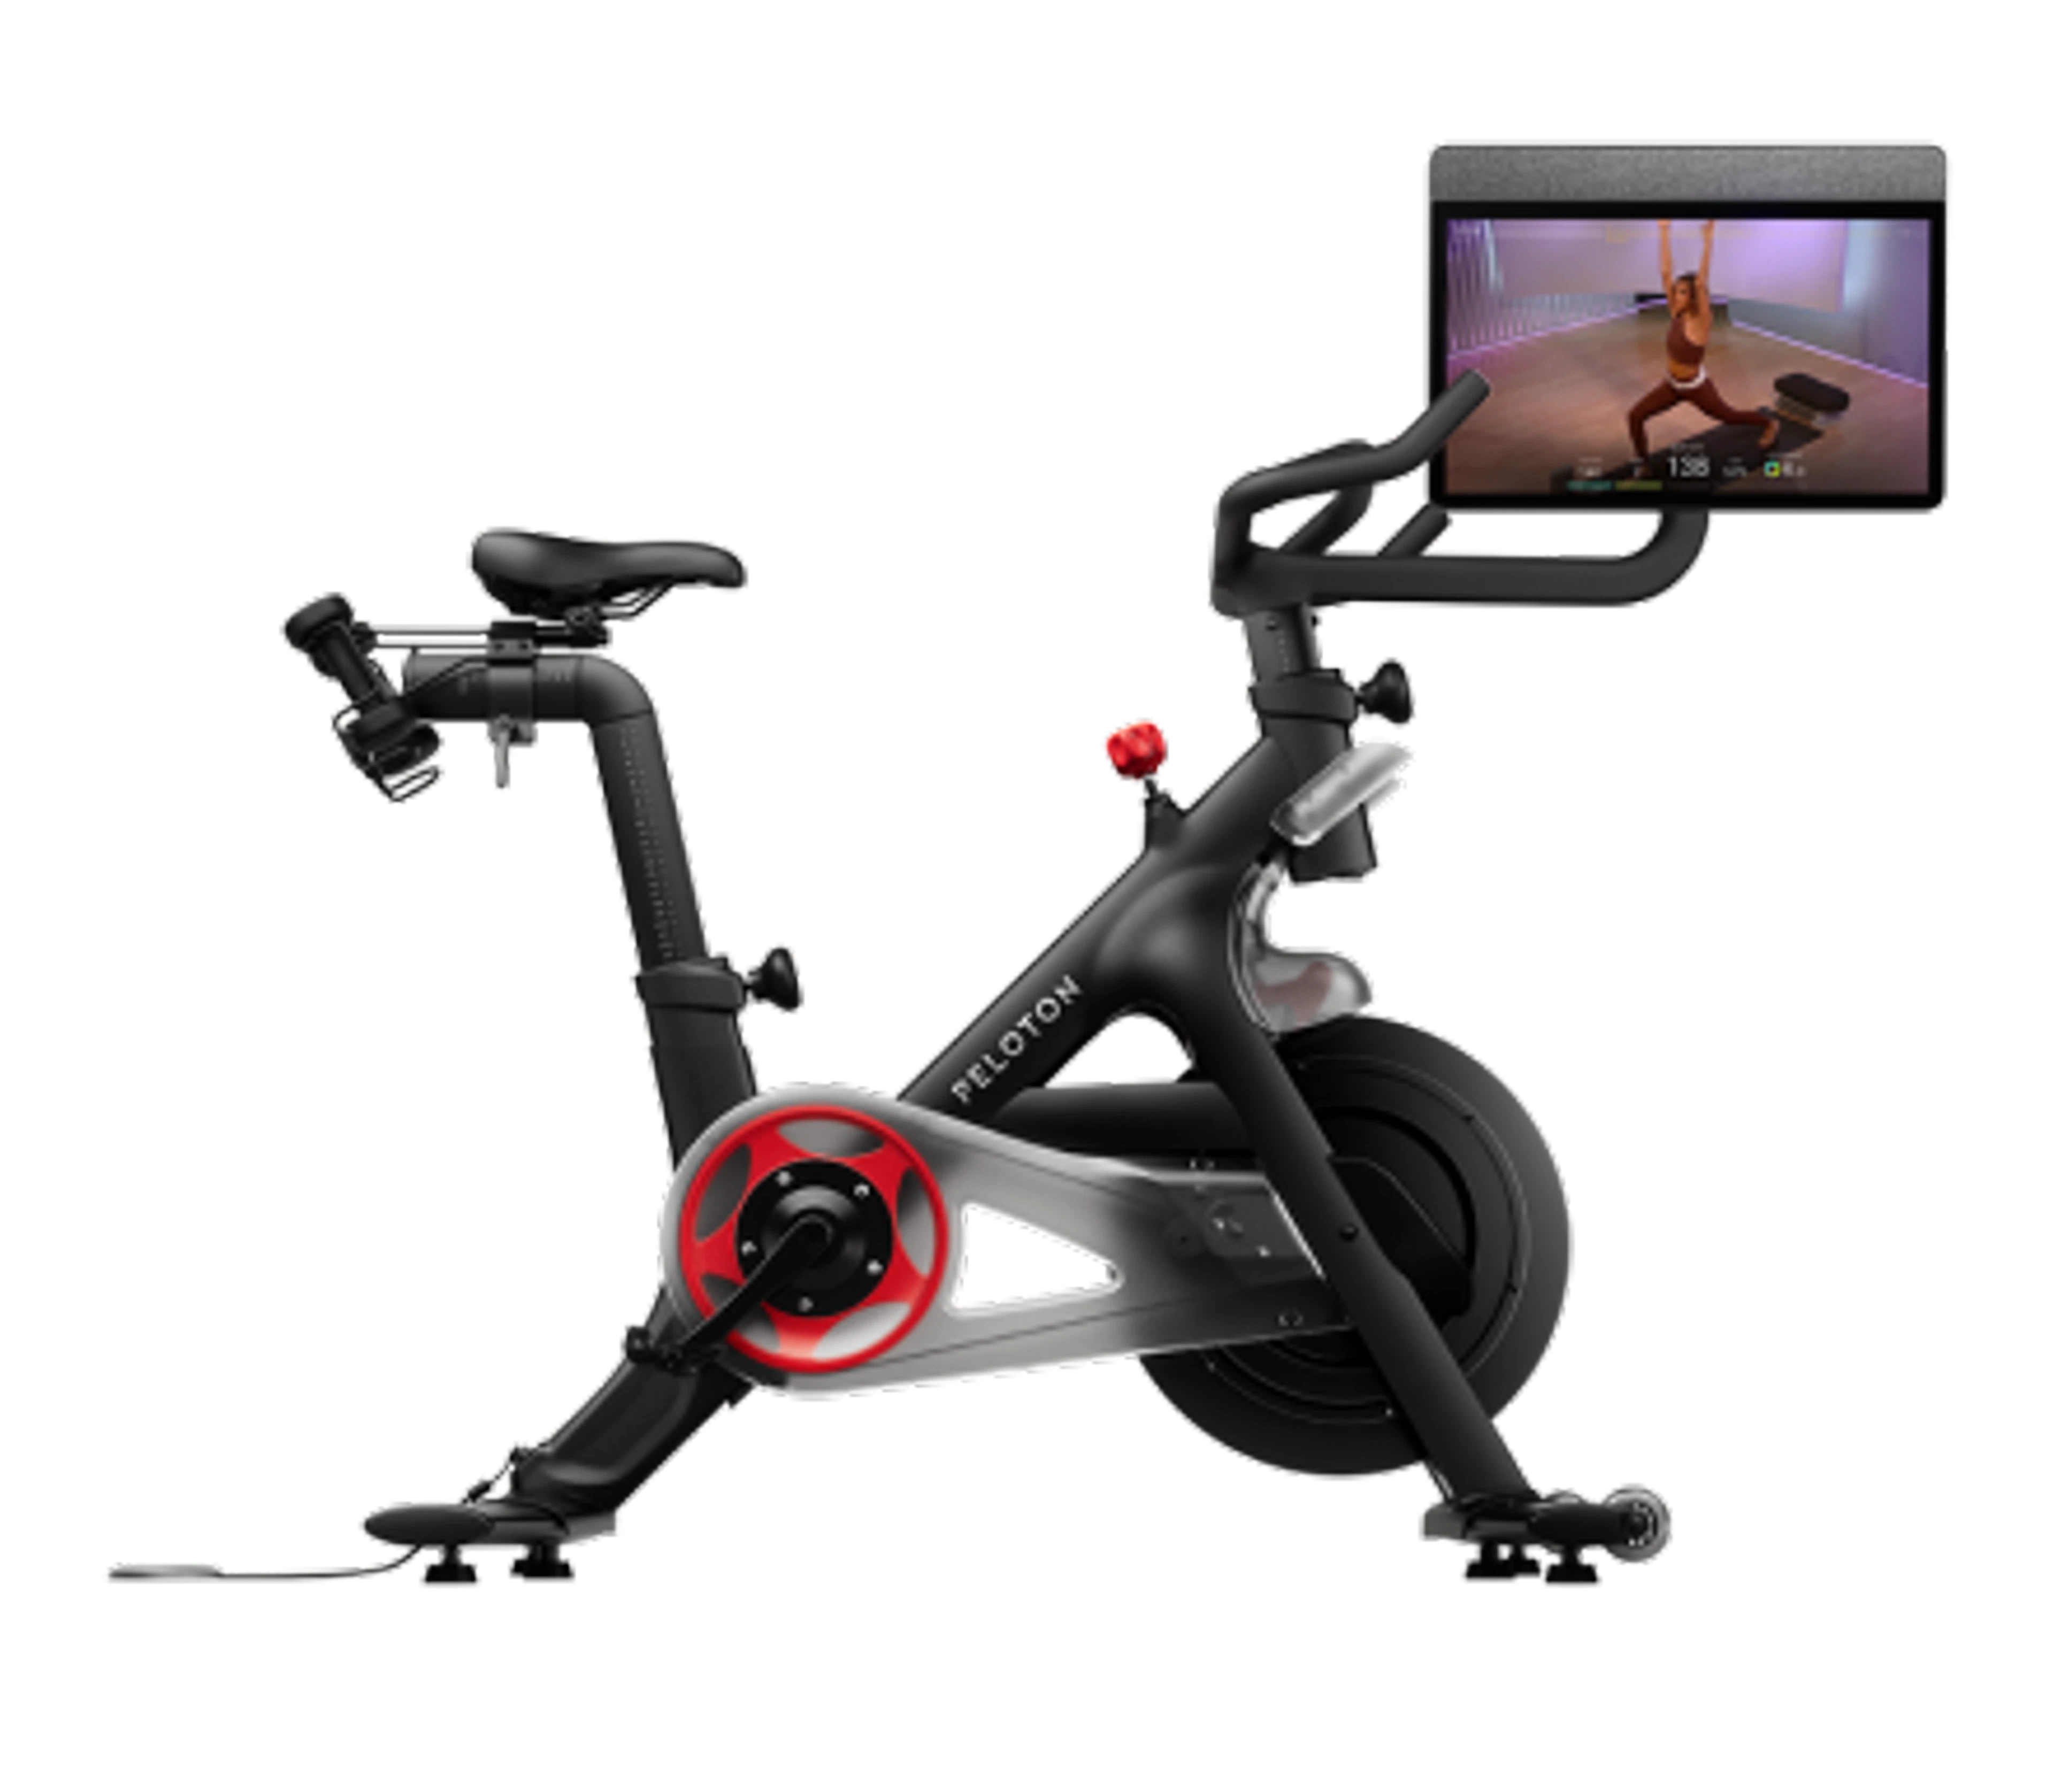
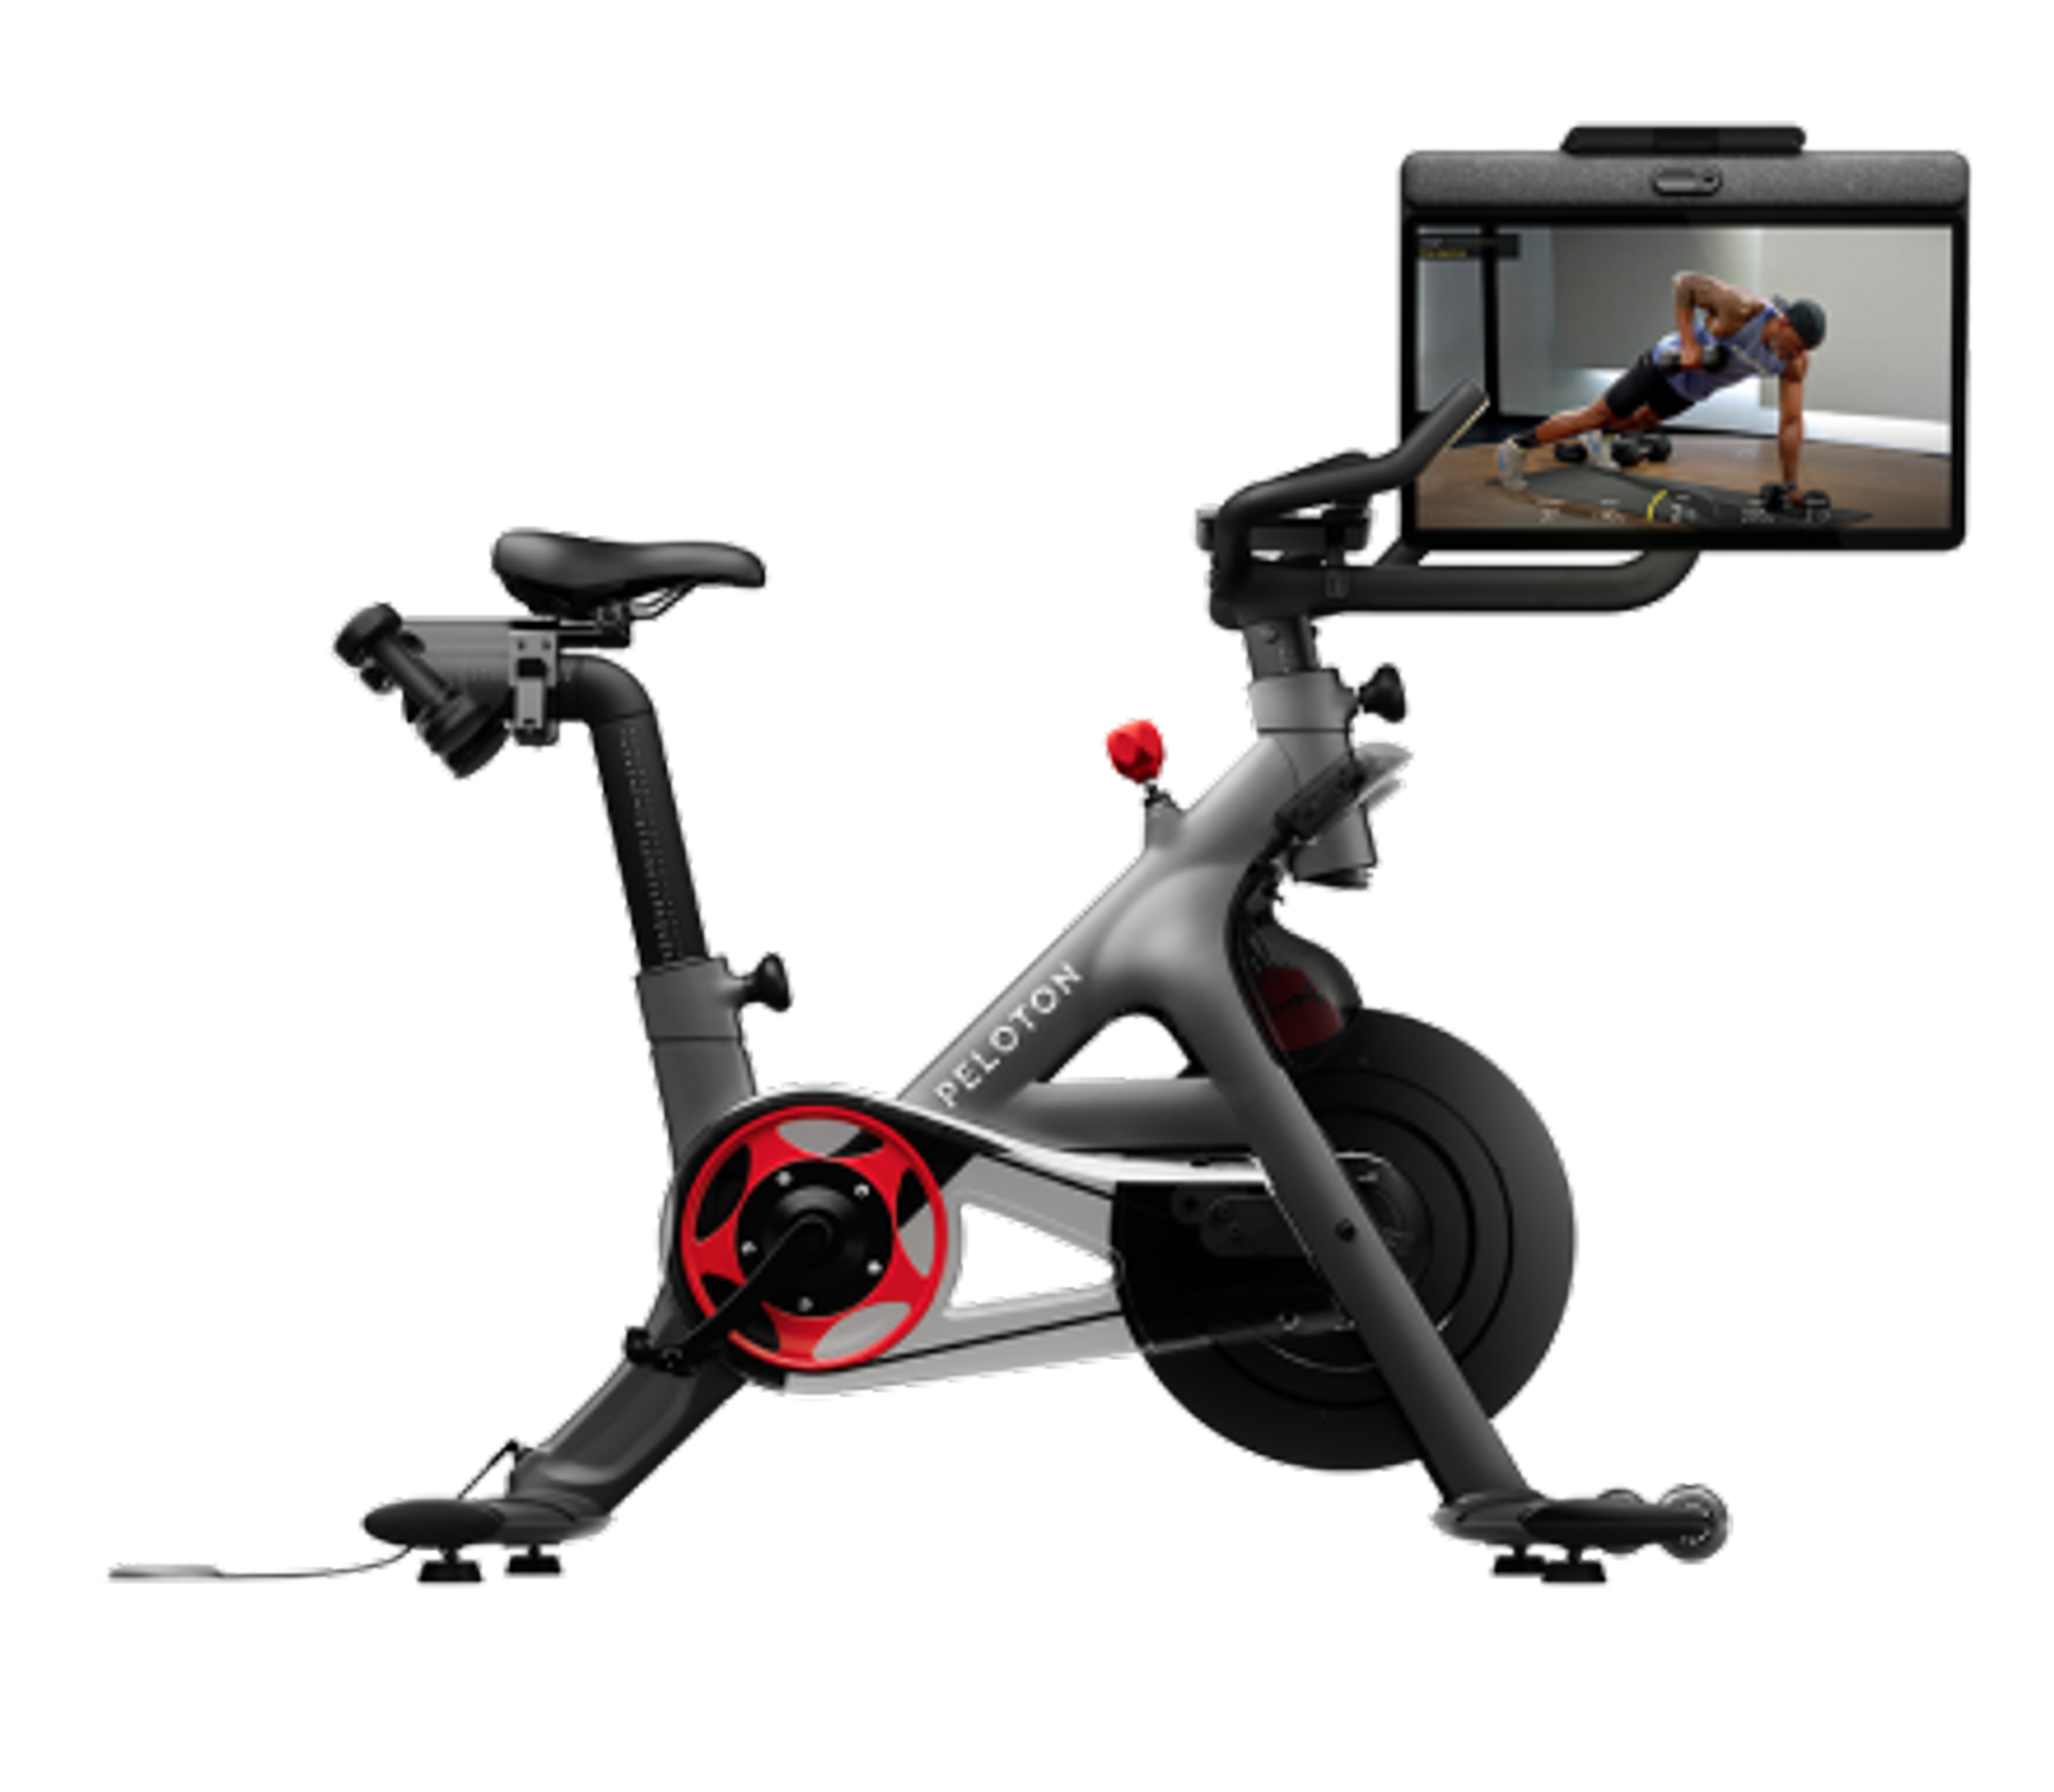
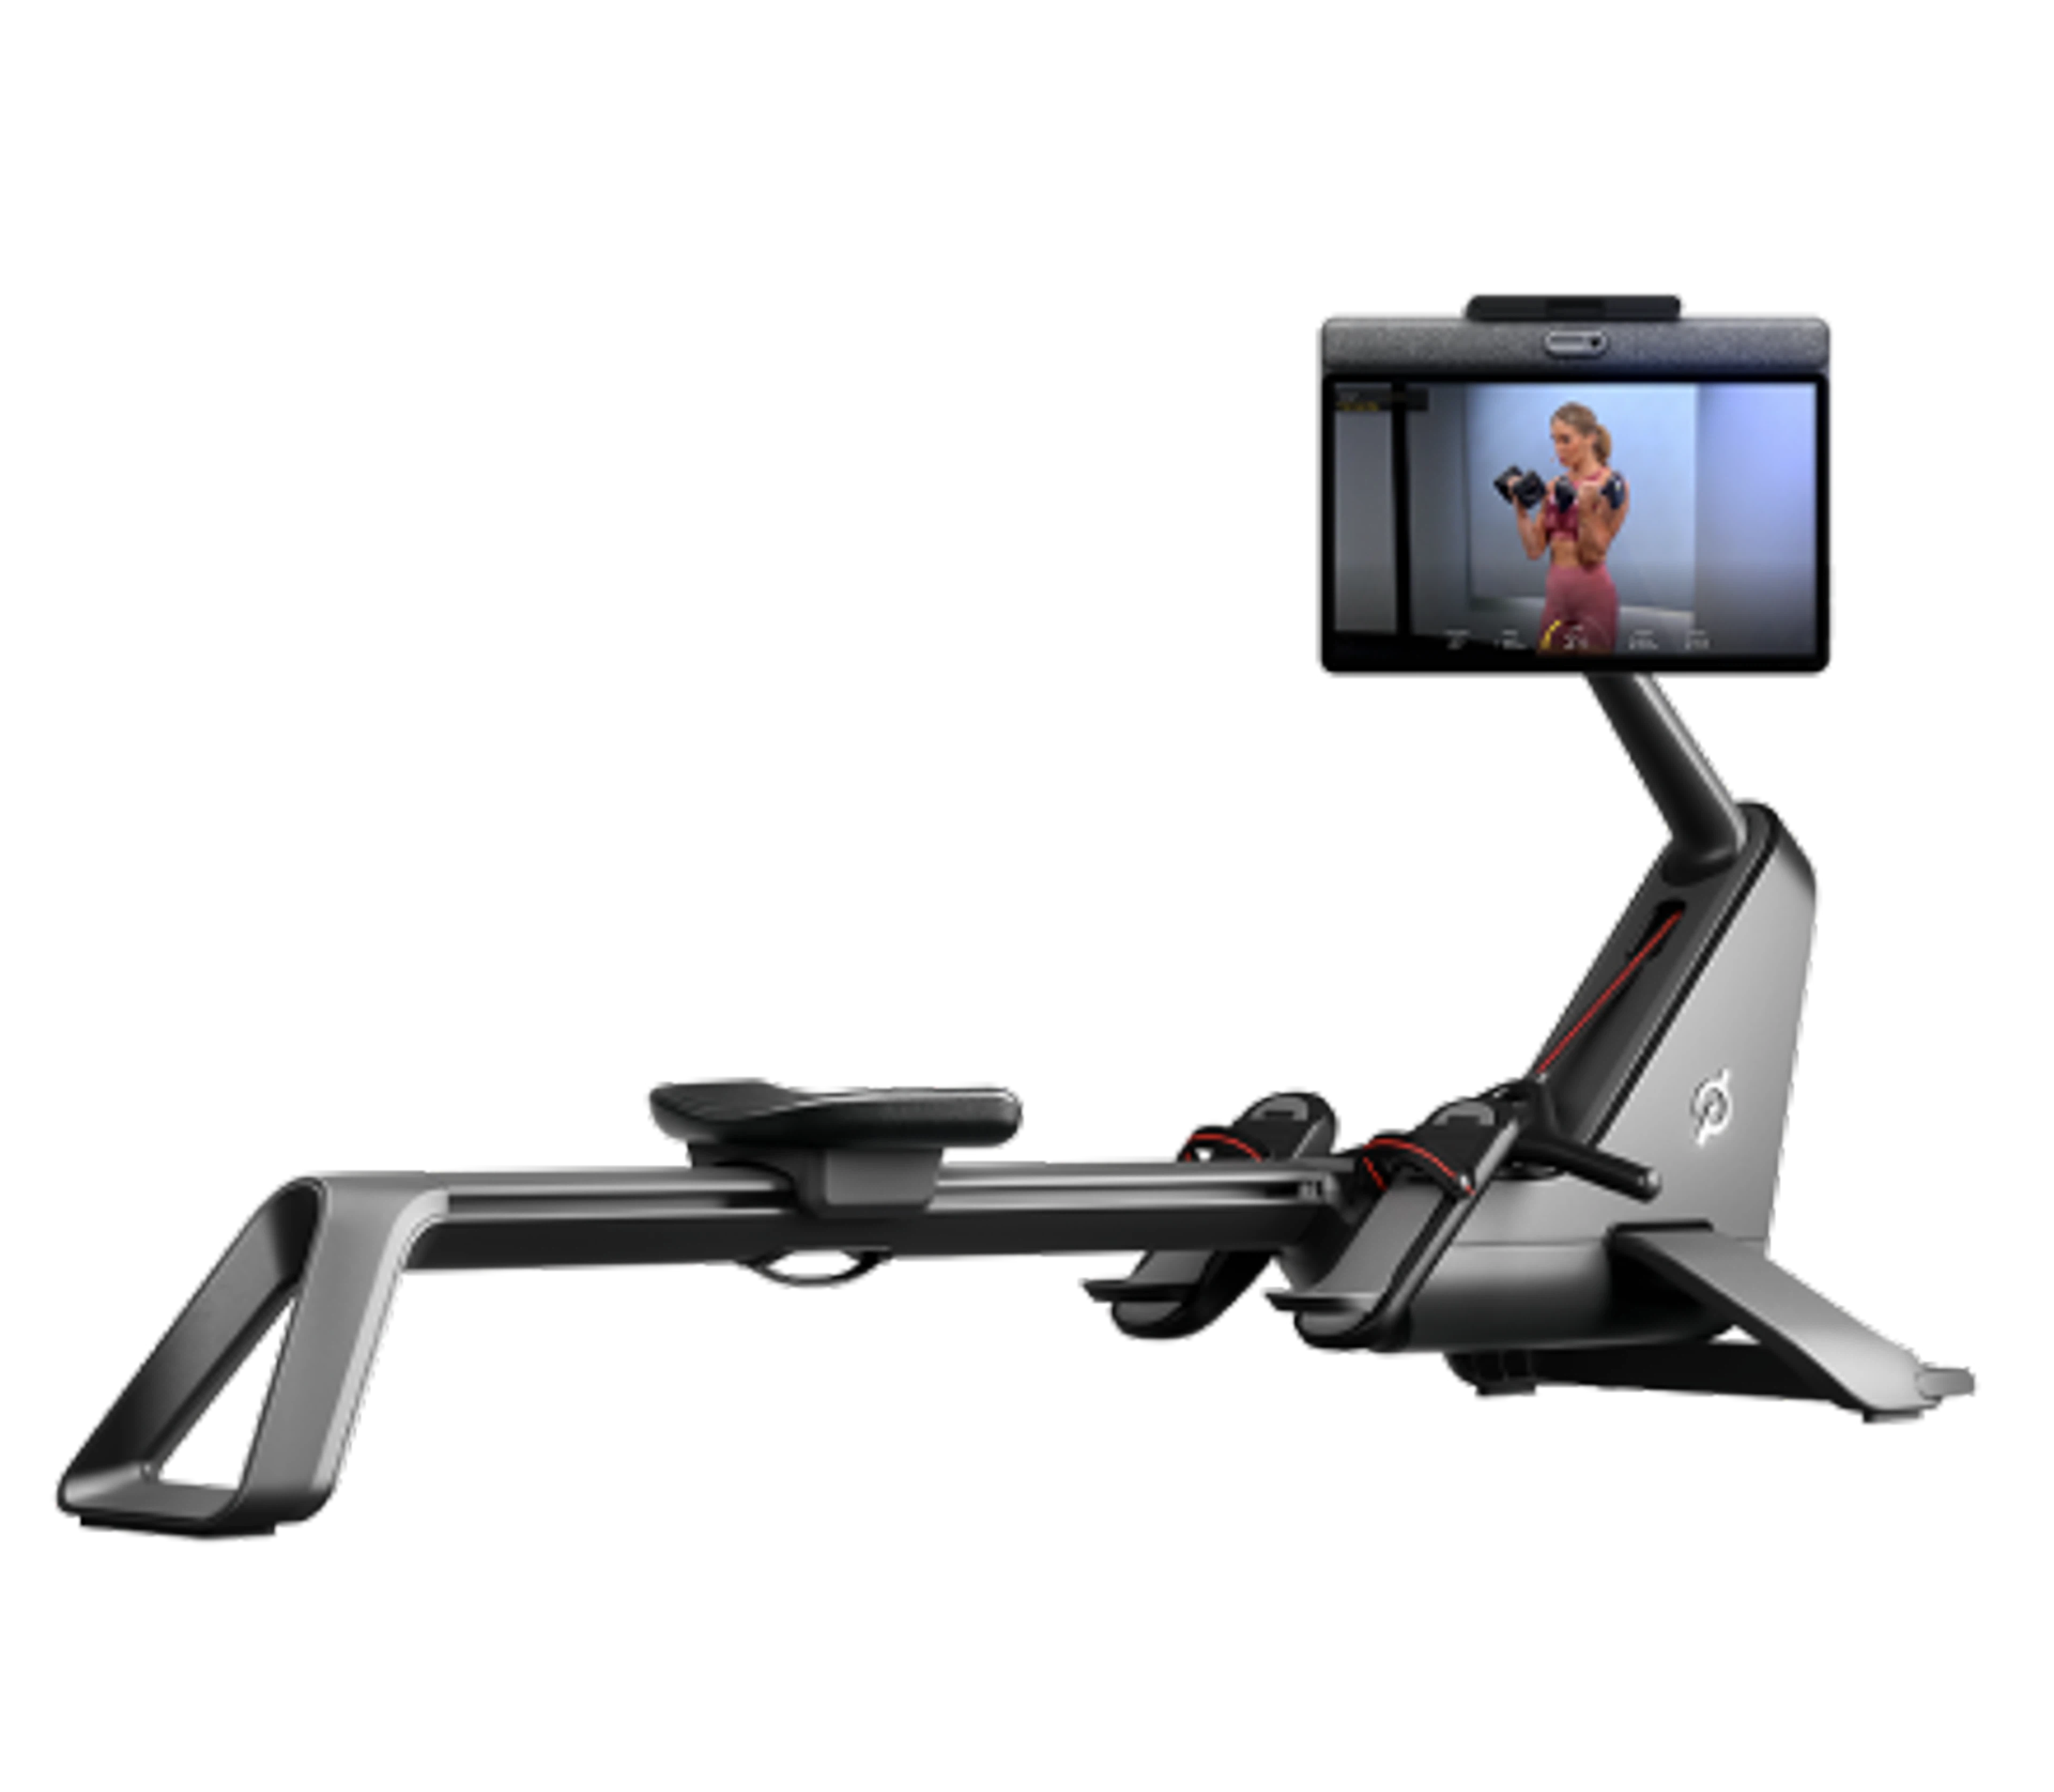
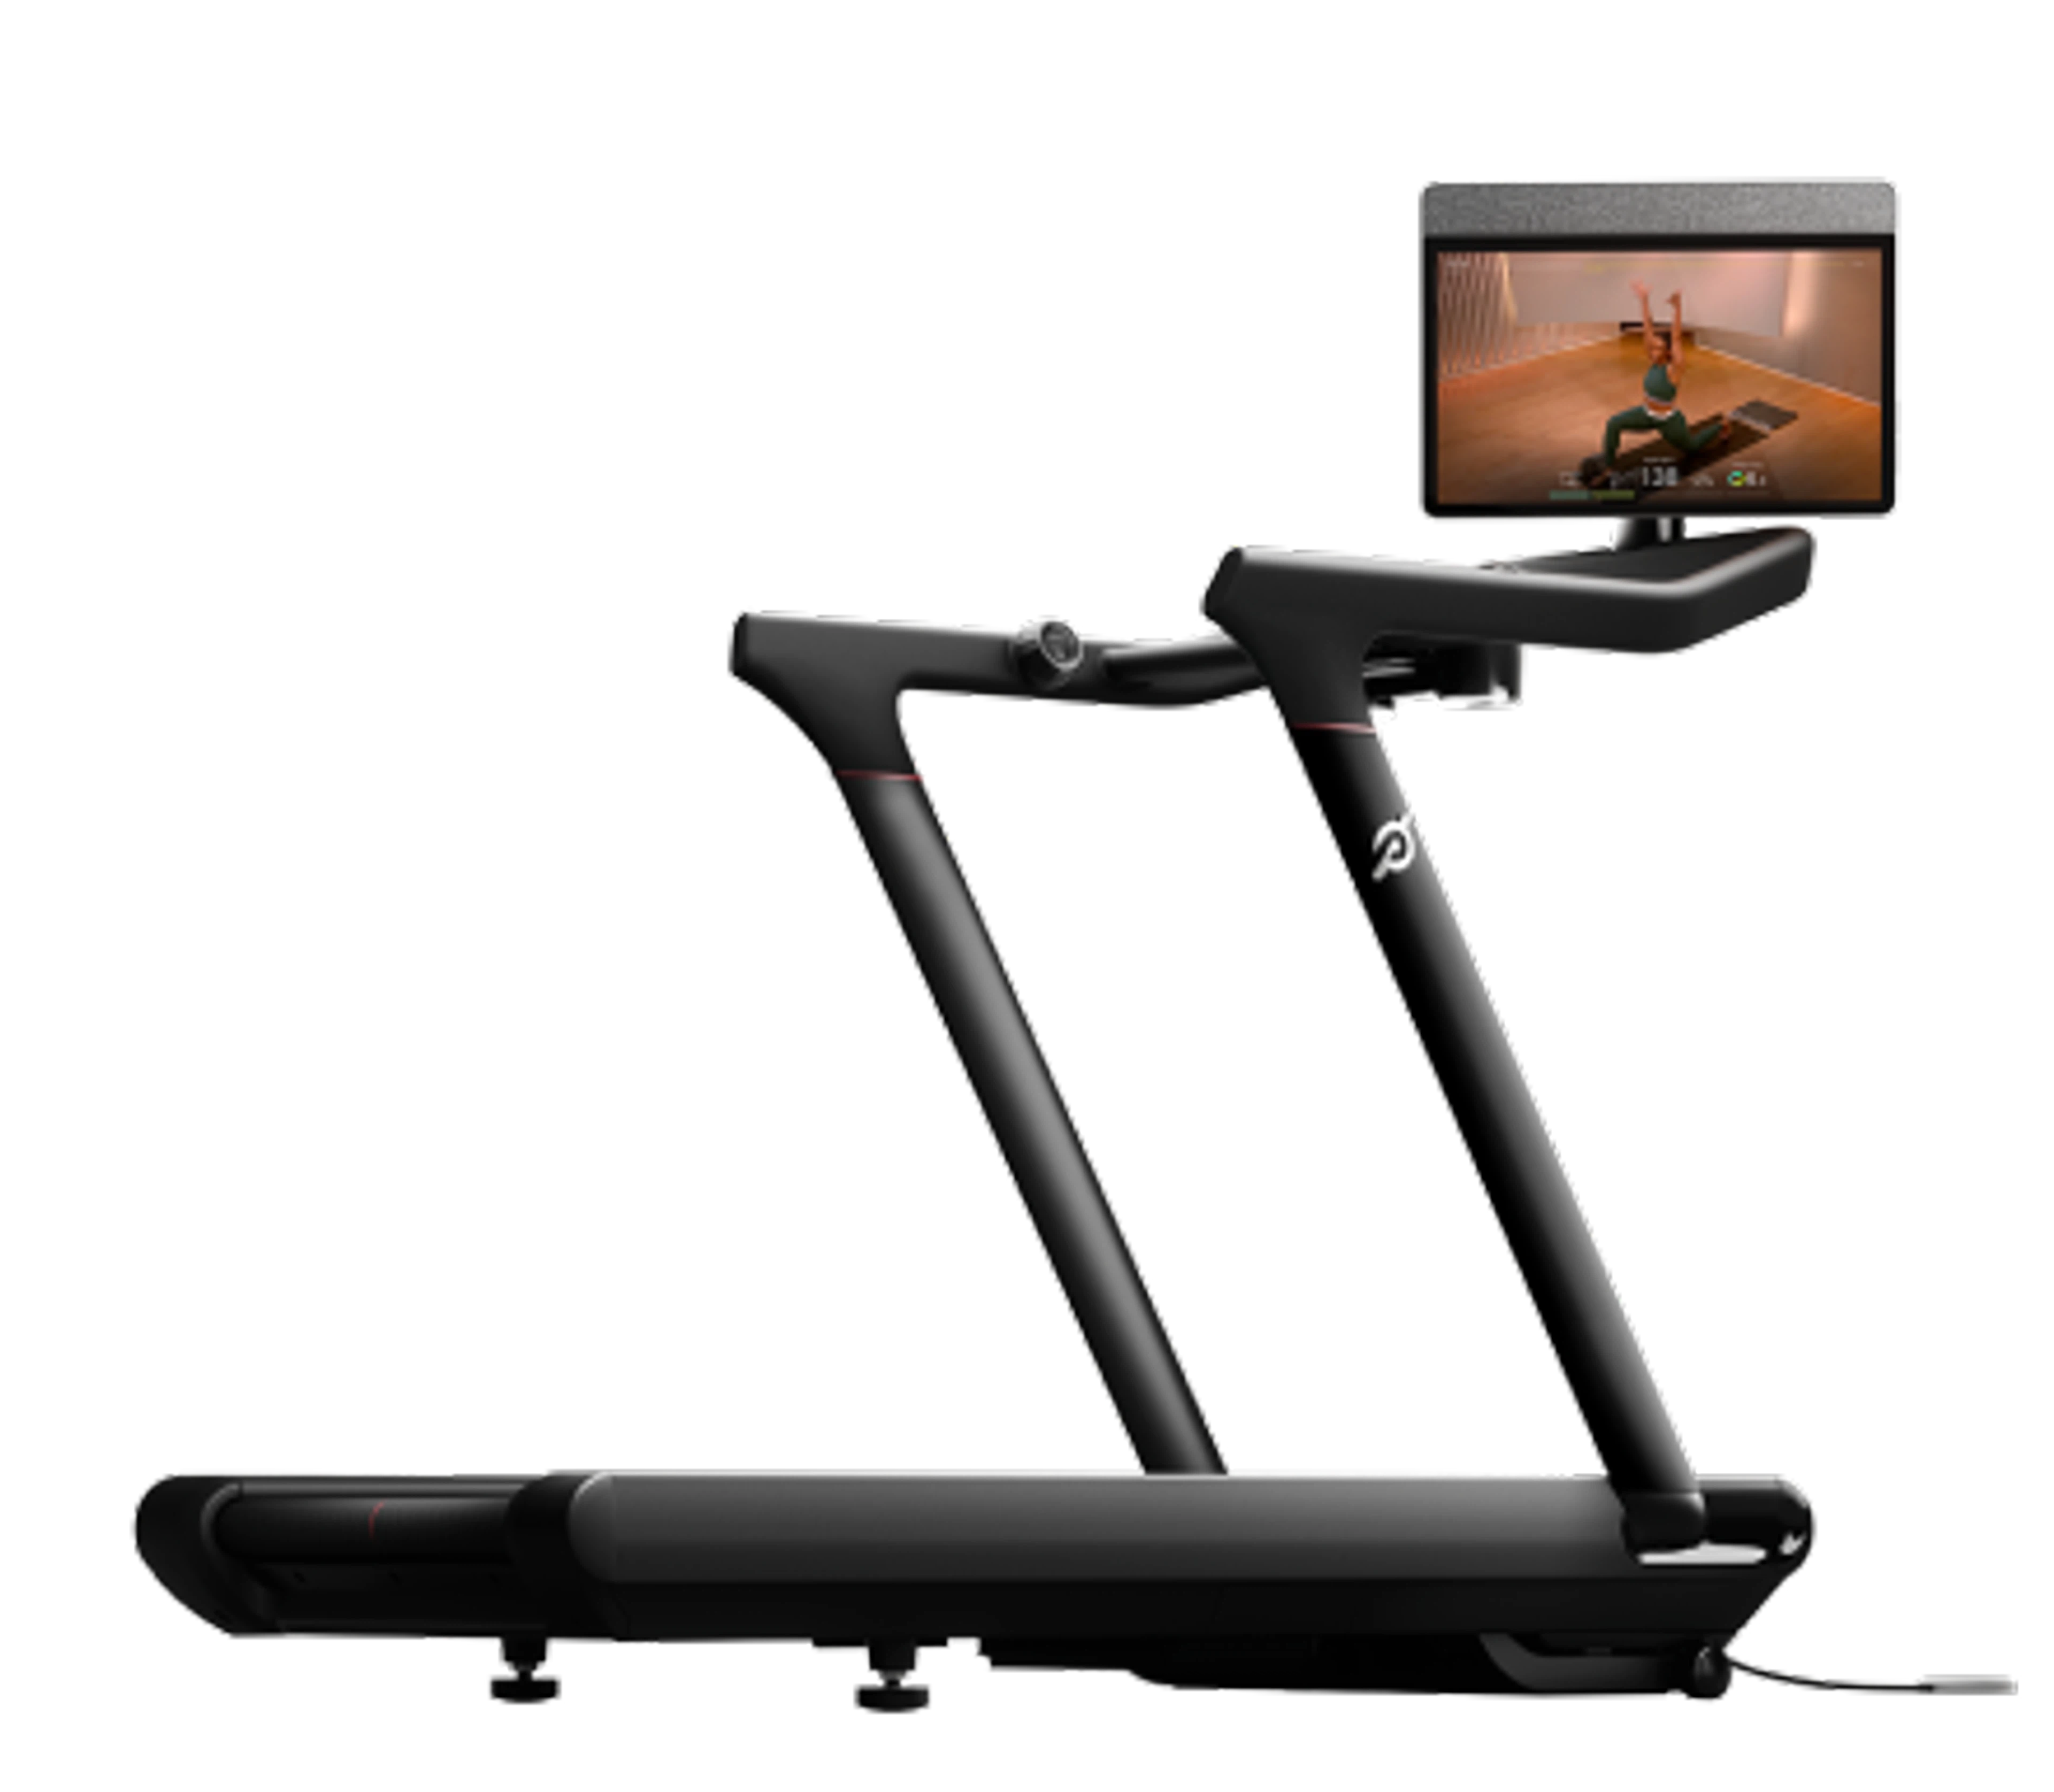
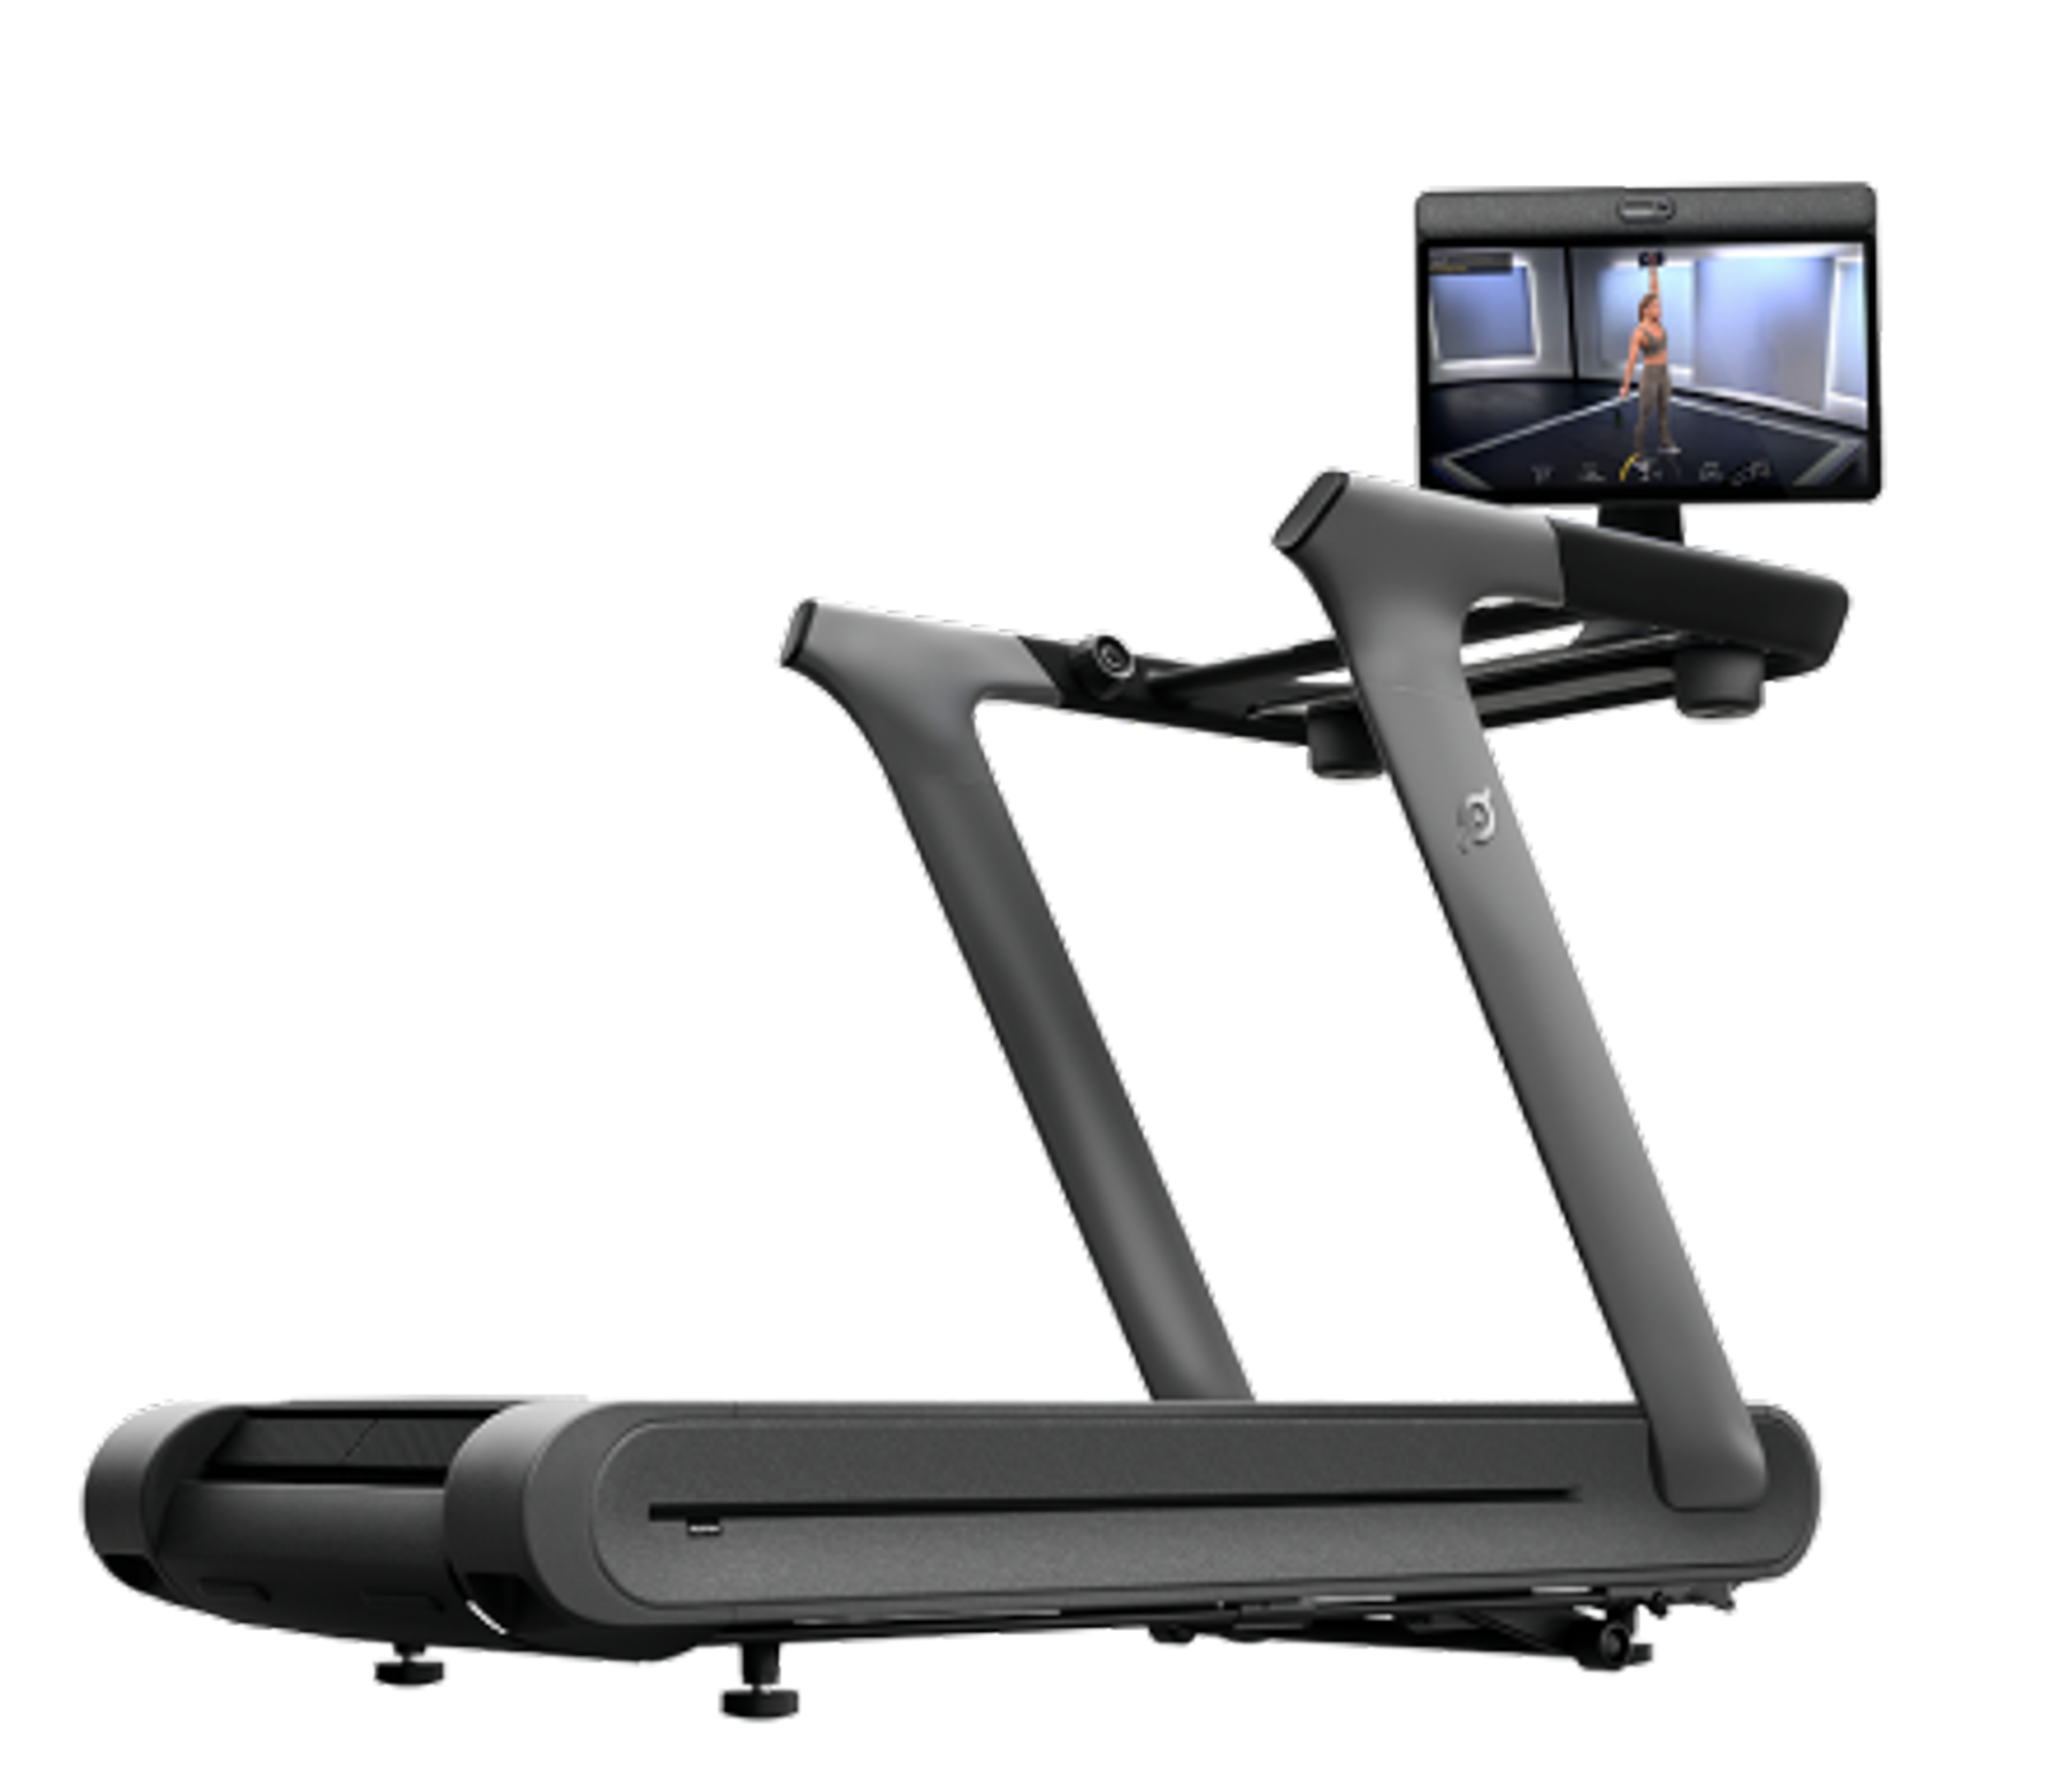
Level up with even more advanced strength training features: For a truly individualized experience, you’ll want to work out with the Peloton Cross Training Bike+, Tread+, or Row+, powered by Peloton IQ. You’ll have the ability to translate instructor-led routines into self-paced workouts you can do at your own pace or generate workouts from scratch and customize them until it’s a perfect fit. The Peloton Cross Training Bike+, Tread+, or Row+ also give you real-time form feedback during movement-tracking enabled strength workouts and automatically track your weights, reps, and volume to ensure you’re progressing over time.
Want to give the Peloton Cross Training Bike+, Tread+, or Row+ a try? Visit your local Peloton store or retail location to do a test run, ride, or row.
This content is for informational and educational purposes only and does not constitute individualized advice. It is not intended to replace professional medical evaluation, diagnosis, or treatment. Seek the advice of your physician for questions you may have regarding your health or a medical condition. If you are having a medical emergency, call your physician or 911 immediately.
Our Products
Level up your inbox.
Subscribe for a weekly dose of fitness, plus the latest promos, launches, and events.
By providing your email address, you agree to receive marketing communications from Peloton.
For more about how we use your information, see our Privacy Policy.