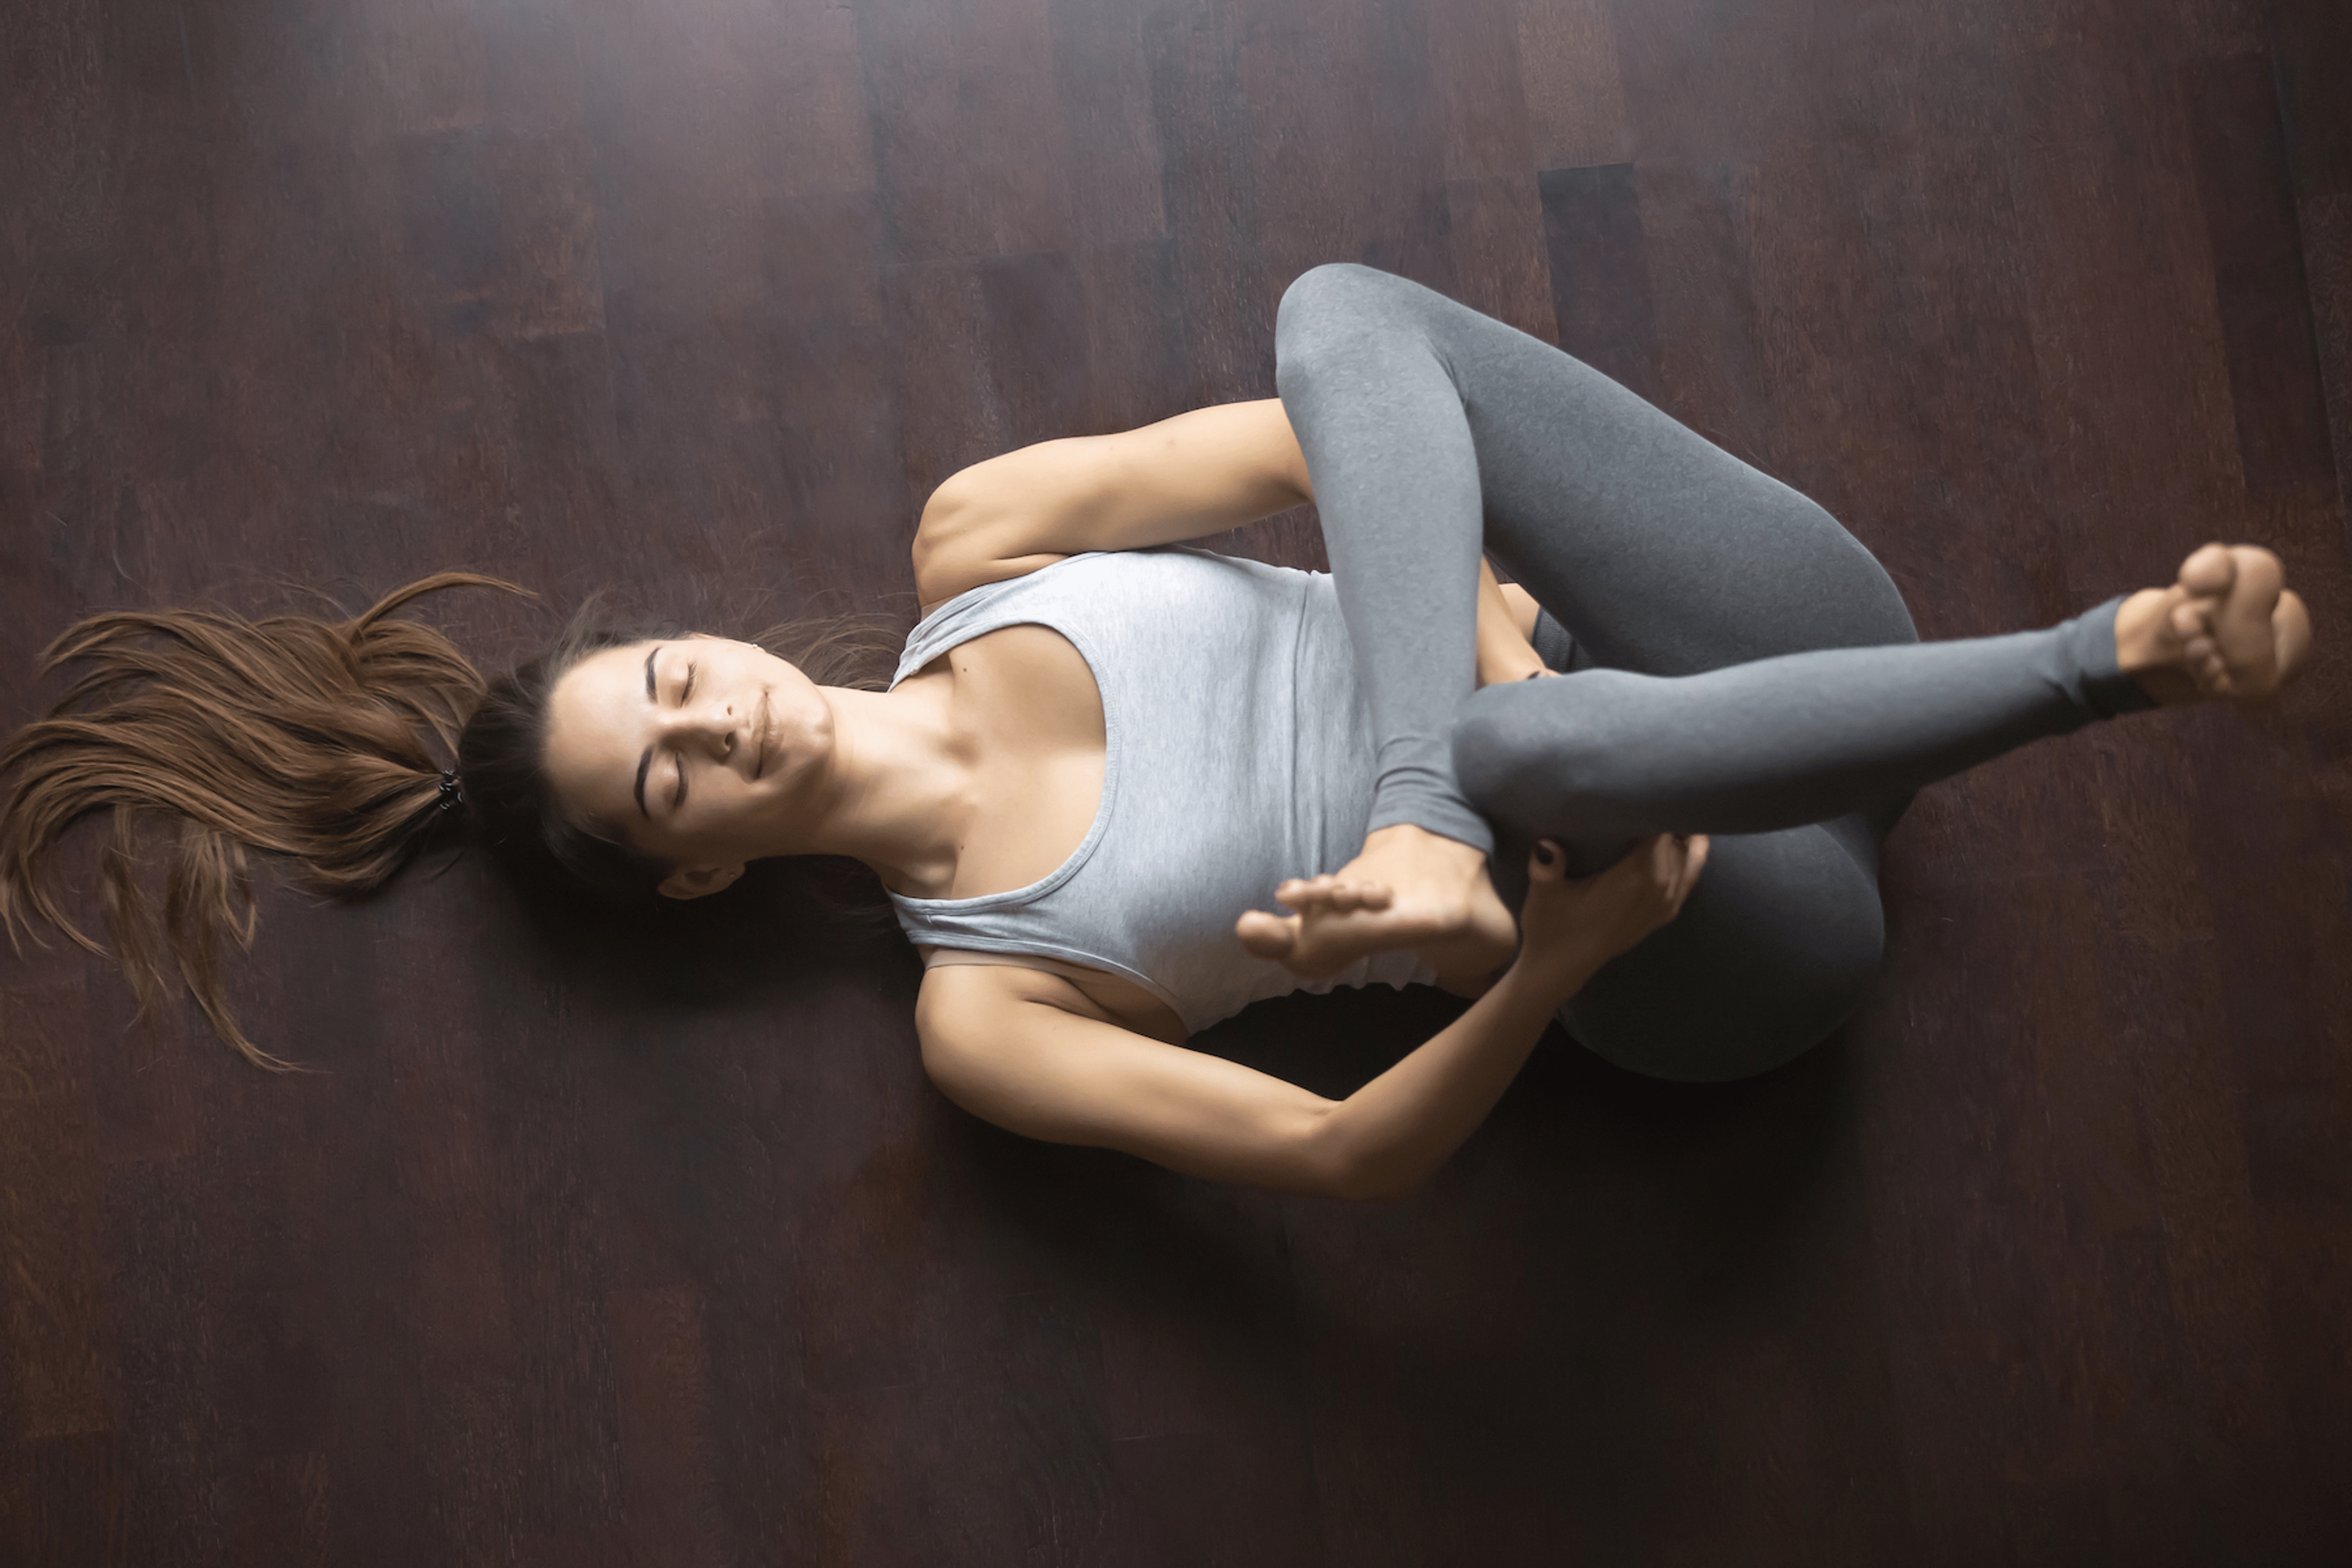
fizkes/iStock / Getty Images Plus via Getty Images
Why Figure 4 Stretch Can Offer Your Hips the Relief They're Craving
Because we know they're likely tight.
By Karla Walsh•
Figure 4 Stretch: The Basics
Benefits of the Figure 4 Stretch
How to Do Figure 4 Stretch
Variations of Figure 4 Stretch
Common Mistakes People Make with This Stretch
Maybe you're stretching after completing a run or moving through a series of yoga poses when your instructor cues you into it: Pigeon Pose. Known as Eka Pada Rajakapotasana in Sanskrit, this hip opener is beloved by some and detested by others. If you fall into the latter camp, you need not grin and bear it through the discomfort. Instead, ease yourself into figure 4 stretch.
Figure 4 Stretch: The Basics
Figure 4 targets your hips and glutes. If you work an office job—or just spend a lot of the day on your couch—consider adding this deep stretch to your recovery regimen.
“[Figure 4] can be beneficial to nearly anyone, but specifically people that sit for long periods,” says Denis Morton, a Peloton instructor. This stretch can help relieve or prevent stiffness and discomfort in your hips, lower back, and legs, as well as potentially alleviate sciatic pain, he says.
Benefits of the Figure 4 Stretch
There are several physical benefits of figure 4 stretch, including:
Opening the hip joints and muscles, especially your piriformis, which can press on the sciatic nerve when it’s tight and cause pain
Stretching your gluteus medius and inner thighs
Releasing tension in your hips and back
Engaging your core and arm muscles
It’s also a great stretch to even out both sides of your body. “Usually, you will have one side that is tighter than the other,” says Sherri Betz, a Louisiana-based physical therapist and spokesperson for the American Physical Therapy Association. “With figure 4, you can focus on the tighter side to bring your hips into better balance and function.”
Beyond the physical benefits, incorporating this stretch into your exercise agenda can help support your mental health. Different types of activities qualify as stretching, including static holds (isolated and still), dynamic movements (involving some sort of motion), and foam rolling, Betz says. Since figure 4 stretch is a static position, it can be held for a longer period of time.
“Taking time to focus on our bodies and do gentle movements can help reduce stress, especially by loosening any tight or tender areas,” she says. “This is especially important if you have an injury, which can sometimes feel like an emotionally-isolating experience.”
If you have sciatica, lower back pain, or any other injuries, “the psychological benefit of relief from physical discomfort can be invaluable,” Denis says. (Just make sure your ailments don’t affect your ability to properly practice the stretch.)
If you are experiencing pain of any kind, consult with a physical therapist or fitness professional before adding figure 4 or any new stretches to your training program. They’ll be able to tell you if this stretch is advised for you based on any existing symptoms or conditions, as well as provide modifications and additional treatment plans to help you reach your goals.
How to Do Figure 4 Stretch

You can easily perform figure 4 stretch at home, according to Peloton instructor Kristin McGee. All you need? A mat or padded area on the floor, a few minutes, and some space. Here, Denis and Kristin walk us through how to practice this stretch.
Lie on your back with your knees bent and your feet flat on the floor. Keep your pelvis in a neutral position.
Lift and open the inner thigh of your right leg. Place your right ankle right above your left knee. Flex or “foint” (foot pointed, toes flexed) your right foot to engage the muscles of your lower leg and support your knee.
Place both hands behind your left thigh or on your left knee to lift your leg off the floor. You should feel a stretch in your right hip and glute muscles.
To deepen the stretch, use your right hand to gently press your right knee away from your torso, creating space between your right knee and shoulder, or place both of your hands on the back of your left thigh and pull your left leg toward your chest.
Hold here. Breathe deeply and evenly for 30 seconds to two minutes. Gently release your hands and return your left foot to the floor, followed by your right.
Repeat on the other side.
Dive Deeper Into Figure 4 Stretch


Variations of Figure 4 Stretch
Besides the classic figure 4 position, there are a handful of other alternatives you can try to deepen or modify this stretch.
With Your Foot on the Floor
To make the stretch easier, rather than elevating the base leg to stretch the opposite foot, keep that foot on the floor with your knee bent. “Just press the top of the thigh forward,” Kristin says, to feel a mild stretch.
Seated Figure 4 Stretch
You can also opt to try this pose while seated. Sit up tall—on the ground or in a chair without wheels. Place an equal amount of weight on both sides of your glutes. Cross your right shin over your left thigh. Without allowing your pelvis to roll backward, gently grasp your left shin with your hands to sit up taller. To deepen the stretch, hinge forward slightly at the hips.
“You will clearly feel the outer hip stretch—and will likely understand why sitting in a slouched posture can lead to hip tightness,” Betz says.
Against a Wall
To come into this variation, follow the same steps as the original figure 4 stretch, but place your feet against a wall instead of the floor. (Keep your knees bent and aim to position your glutes about 1 ½ to 2 feet away from the base of the wall.) Cross your right angle over your left shin. To deepen the stretch, grasp the back of your left thigh to bring both legs closer to you and lift your foot off the wall. Use your forearm to gently press against your hip and keep it in an externally rotated position, Betz says.
Standing Figure 4 Stretch
Another way to up the ante: Try a standing figure 4 stretch. This variation will “require a great deal of strength, focus, and balance,” Denis says. Place your feet hip-width apart. Keep your core engaged and your shoulders back. Slowly lift your right foot off the ground and transfer your weight to your left foot. Place your right ankle just above your left knee to make a “4” shape. Slowly lower your hips down, aiming for about a 90-degree bend in the left knee if your flexibility allows for it. If needed, hold onto a secured table or counter for balance.
Common Mistakes People Make with This Stretch
Since this stretch resembles a seated position many of us do on autopilot, you may feel comfortable and confident when practicing it. However, that doesn’t make it something you should gloss over or rush through. Try to avoid these common mistakes as you practice it:
Forgetting your posture: Hiking one hip up toward your shoulder is a common mistake, Denis says. Kristin agrees. She adds to make sure your hips stay even and your shoulders stay relaxed when practicing figure 4.
Getting too loosey-goosey: Don’t relax your foot and ankle. Keep them flexed and engaged to protect your knee from excess rotation.
Overlooking accommodations: If you struggle with lower back pain or prefer more support, Betz recommends rolling up a small towel and placing it under your lower back to help maintain a neutral spine.
Skipping it due to boredom or a busy schedule: “Stretching doesn’t have to be a chore,” Betz says. “You can fit stretching and strengthening into things that you enjoy, like watching a TV show or listening to music or a podcast.” (Need some extra motivation? Try out a stretching class on the Peloton App.)
Holding your breath: Aim for steady and deep breaths in and out through your nose. Kristin generally recommends taking five to eight breaths while in this stretch.
Ignoring aches: “With any stretch, remember that we're exploring good space, not forcing bad space. Pain is a signal that we've gone too far,” Denis says.
Related Articles

Strength Train
5 Gluteus Minimus Exercises to Strengthen Your Lower Body

Stretching + Mobility
Give Your Glutes Some Relief with These 6 Stretches

Stretching + Mobility
The 9 Best Stretches to Loosen Up Tight Hamstrings

Mindset
What Is Habit Stacking? Plus, 11 Habit-Stacking Examples for Forming New Wellness Routines

Peloton App
Access thousands of classes with no equipment needed.
This content is for informational and educational purposes only and does not constitute individualized advice. It is not intended to replace professional medical evaluation, diagnosis, or treatment. Seek the advice of your physician for questions you may have regarding your health or a medical condition. If you are having a medical emergency, call your physician or 911 immediately.
Level up your inbox.
Subscribe for a weekly dose of fitness, plus the latest promos, launches, and events.
By providing your email address, you agree to receive marketing communications from Peloton.
For more about how we use your information, see our Privacy Policy.