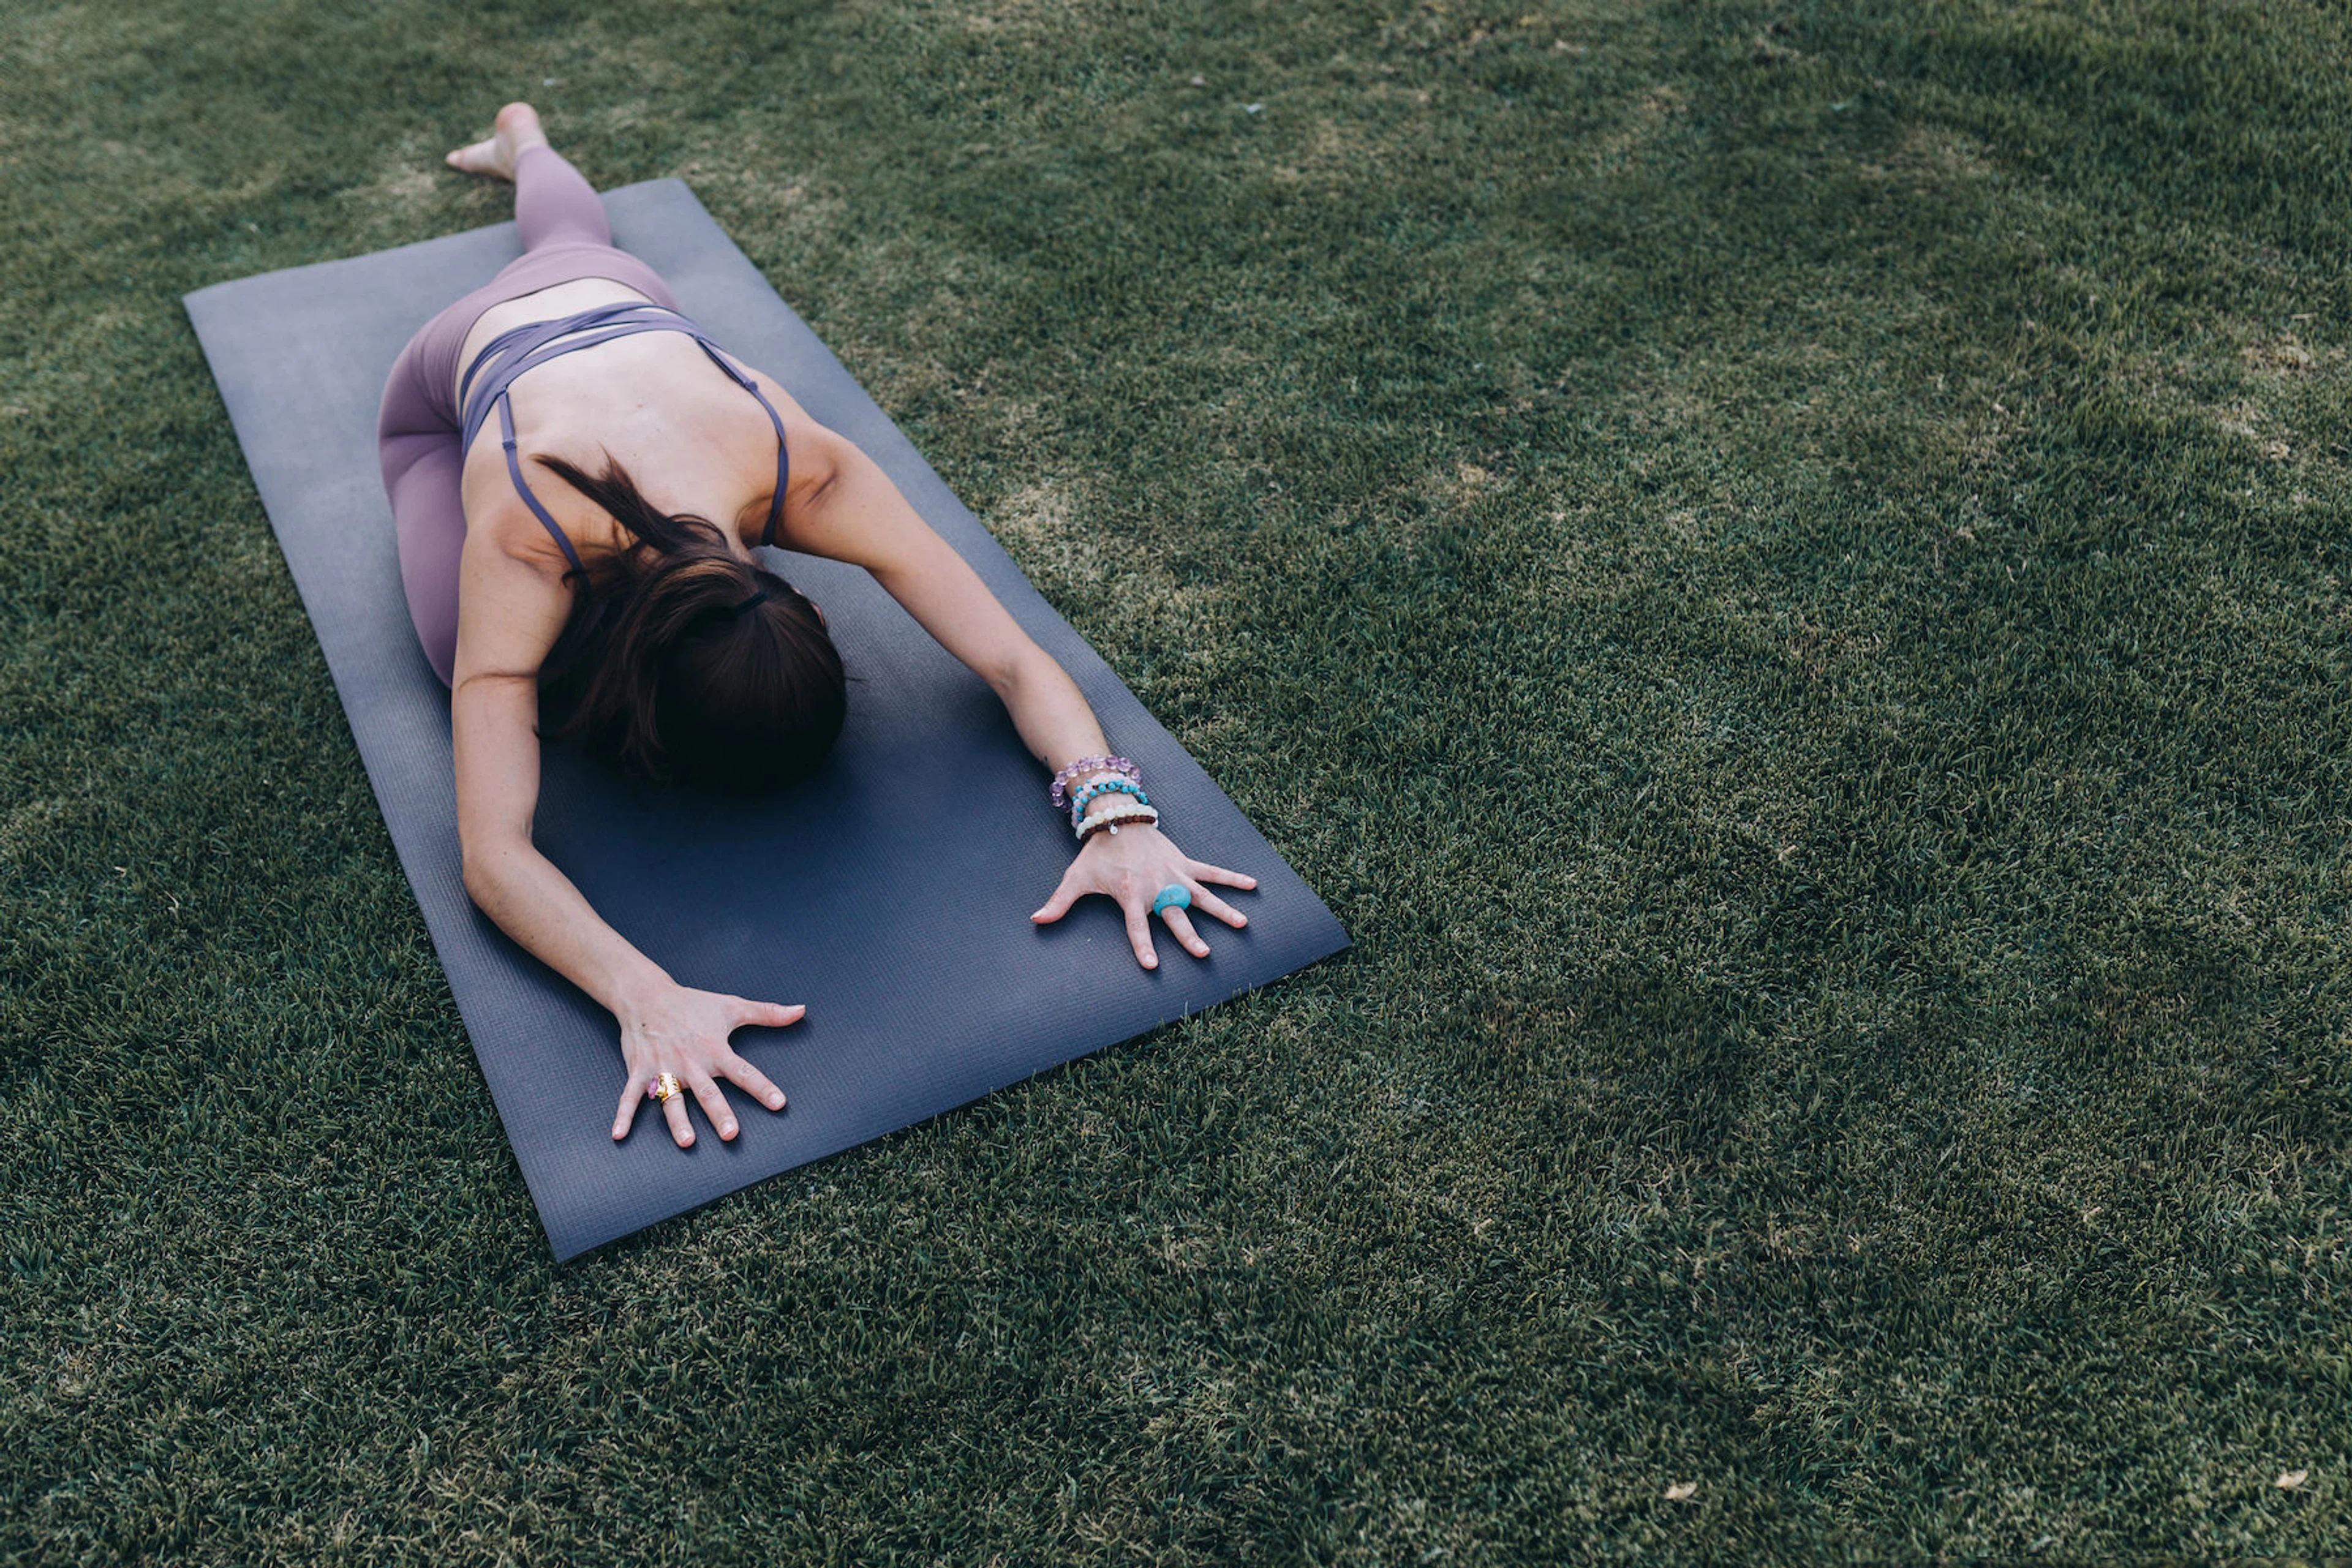
Carolin Voelker/Moment via Getty Images
This Hip Opener May Be Exactly What Your Body Needs
You'll want to linger in this posture for more than a few breaths.
By Michele Ross•
The Benefits of Pigeon Pose (Eka Pada Rajakapotasana)
How to Properly Do Pigeon Pose: Step-by-Step Instructions
Common Pigeon Pose Variations
4 Common Mistakes in Pigeon Pose
Precautions to Take During Your Practice
3 Tips for Practicing Pigeon Pose
I’ll confess: When it comes to yoga poses, hip openers are my favorite. And within this category, my go-to is pigeon pose. (I know, I know.) This deep hip opener often unearths sensations in your mind and body, resulting in its common status as a love-it-or-hate-it posture. Here, we break down everything you need to know about pigeon pose, including its benefits, step-by-step instructions, and common variations.
The Benefits of Pigeon Pose (Eka Pada Rajakapotasana)
Pigeon pose, commonly known as eka pada rajakapotasana in Sanskrit, is famous for being an intense hip opener that offers relief to your lower body, making it a much-needed stretch for many. A 2021 study published in Musculoskeletal Science and Practice found that sitting for long periods of time can limit your hip extension. Certain hip-focused postures, such as pigeon pose, can help counteract this.
“Generally, more mobility in our hips helps us not just with other yoga postures, but also with other movement disciplines like strength training or cycling,” says Nico Sarani, a Peloton instructor.
What Muscles Does Pigeon Pose Stretch?
“Pigeon pose stretches the hip flexors, the psoas, the piriformis, the glutes, and hamstrings, and thereby releases a lot of tension in the hip area,” Nico says. This type of hip release can also help alleviate lower back pain, she adds.
How Does Pigeon Pose Improve Your Hip Flexibility?
If you’re constantly cursing your tight hips, you’re not the only one. “Our hips often feel tight because modern life has us sit a lot, which means our psoas muscle is constantly in action,” Nico says. And in some instances, physical pain and tightness may actually be a manifestation of emotional stress and even trauma.
“We contract [the hips] when we feel stressed (think physically curling up into a ball to protect ourselves from predators), which explains why we may feel emotional when we release tension in that region of the body once we get into the pose,” Nico says. “We literally release stress and emotions from our body.”
Does Pigeon Pose Help You Relax?
While, yes, pigeon pose is often an intense posture, you can find a sense of calm and serenity in it. To maximize these benefits, progress to sleeping pigeon, a common variation of pigeon pose. In this alternative, you’ll lower your forehead to your mat or a prop, promoting grounding and stability throughout your body.
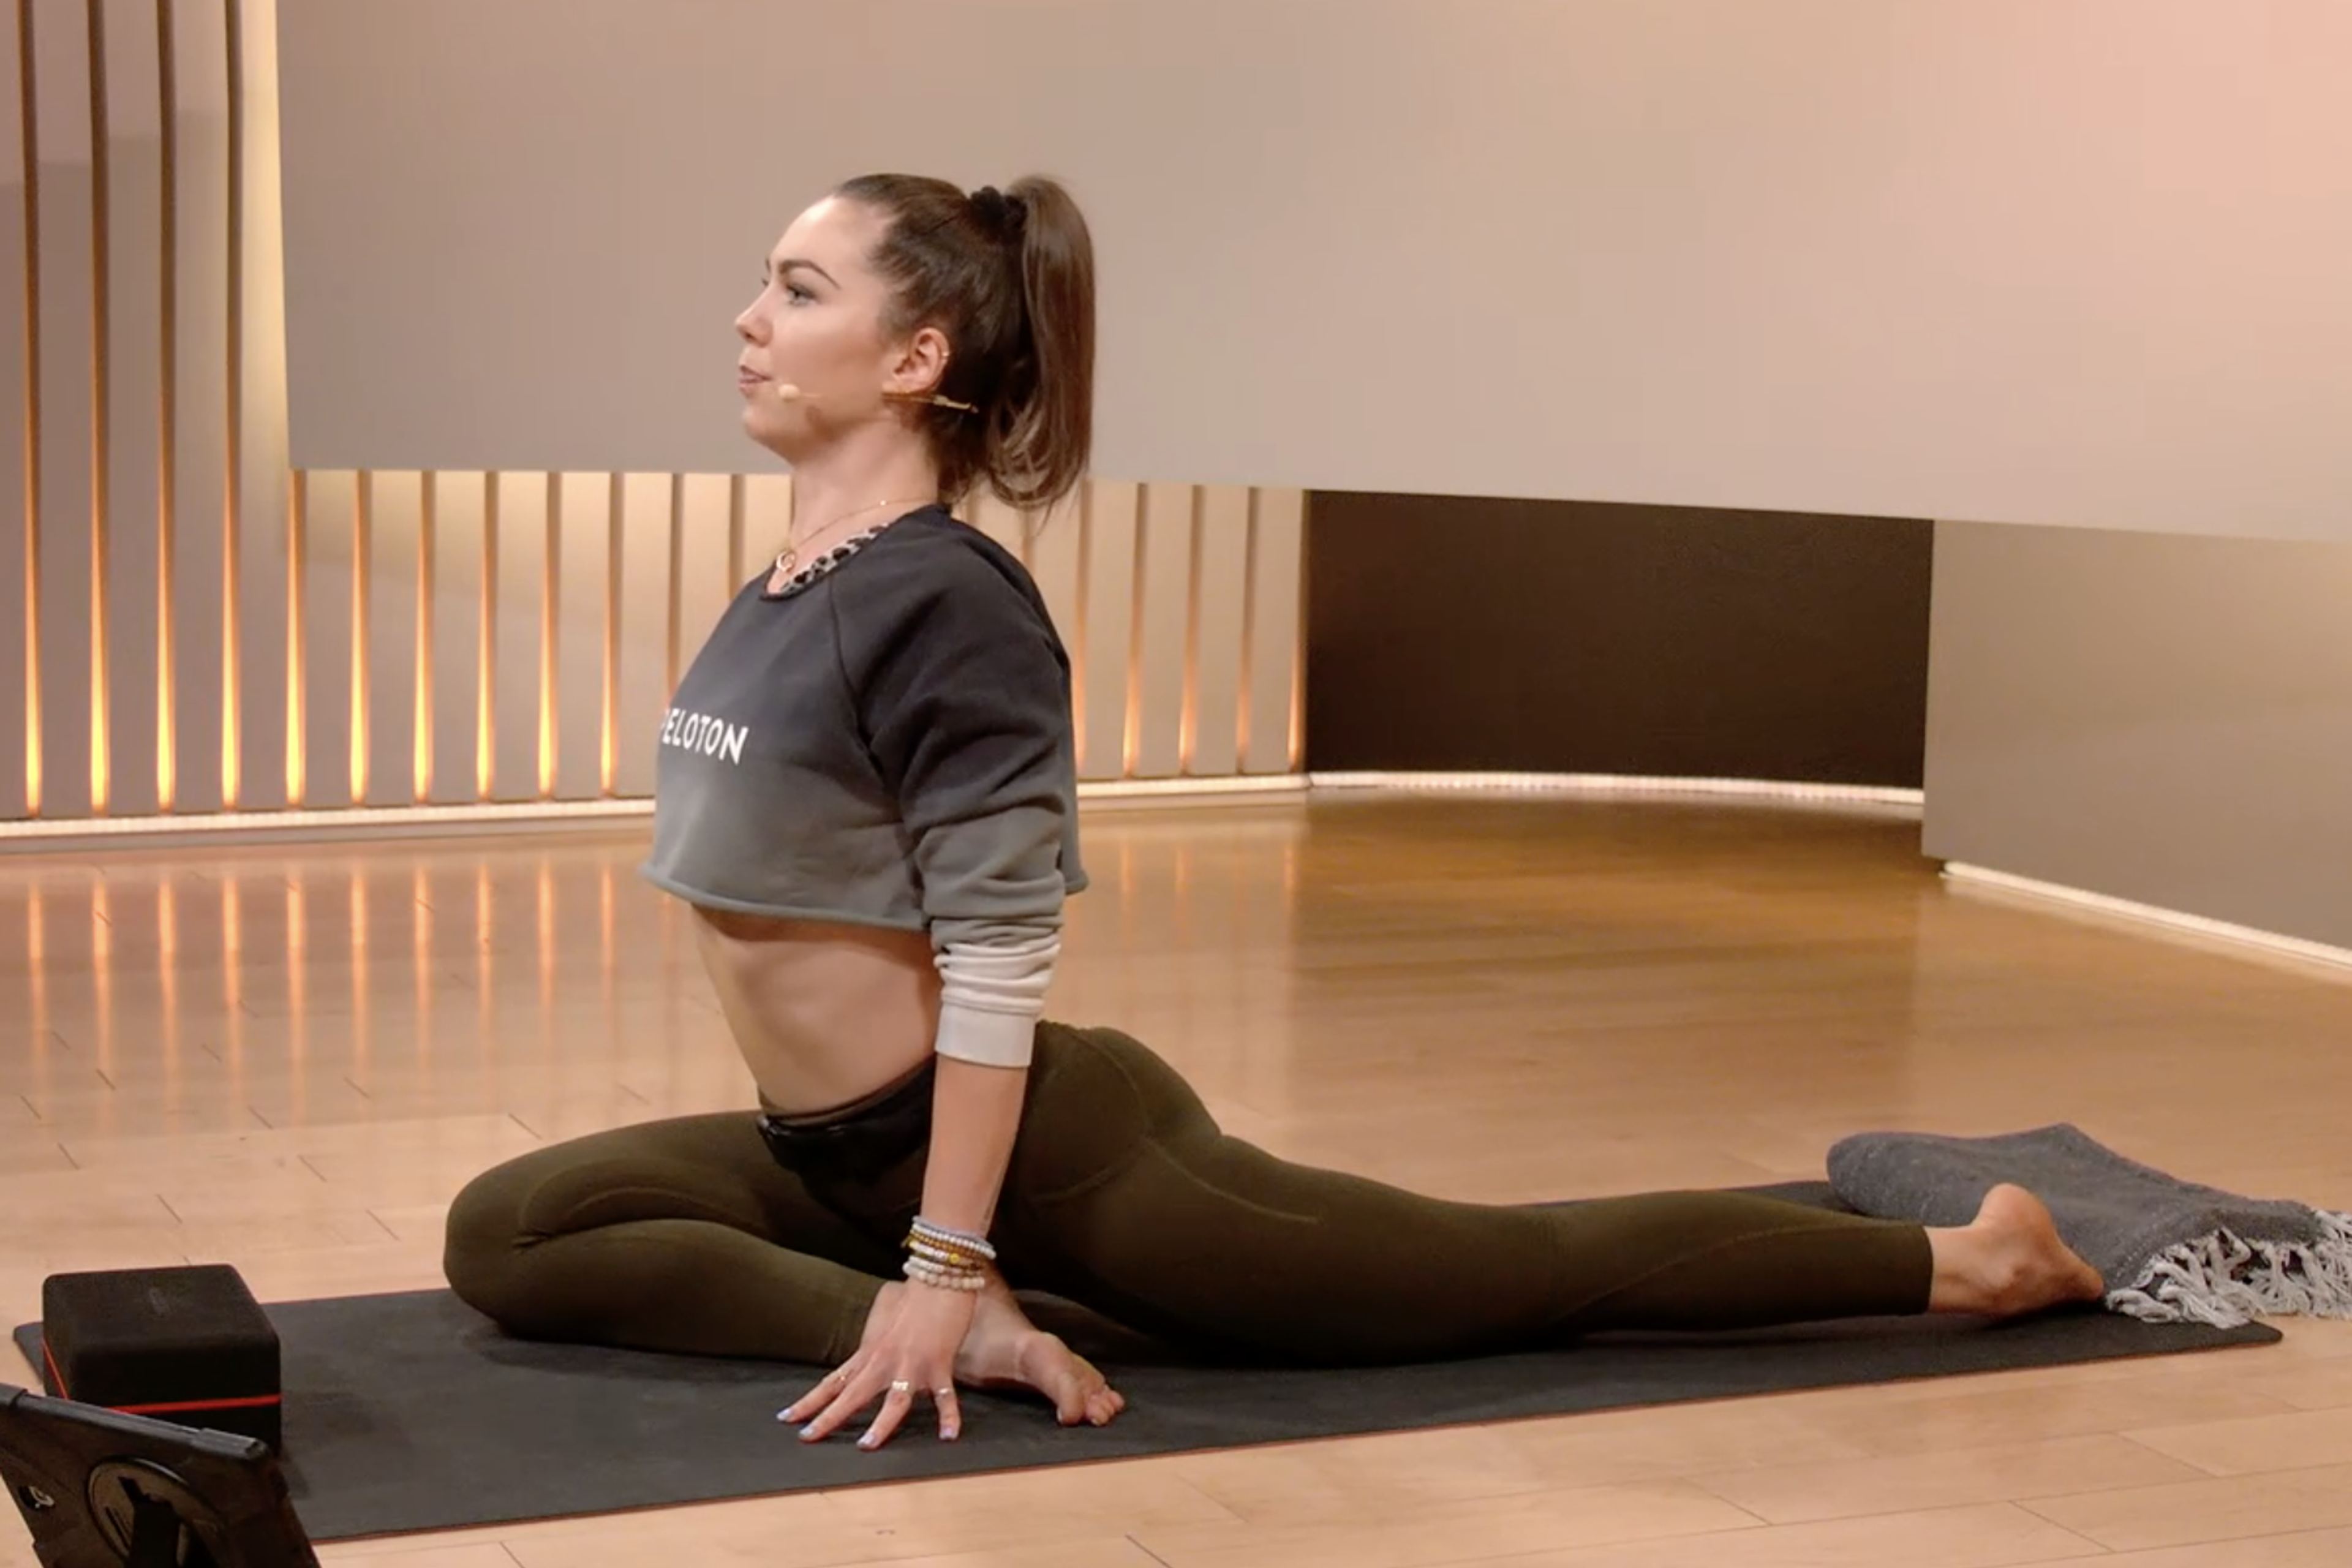
How to Properly Do Pigeon Pose: Step-by-Step Instructions
Follow these cues from Nico and fellow Peloton instructor Kristin McGee to practice pigeon pose safely and correctly.
Start in downward-facing dog.
Shifting your weight forward, bring your right knee toward your right wrist. Slide your right foot towards the left edge of your mat. Flex your right toes.
For a deeper stretch, aim to get your right shin parallel to the top of your mat. To reduce the intensity of the posture, keep your shin at an angle, positioning your right heel closer to your body.
Make sure your hip bones are parallel to each other, facing forward.
Lower your left leg to the ground. Slide your left thigh backward. Keep your left foot flat against the mat, toes pointing backward. Your left leg should be parallel to the length of the mat.
Rest your fingertips on the mat to help keep your torso upright. If this is difficult, place your hands on two yoga blocks to bring the ground closer to you.
Pull your shoulder blades back to create space in your chest. Stay here for a few breaths.
When you’re ready to come out of the pose, ground down through your palms, tuck your left toes, and step back into downward-facing dog.
Repeat on the opposite side.
Common Pigeon Pose Variations
If you’re looking for a modification or progression, consider trying a variation of pigeon pose.
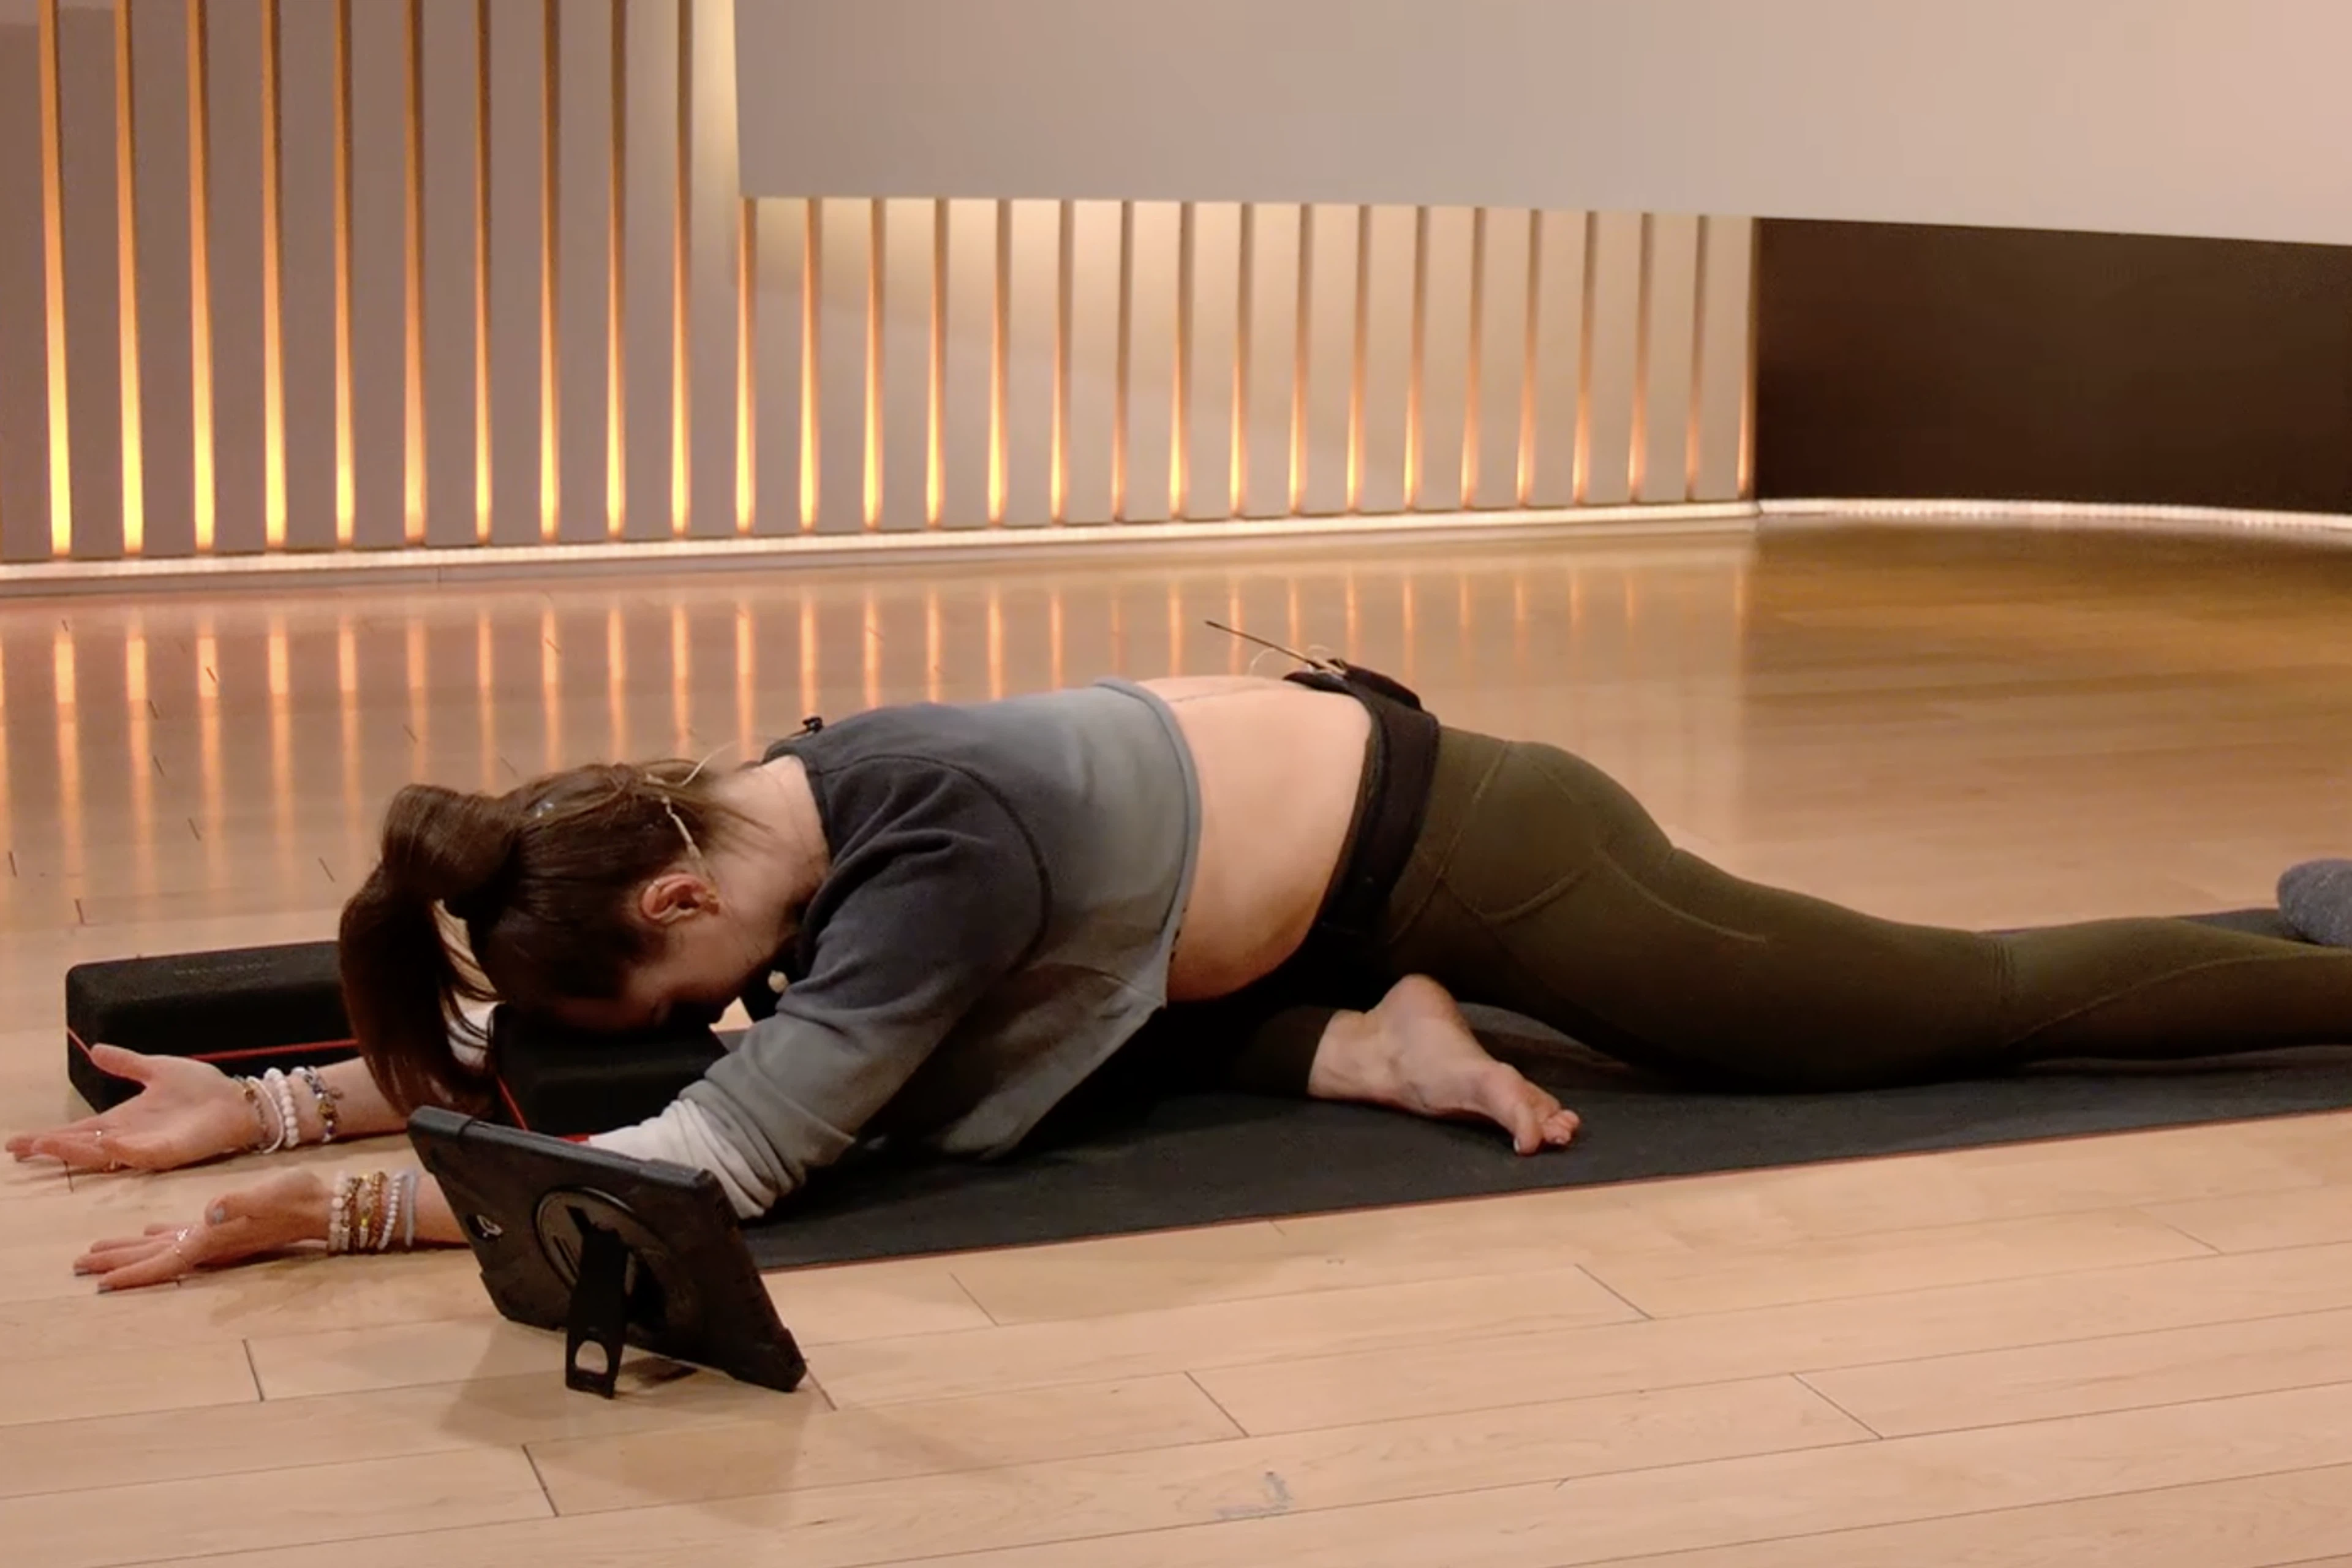
Resting/Sleeping Pigeon Pose
You’ll often find sleeping pigeon pose at the end of a yoga flow or a Yin yoga sequence.
Start in pigeon pose with your torso upright.
Walk your fingertips forward and fold your upper body over your front leg. Bring your forehead to the mat or rest it on top of your hands. (You can also place it on a block, towel, or blanket.) Place your forearms on the ground or extend your arms in front of you.
Make sure your hips are squared. Maintain steady inhales and exhales, allowing your breath to ease you into the pose and reduce any tightness.
When you’re ready to come out of the posture, slowly lift your forehead up. Bring your hands toward your hips. Curl your left toes under and step back into downward-facing dog.
Repeat on the opposite side.
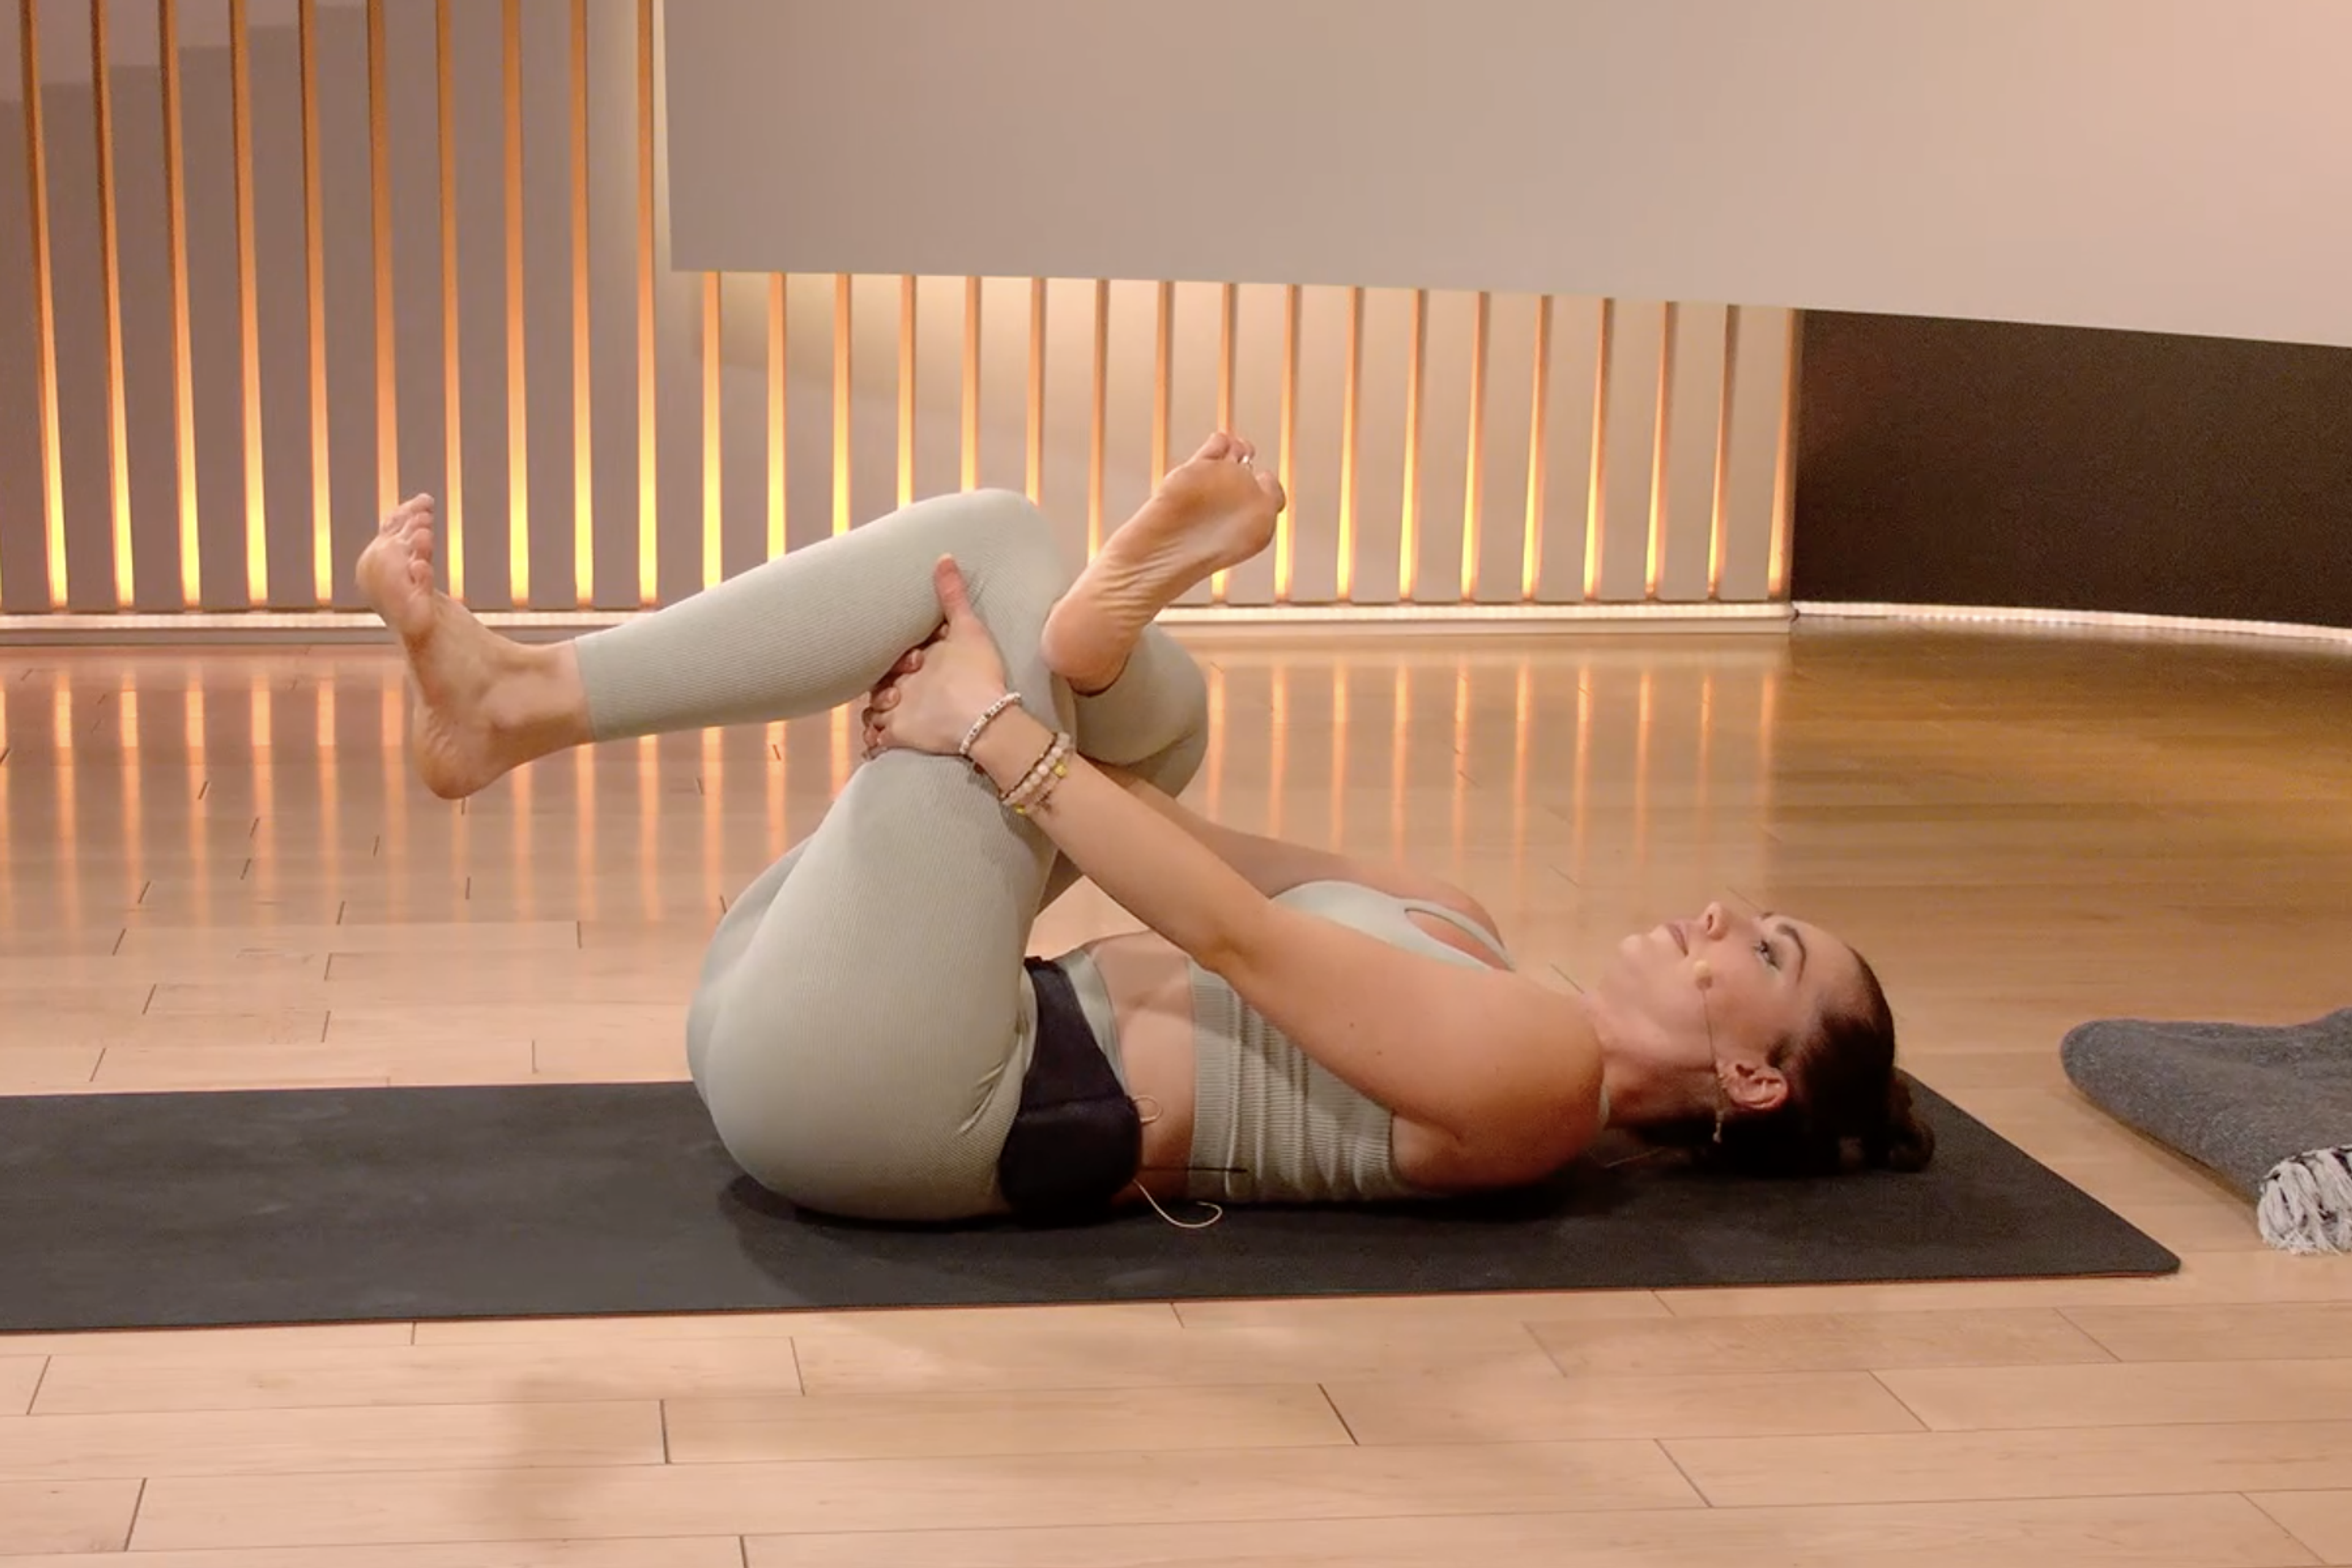
Reclined Pigeon Pose/Figure Four Stretch
Searching for a more accessible variation? Try reclined pigeon pose, commonly referred to as figure four stretch. “Supine figure four is a good alternative pose to try if you feel pain in pigeon pose,” Kristin says.
Lie with your back on your mat.
Bend your knees. Place your feet flat on the ground, hip-width distance apart.
Cross your right ankle over your left thigh. Keep your right foot flexed.
Lift your left foot off the mat. Interlace your fingers behind your left quad.
Maintain steady inhales and exhales as you hold the pose.
Release and repeat on the opposite side.
One-Legged King Pigeon Pose
This variation of pigeon pose will open your heart and invite a deeper hip stretch.
Start in pigeon pose with your torso upright.
Bend your left knee. Grab your left foot with your left hand.
Reach your right arm back to hold onto the right side of your left foot.
Keep your hips squared, your elbows pointed up, and your gaze forward or slightly lifted. Maintain steady inhales and exhales as you hold the pose.
Slowly release and repeat on the opposite side.
4 Common Mistakes in Pigeon Pose
It’s important to practice this pose with care. Here, our experts break down some common mistakes to avoid:
1. Crooked Hips
Make sure that your hips face forward in this pose, Nico says. To achieve this, she recommends placing a block or a folded blanket under the glute of your front leg.
2. Forcing Your Front Shin to be Parallel with the Front of the Mat
Having your front shin parallel to the top of your mat is not a requirement in this pose—especially if you sacrifice your form in the process. Forcing your shin to be parallel can cause you to neglect your hip alignment and the integrity of your knee, Nico says. To correct this, position your front shin at an angle with your front heel closer to your body, she says.
3. Putting Too Much Weight On the Front Knee
Be mindful of this mistake and instead try to shift more weight onto your hips.
4. Your Back Leg Isn’t Straight
Kristin says that it’s common for your back leg to go out to the side instead of staying parallel to the length of the mat. To correct this, as you slide your leg back, rotate the hip forward. This will help prevent your leg from flailing out to the side.
Precautions to Take During Your Practice
As is the case with any yoga pose, safety is crucial. In order to maintain proper alignment, move in and out of the posture carefully.
Can Beginners Safely Attempt Pigeon Pose?
Yes. If you’re a beginner, you can safely work your way into pigeon pose. Make sure to move slowly through the cues—and don’t force anything that doesn’t feel comfortable in your body. Unsure of where to begin? Reclined pigeon pose is a good starting point before moving into the full expression of the posture.
Is Pigeon Pose Suitable for Individuals with Specific Medical Conditions?
If you have any health issues, consult a medical professional before trying out this pose. These include but aren’t limited to:
Injuries
A history of surgeries
Any problems related to the knees, hips, or lower back
Physical or emotional trauma
“If you have sensitive knees or have suffered knee or hip injuries, please modify as much as needed or choose a [simpler] variation of the pose,” Nico says. “If you feel any knee pain at all, pull the front foot closer towards your pubic bone and shift your weight into your hips. Sometimes sliding your back foot a little further back can generally help lower the hips onto the mat and shift the weight toward the center of the body instead of the front knee.” You can also play around with props (e.g., placing a blanket under the back knee) or opt for a simpler variation that won’t put excess strain on your knee.
If your lower back feels compressed in this pose, Nico advises working on pushing your tailbone down and finding length in your spine. (Sleeping pigeon pose is also a great alternative if the traditional posture continues to irritate your lower back.)
Avoid forcing your body into uncomfortable positions. “Our bodies always signal to us if something is too much for us at any given point in time,” Nico says. “Start slow, listen to what your body tells you, and leave your ego at home.”
3 Tips for Practicing Pigeon Pose
The next time you practice pigeon pose (or a variation of it), keep these essential tips in mind.
Soften up where you can: “The hips and jaw are very much related,” Kristin says. “If we release our hips, it helps our jaw—and vice versa.”
Only advance to a comfortable degree: “If this pose comes easy to you, I wouldn’t advise going deeper into it than necessary to avoid wearing out the joints,” Nico says. (Remember her reminder about leaving the ego at home?)
Listen to your body: It’s about tapping in. “Tuning into your body and giving it what it actually needs, in the way it needs it, will help you find the right approach to this beautiful pose,” Nico says.
This content is for informational and educational purposes only and does not constitute individualized advice. It is not intended to replace professional medical evaluation, diagnosis, or treatment. Seek the advice of your physician for questions you may have regarding your health or a medical condition. If you are having a medical emergency, call your physician or 911 immediately.
This content is for informational and educational purposes only and does not constitute individualized advice. It is not intended to replace professional medical evaluation, diagnosis, or treatment. Seek the advice of your physician for questions you may have regarding your health or a medical condition. If you are having a medical emergency, call your physician or 911 immediately.