
Benefits of Practicing Yoga Balance Poses
7 Yoga Balance Poses to Try
How to Incorporate Balance Poses Into Your Yoga Routine
The Takeaway
If you want to hold Tree Pose (Vrikshasana) with ease or effortlessly tilt forward into Warrior 3 Pose (Virabhadrasana 3), we understand why; Yoga balance poses are some of the most exciting, rewarding asanas. They give you the chance to test your core stability, work different muscle groups, and dial into your focus. Plus, a lot of them just feel really good.
Discover more ways to reach your goals with Peloton


We asked Peloton instructor Anna Greenberg to give us a rundown of yoga balance poses and their benefits. Plus, we provide step-by-step instructions on how to do some of the most common yoga balance poses and offer advice on how to integrate them into your existing routine, regardless of your experience level.
Benefits of Practicing Yoga Balance Poses
It probably doesn’t come as a giant surprise that regularly practicing yoga can improve your health on and off the mat (for starters, it can lower stress levels and boost heart health), but balance poses specifically offer some unique mental and physical benefits. Here are a few of the reasons you should work them into your flows.
Increased Flexibility and Balance
Surprise, surprise: Doing balance-focused yoga poses can improve your overall balance. A 2016 study published in the International Journal of Yoga found that a group of male college athletes that did biweekly yoga sessions for 10 weeks significantly improved their balance and flexibility levels compared to a control group that did no yoga. Of course, this study measured the effects of yoga in general (not balance poses specifically). However, it’s safe to say that the benefits apply to balance-focused asanas and flows since they zero in on the muscles and joints you use to maintain or change positions.
Improved Core Strength and Stability
Whether you’re standing on one foot in Tree Pose or balancing upside down in a Handstand (Adho Mukha Vrksasana), one thing is for sure: Yoga balance poses engage your core. That’s because your core muscles are responsible for keeping you upright, which becomes infinitely harder as you play with your balance. So the more you challenge yourself with yoga balance poses, the more your core has to work.
Better Posture
Because yoga balance poses engage and strengthen the core muscles that wrap around your abdominals and extend into your back, practicing them regularly can help you stand straighter. And having good posture brings a host of benefits, from better digestion to improved respiratory function.
Reduced Risk of Injury
Another perk of strengthening your core with yoga balance poses is that it can reduce your likelihood of falling and injuring yourself. Think about the last time you tripped over a pet toy or accidentally missed a stair—did you fall flat on your face or manage to right yourself? If it’s the latter, you likely have your core to thank. Strong core muscles allow you to stabilize your entire body and avoid toppling over.
Yoga balance poses also challenge your proprioception, which is your bodily awareness and sense of space. For example, when you wobble while balancing on one leg and automatically correct yourself, you’re testing your proprioception.
Improve Mental Focus and Resilience
Yoga balance poses enable you to exercise your resilience, take chances, and support yourself regardless of the outcome. “Balancing poses can teach us how strong we are,” Anna says. “They show us that we can pick ourselves up when we fall. We can persevere and not let ourselves get knocked off course by getting literally knocked over.”
Don’t put pressure on yourself to nail these moves right away. However, when you do notice that an asana you’ve been practicing starts to feel more accessible, consider trying a more advanced variation. “Look for the balance, but always be willing to fall,” Anna says. “You will never progress if you don’t take the risk.”
7 Yoga Balance Poses to Try
Now that we’ve covered why yoga balance poses are worthwhile, it’s time to dive into some of our favorite ones. Below, Anna walks us through the balancing asanas she recommends trying.

1. Tree Pose (Vrikshasana)
Suitable for all experience levels, including beginners, Tree Pose helps you tap into your core stability and allows you to gradually ramp up the challenge as your body adapts.
Stand with your feet at shoulder-width distance with your arms in a prayer position in front of your chest.
Drive your left foot into the ground and slowly lift your right leg.
Place the bottom of your right foot on the inside of your left calf. For more of a balance challenge, place your right foot higher on your left leg—either above your knee or at the top of your inner thigh. Just make sure not to put your right foot on your left knee.
Press your left calf and your right foot into each other with equal pressure to stabilize your body.
Muscles worked: Ankles, calves, and core

2. Warrior 3 Pose (Virabhadrasana 3)
“This is such a powerful posture that teaches core integration—staying connected into your center, as your limbs extend away,” Anna says. “One of the keys to balancing is the ability to stretch your awareness throughout yourself to the places you can’t see with your eyes, kind of like developing a sixth sense.”
Stand with your feet at shoulder-width distance. Make sure you have a pair of yoga blocks on the ground directly in front of you positioned at their tallest height.
Bend at your waist and place one hand on each block.
Extend your left leg up and back so that it’s at hip height. Flex your left foot and point all five toes to the ground without dropping your hip. To maintain your balance, squeeze your thighs, tuck your hips and pelvis toward your center, and draw your lower abdomen up toward your spine.
Reach your right arm forward while your left leg remains behind you.
Extend both arms straight back on either side of your left leg. Maintain a lift in your abdomen, an open chest, and a long neck.
Straighten both arms in front of you, reach your left leg further back, and keep your core tight and activated.
Muscles worked: Core, hamstrings, glutes, and thighs

3. Half Moon Pose (Ardha Chandrasana)
If you’re looking for a flow that challenges your balance, try transitioning from Warrior 3 Pose to Half Moon Pose (Ardha Chandrasana). To do so, open your hips to one side while keeping your blocks nearby for additional support. If you don’t have blocks, you can lean your grounded leg and side against a wall instead.
Stand with your feet at shoulder-width distance. Make sure you have a pair of yoga blocks in front of you positioned at their tallest height.
Bend at your waist and place one hand on each block.
Extend your left leg up and back so that it’s at hip height. Flex your left foot and point all five toes to the ground without dropping your hip. To maintain your balance, squeeze your thighs, tuck your hips and pelvis toward your center, and draw your lower abdomen up toward your spine.
Keeping your right hand on its block, extend your left arm long and open toward your left side, stacking your hips.
Letting your gaze follow your left hand, slowly rotate your head to face the ceiling.
Muscles worked: Core, hamstrings, glutes, and thighs

4. Eagle Pose (Garudasana)
Not only is Eagle Pose (Garudasana) an effective yoga balance pose, but it also incorporates twists in your upper and lower body and stretches your shoulders and lats.
Stand with your feet together, legs straight, and arms by your sides.
Shift your weight into your left foot.
Bend at both knees as you bring your right leg over your left thigh. If it’s in your practice, hook the top of your right foot behind your left calf.
Bring your arms in front of you, bending your elbows at 90 degrees. Cross your right arm under your left arm. Pull your elbows away from your body and lift them up, pointing your fingers toward the ceiling. If you have the necessary mobility, wrap your hands so yours palms press together.
Sink into the pose by bending deeper into your standing leg. Sit back into your standing hip as if you’re sitting in a chair (similar to Chair Pose, or Utkatasana in Sanskrit). Keep your spine straight as you continuously inhale and exhale.
Muscles worked: Hips, legs, core, and upper body

5. Boat Pose (Paripurna Navasana)
Boat Pose, known as Paripurna Navasana in Sanskrit, is a seated balance posture that challenges your core. If extending your legs in full Boat Pose isn’t in your practice, take a beginner-friendly modification by keeping your knees bent and shins parallel to the ground.
Sit down with your spine straight and your hands resting on the ground by your hips. Bend your knees and plant your feet on the floor. Keep your spine straight as you lean back slightly.
Lift your feet, keeping your knees bent as you balance on your sit bones. Beginners can stay in this position until they feel ready to progress.
Once you feel stable, reach your arms forward with your palms facing each other and straighten your legs. Continue engaging your core by pulling your belly button up and in toward your spine. Retract your shoulder blades and keep your chest proud.
Muscles worked: Hip flexors, core, shoulders, and quads

6. Crow Pose (Kakasana)
“This is one of my all-time favorite postures,” Anna says. “It unlocks an incredible inner lift and lightness and is a great place to start becoming comfortable with balancing on your hands.” If you’re nervous about falling forward, place a pillow or a blanket in front of you as a “just in case” crash pad.
Crouch down to the ground and place both hands on the floor in front of you. Distribute your weight between your hands and balance on your toes. For extra assistance, place the balls of your feet together on a low, wide block, as the elevation will help your knees land on your upper arms.
Round your back toward the ceiling as you walk your shins in toward your forearms, eventually resting your knees and shins on your forearms.
Shift forward and bring your weight toward your fingers, pressing them into the ground to avoid dumping into your wrists. Let your knees remain low and wide as you shift your weight forward.
Squeeze your knees against the backs of your arms and curl your pelvis as you slowly lift your feet off the ground.
Muscles worked: Wrists, arms, shoulders, thighs, and core
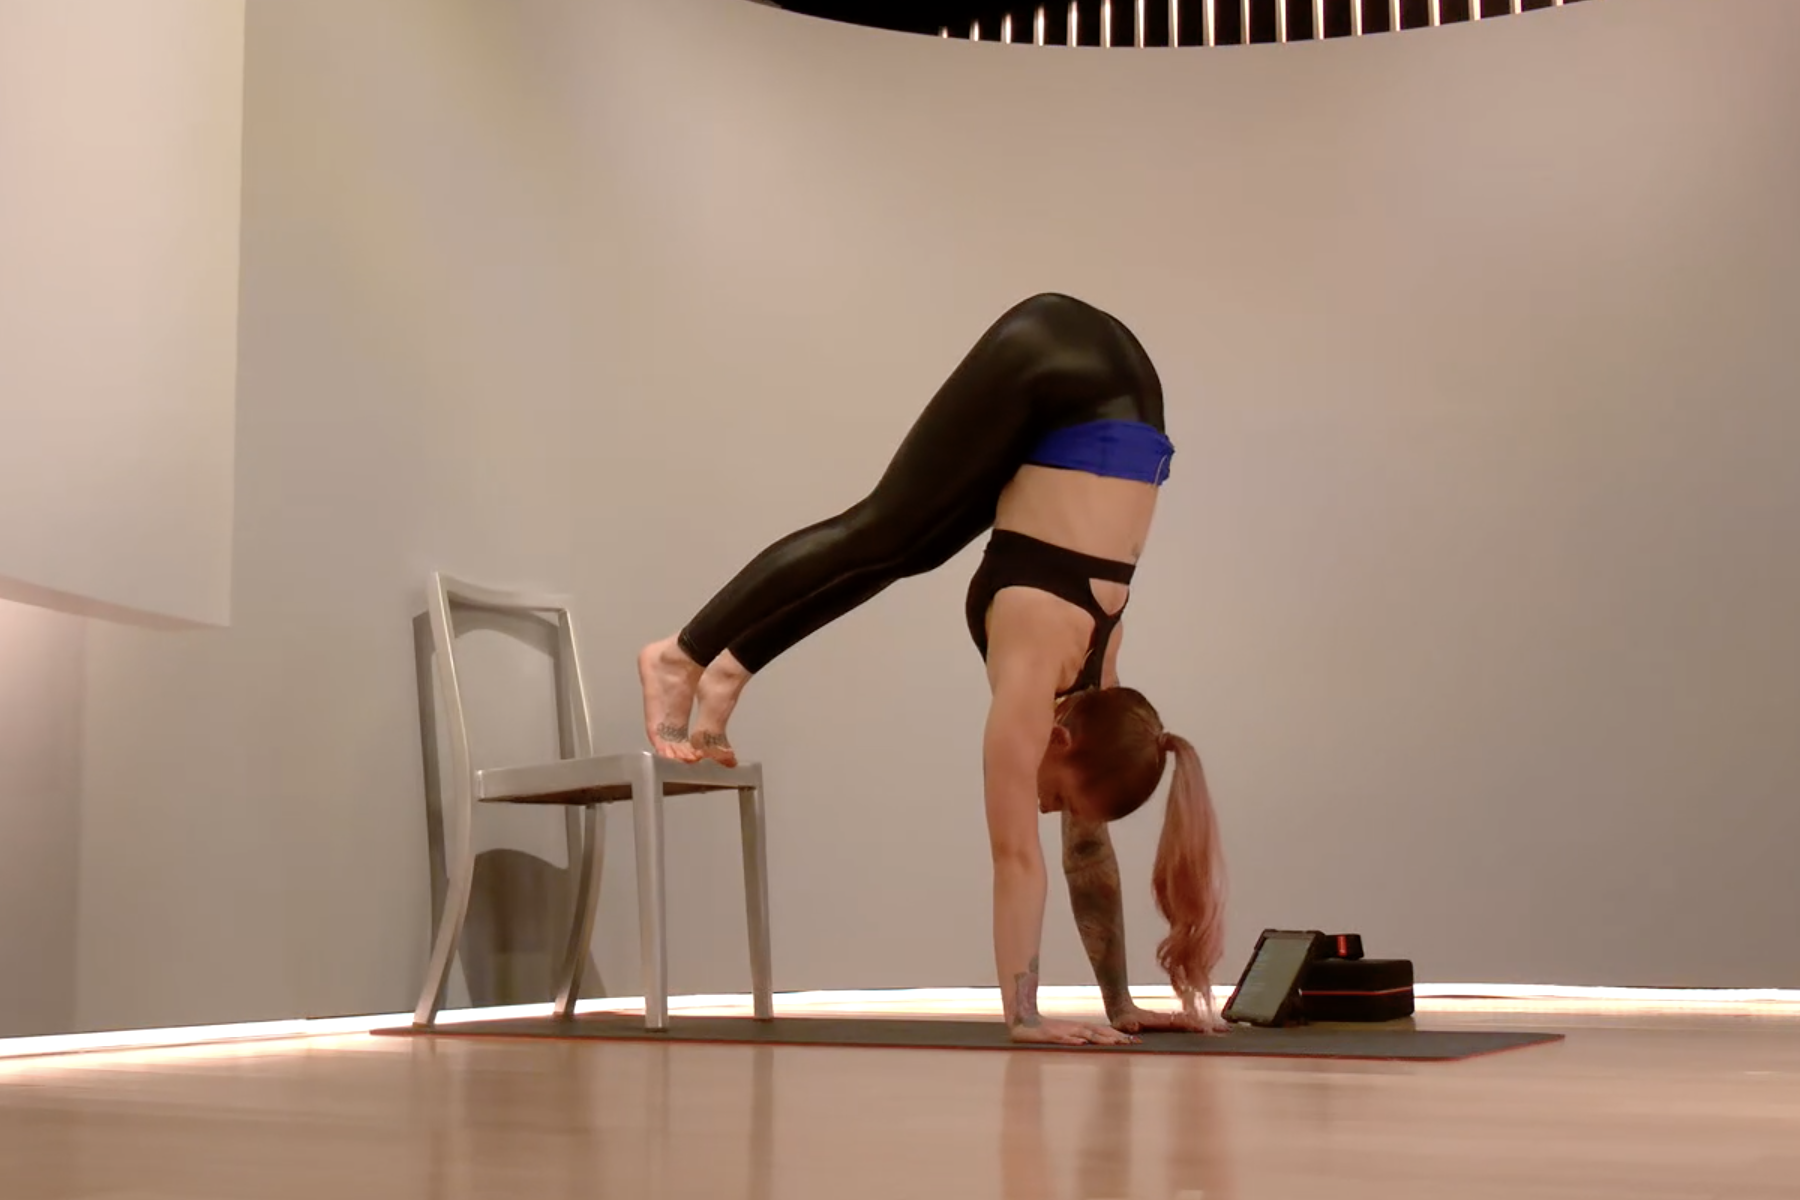
7. Handstand (Adho Mukha Vrksasana)
Handstand may seem like an intimidating inversion, which is any yoga pose where your heart is higher than your head, but there are plenty of modifications. So if you’re not quite ready for a full Headstand or Forearm Stand (Pincha Mayurasana), consider building strength by doing an L-Shaped Handstand against a wall. “I love L-Shaped handstands because you’ve got the feedback from the floor and wall to help you engage your limbs and your trunk in order to find proper alignment,” Anna says.
Begin in a Downward-Facing Dog Pose (Adho Mukha Svanasana) with your heels up against a wall. Walk your hands inward a couple inches to shorten your stance.
Slowly begin to walk your feet up the wall so they’re slightly higher than hip height. Your body should create an “L” shape.
Press the floor away and drive your shoulders down through your hands to fully lengthen your arms. Press your feet into the wall, engage your quads, and make your legs as straight as possible. Lift your trunk toward the ceiling.
Muscles worked: Wrists, hands, shoulders, core, and thighs

Take your L-Shape Handstand a step further by practicing a full Handstand by a wall. It’s a great way to progress while still having the safety of a wall behind you in case you fall (which is completely OK).
Stand facing a wall. Place your hands on the ground a few inches in front of the wall, spreading your fingers to root down through your knuckles and fingers. Gaze at your hands and allow your head to hang straight down.
Come into Downward-Facing Dog Pose, shifting your weight forward into your hands. Lift your left leg up and back.
Keeping your left leg straight, bend your right knee and take a small hop into the air, lifting both feet off the ground.
Keeping your shoulders aligned directly over your hands, draw your low belly in and up as you attempt to kick your right leg up to meet your left leg so that both of your heels rest against the wall. Think: Shoulders over hips, hips over shoulders, and feet over head will follow.
Return to the ground with as much control as you did on the way up.
Muscles worked: Wrists, hands, shoulders, core, thighs, and glutes

Peloton App
Access thousands of classes with no equipment needed.
How to Incorporate Balance Poses Into Your Yoga Routine
Holding yoga balance poses takes time, practice, and focus, so be patient with yourself. Progress will likely be slow and gradual, which can feel frustrating at times. If you stumble or fall out of a pose, don’t give up. Here are some tips to keep in mind while practicing yoga balance poses.
Start Slow
When it comes to practicing yoga balance poses, patience is crucial. It’s essential that you get comfortable with beginner-friendly poses before progressing to more difficult asanas. And as we mentioned before, don’t be shy about reaching for props along the way.
Taking a slow approach instead of prematurely attempting advanced variations allows your muscles to gradually adapt to the balance challenge. After all, without proper balance, your form could suffer and you could injure yourself.
Practice Your Balance Consistently
No, you don’t have to get on your mat every single day to work on your balance poses. In fact, you can squeeze in a couple of minutes of balance practice daily without drastically adjusting your regular routine. For example, you can stand on one foot while brushing your teeth or incorporate balance challenges into your strength training sessions (maybe you lift one foot in the air while doing biceps curls).
Warm Up Properly
We recommend warming up before jumping into balance postures, especially if you’re just getting used to them. If you have a couple of minutes before your yoga session, do a warm-up that incorporates core activation, light stretching, and some dynamic movement.
When in doubt, flow through a few Sun Salutations (Surya Namaskars), pausing in Plank Pose (Phalakasana) or adding in a Bird Dog to engage your core. Save the tricky balance asanas for later in your practice once you’ve already primed your muscles.
Use Props
There’s absolutely no shame in using props during any yoga class. In fact, you’ll often see Peloton instructors incorporating them into their flows while leading classes on the Peloton App. Props can be particularly useful while practicing balancing yoga positions. For example, yoga blocks bring the ground closer to you in Half Moon Pose or Warrior 3 Pose and provide added stability.
Embrace the Wobble
You might think that the goal while practicing balance poses is to be perfectly still, but that’s not the case. Wobbling is a key part of improving your balance because that’s when your body learns to react to instability and keep you upright.
A healthy dose of wobbling forces you to engage muscles in your core and glutes. It also enhances your proprioception, giving you a better chance at recovering from situations off the mat, like walking on uneven sidewalks or bumping into a stranger.
The Takeaway
Yoga balance poses may seem intimidating, but they’re not impossible, regardless of your starting point. Begin by practicing beginner-friendly poses with a trusty pair of yoga blocks at your disposal. Then, progress at your own pace and find ways to integrate balance practice into your everyday life. Soon enough, you’ll enjoy all the benefits that comes from having better balance and a stronger core.


This content is for informational and educational purposes only and does not constitute individualized advice. It is not intended to replace professional medical evaluation, diagnosis, or treatment. Seek the advice of your physician for questions you may have regarding your health or a medical condition. If you are having a medical emergency, call your physician or 911 immediately.

Want to strengthen your yoga practice?
We can help. Enter your email to get articles, instructor tips, and updates from Peloton sent to your inbox.
By providing your email address, you agree to receive marketing communications from Peloton.
For more about how we use your information, see our Privacy Policy.