Don't Be Intimidated by the Turkish Get-Up. Here's How to Do It Properly
Just remember: Six phases on the way up, six phases on the way down.
By Amber Sayer•
What Is a Turkish Get-Up?
What Muscles Does a Turkish Get-Up Work?
The Benefits of the Turkish Get-Up
How to Do a Turkish Get-Up
The Phases of a Turkish Get-Up
How Do You Know If You’re Ready to Do a Turkish Get-Up?
Common Mistakes
It’s likely one of the most dynamic (and complicated) strengthening exercises you’ll do. You may even be intimidated by it, and if so, you’re not the only one. The Turkish get-up is a multi-step, multi-joint, full body movement that targets almost all of the major muscles in your body.
To learn more about how to properly do Turkish get-ups, and why you shouldn’t shy away from learning this challenging exercise, we spoke with Peloton instructor Rebecca Kennedy.
What Is a Turkish Get-Up?
A Turkish get-up is a functional exercise that takes you through all of the planes of motion and movement patterns your body needs to stay strong, mobile, and stable, Rebecca says.
If you’re unfamiliar with this exercise, that may sound like a lofty promise, but in reality, it’s true. Since this movement consists of multiple steps, it methodically targets different major muscle groups in your body over the course of just one rep.
The complicated nature of the Turkish get-up is almost like an elephant in the room, Rebecca says. Before you can reap the benefits of the exercise, it’s crucial to understand why it’s known to be difficult.
“It is more complicated than your basic squat, deadlift, or overhead press, and that’s because it includes a lot of goodies—movement patterns—in one,” Rebecca says. “So, yes, there is a steeper learning curve, but the benefits are worth it.
“Think of this as the big brother or sister to crawling,” she adds. “Using your whole body, both hemispheres of your brain, turning on your visual, vestibular, and proprioceptors to create spatial awareness in new orientations to create a symphony of movement. You’ll see [Turkish get-ups] in full body, core, and upper body workouts, as it includes loading overhead for shoulder stability.”
This move does more than build physical strength; it also boosts your confidence and even your cognitive performance, Rebecca says.
What Muscles Does a Turkish Get-Up Work?
With any exercise, it’s helpful to know which muscles you’re working, but when it comes to the Turkish get-up, the list of engaged muscles is so extensive that it’s almost easier to highlight those that aren’t addressed by this full body movement. (Really.)
“The [Turkish get-up] uses almost every muscle in your body from start to finish from overhead loading, rotational core strength, and stability, methodically moving through a sequence of positions—supine, rolling, crawling, seated, asymmetrical half-kneeling, half kneeling, single-leg balance, to standing—your whole body is working, calling upon leg, core and upper body strength to facilitate it,” Rebecca says.
Want to focus on building your strength and mobility for a Turkish get-up? Try a class on the Peloton App.
The Benefits of the Turkish Get-Up
This exercise strengthens your entire body and boosts your mobility, stability, coordination, and balance, Rebecca says.
“The [Turkish get-up] keeps you strong, nimble, and stable in multiple planes of motions,” she says. “This is an exercise I refer to as one that keeps you superhuman. It’s incredibly important as we get older to maintain the ability of getting on and off the floor and this is a great reinforcement both with confidence and with physical ability.”
Here, Rebecca lists some of the key physical and mental benefits of the Turkish get-up:
Helps you learn how to stabilize your upper and lower body
Promotes spatial awareness (also known as proprioception)
Helps increase mobility in your hips, shoulders, and spine
Boots your overall strength
Promotes cross-laterality (cross-crawl patterns that make both sides of your brain and body work together)
Helps you learn how to shift your weight from front to back
Develops strong posture
Promotes stability in your trunk
Builds confidence
Increases your self-awareness

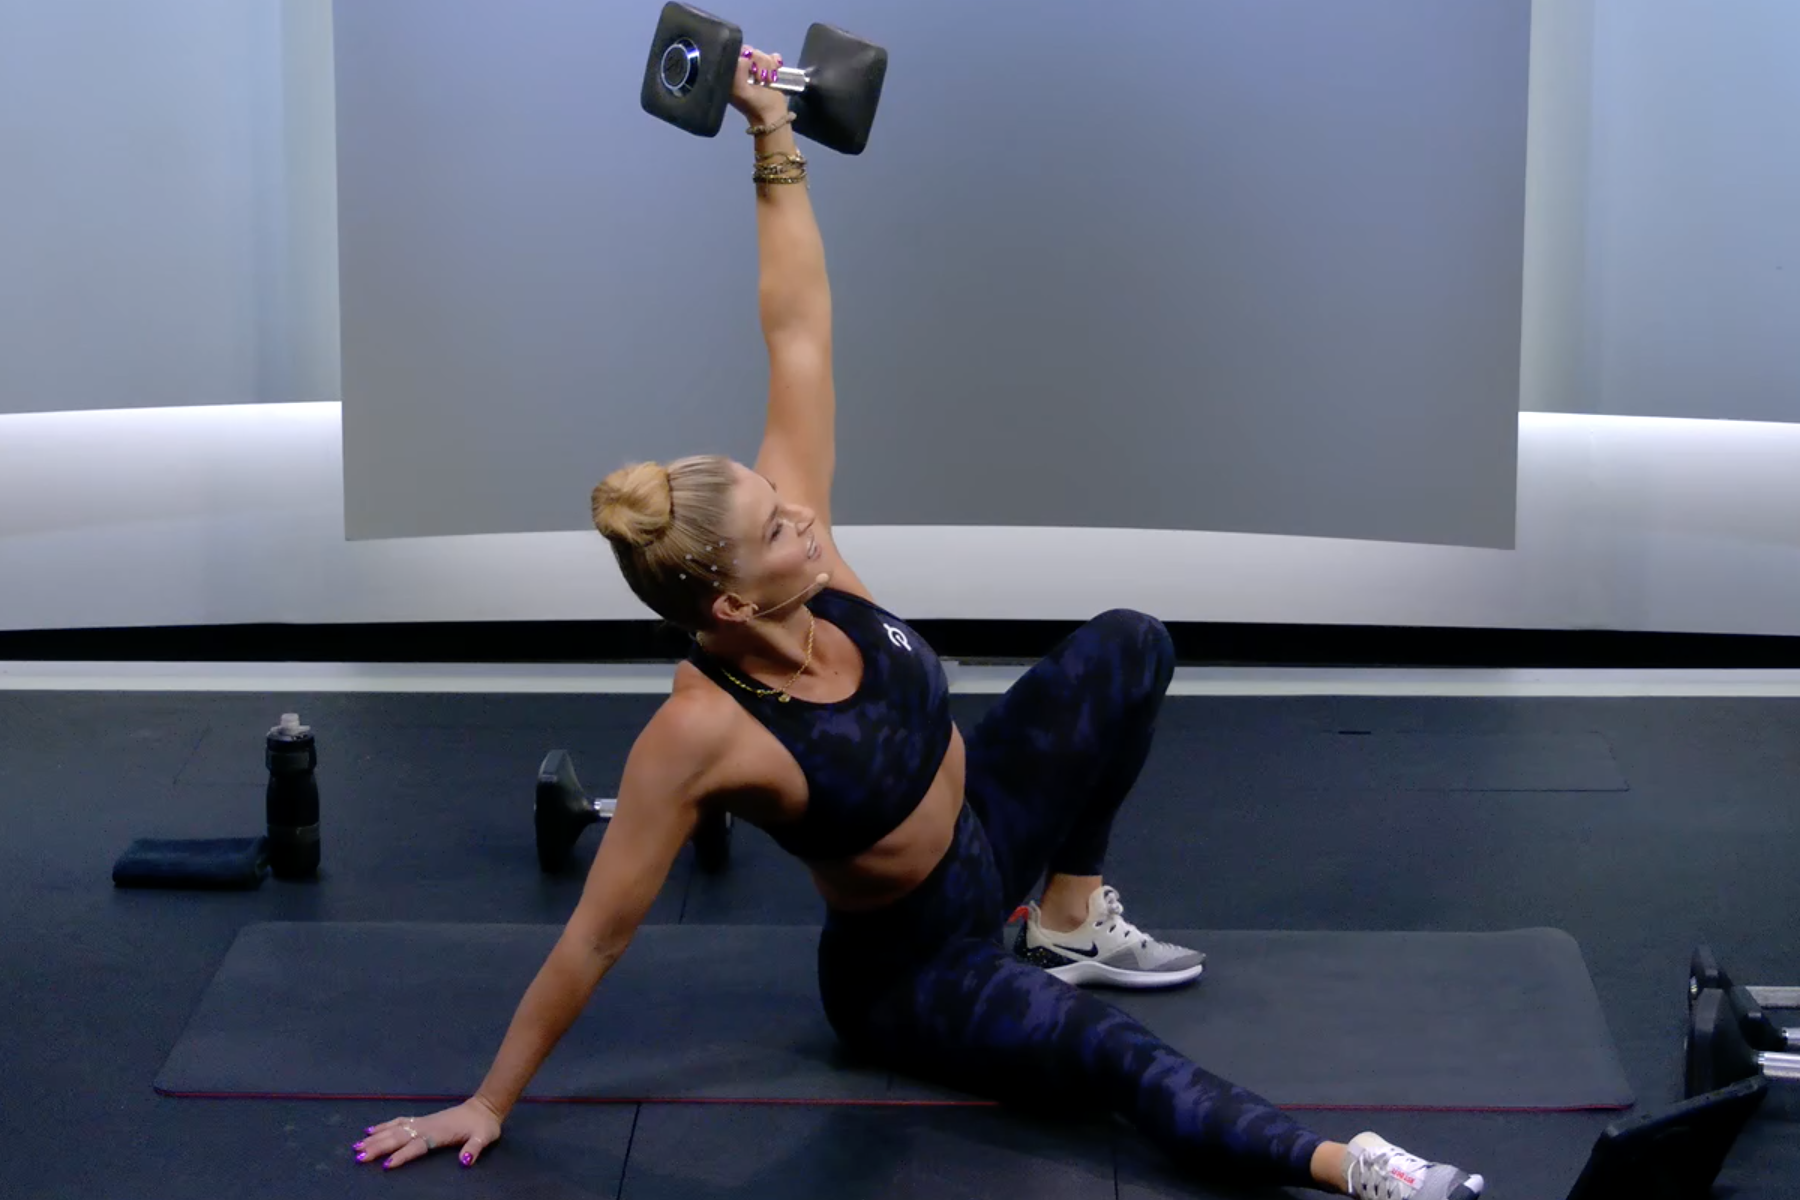
How to Do a Turkish Get-Up
Lie on your back with your left knee bent and your right leg straight. Keep your left foot flat on the floor. Maintain some space between your left and right legs.
Raise your left arm up to the ceiling. It should be externally rotated. Keep your left shoulder down, away from your ears. Hold onto a weight or keep your hand in a fist.
Keep your right arm flat on the floor. Your right palm should face the floor. Maintain a bit of distance between your hip and your arm for balance.
Drop your left knee toward your right. Roll onto your right forearm. Keep your left arm in a fully locked position. Keep your eyes on the weight or your fist.
Brace your core. Push up to your right hand, keeping your left shoulder away from your ear. Make sure not to sink into your traps.
Lift and extend your hips into a bridge position. Your right leg should be extended straight out.
Thread your right leg under your body into a half-kneeling position (often called a half-kneeling windmill). Maintain eye contact with the weight. Rotate and square your hips forward.
Slowly stand up. You have now completed the first half of the movement
Take your time reversing these steps back to the starting position.
The Phases of a Turkish Get-Up
Rebecca says it’s helpful to break the Turkish get-up into phases—five to six phases up and five to six phases back down. (It’s also a helpful cheat sheet to refer to when you’re doing this exercise.)
From a Supine Position
Roll to your elbow
Supported seated
High bridge
Half-kneeling windmill
Half-kneeling position
Stand up
From Standing
Half-kneeling position
Half-kneeling windmill
Kick to high bridge
Supported seat
Lower down to elbow
Roll down to a supine position
How Do You Know If You’re Ready to Do a Turkish Get-Up?
If you’re a beginner, start with bodyweight Turkish get-ups. Don’t add a dumbbell or kettlebell until you’ve mastered all of the steps. As always, avoid this movement if you have any injuries or arthritic joints.
At first, opt to just practice certain phases of the exercises, such as from the initial starting position to the kneeling position.
Turkish get-ups can serve as a mini assessment of your mobility and strength, Rebecca says. By focusing on each phase, you may be able to identify some of those sticking points. “For example, if you’re unable to maintain the overhead position when moving through phases, it’s telling you to look at your shoulder mobility and/or your shoulder stability (packing the shoulder in flexion and external rotation),” she says.
Common Mistakes
Even though you shouldn’t be intimidated by Turkish get-ups, there are some common mistakes to avoid. Here, Rebecca breaks them down.
Trying the exercise for the first time with a weight.
Rushing through the exercise—or going at too fast of a pace.
Not practicing the movement.
Not paying attention to the positioning of your body in each phase of the sequence.
Not breathing through the exercise.
Not keeping your eyes on the weight or your first.
Bending your lifted arm or not packing your shoulder.
Taking yourself too seriously. Turkish get-ups may be challenging, but they can also be empowering—and even fun, Rebecca says.
Give yourself the opportunity to learn this effective movement. You may just surprise yourself with your mobility, strength, and determination.
Related Articles


Level up your inbox.
Subscribe for a weekly dose of fitness, plus the latest promos, launches, and events.