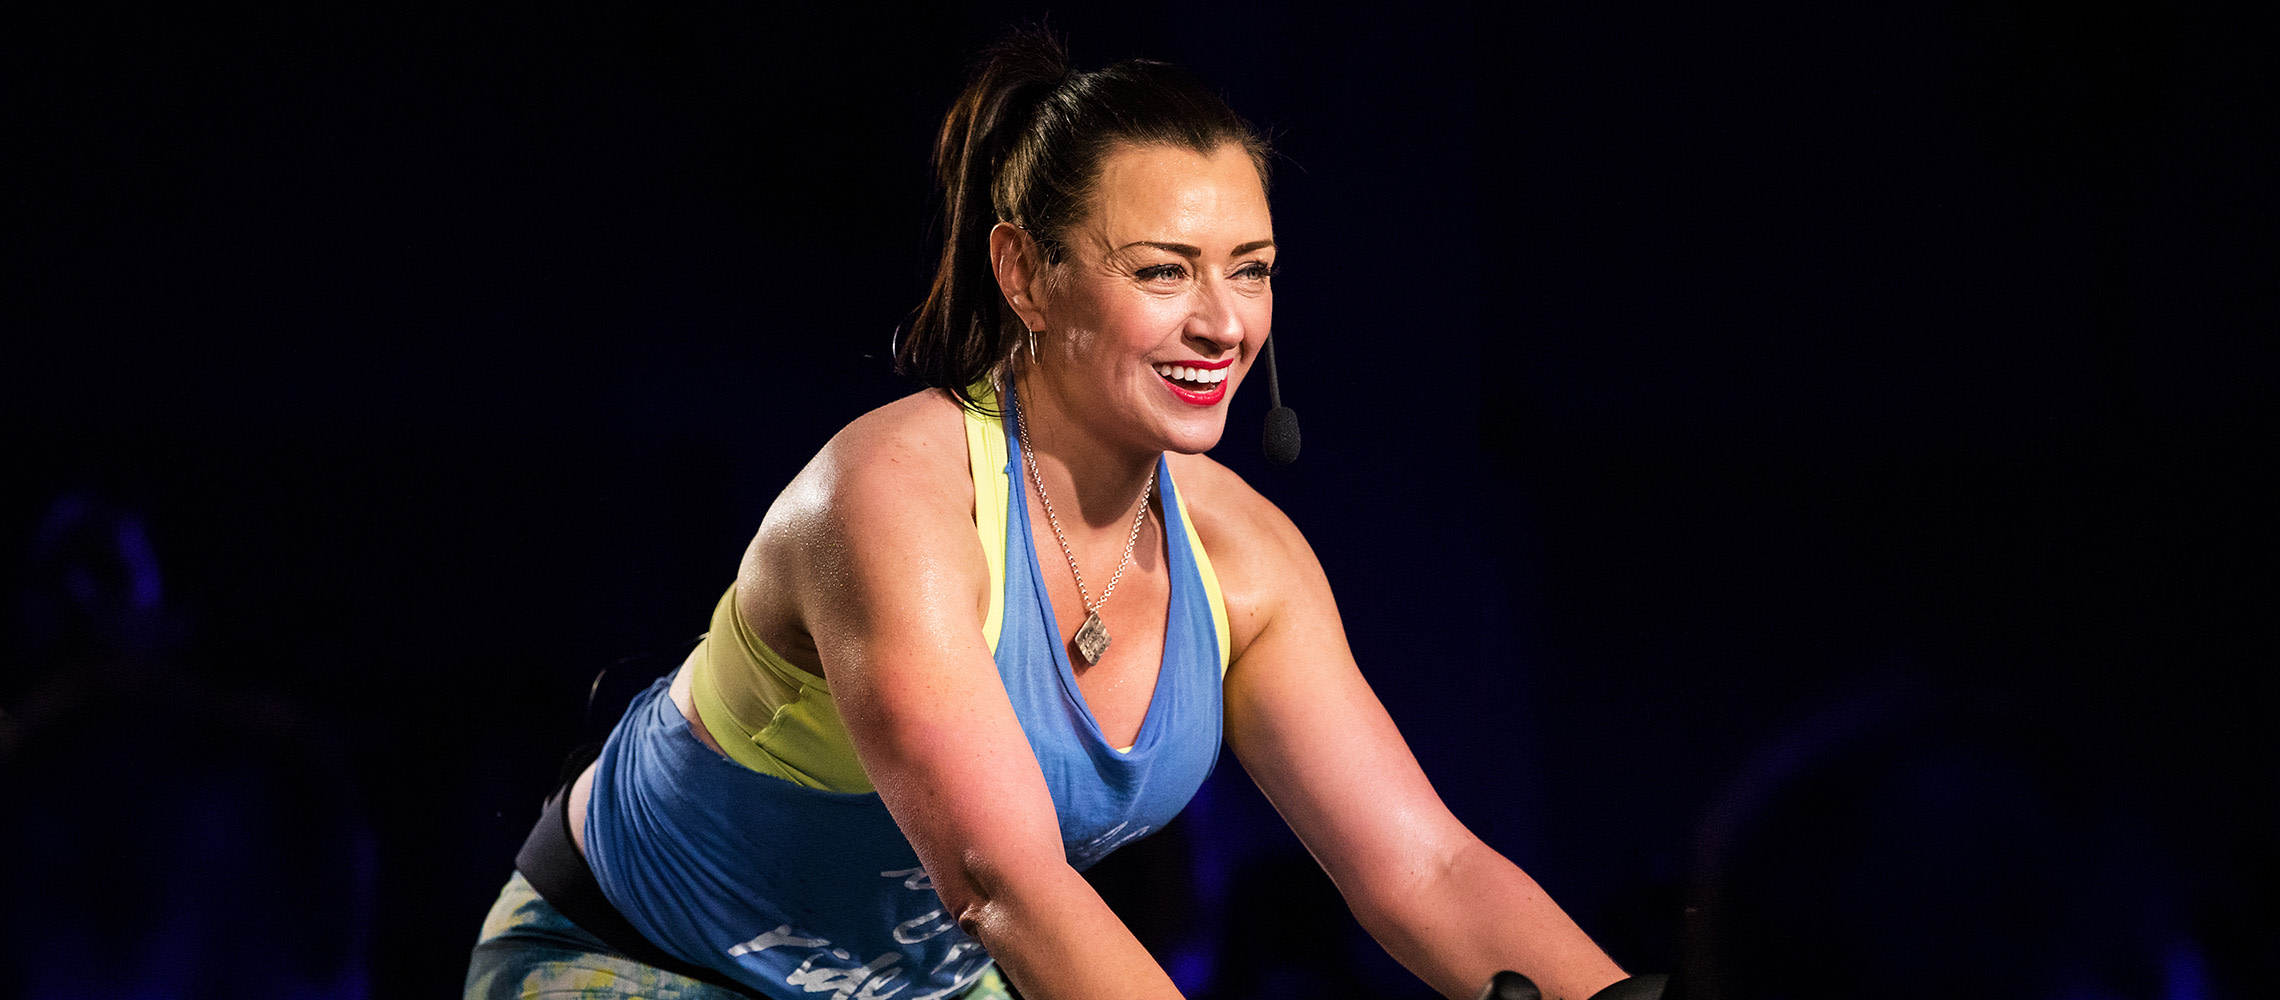
There’s a lot going on during a cycling workout—your body is working hard to push past your limits and your brain is in motivation mode making sure you feel mentally strong throughout every pedal stroke. But one thing you always need in the mix is the proper cycling form to safely support all the work you’re putting in and to avoid injury.
Discover more ways to reach your goals with Peloton
Thankfully, Peloton instructors are full of wisdom about bike posture and riding positions, and they share plenty of it during Peloton classes. Everybody phrases their cues differently, and some bits of advice may resonate more with you than others. But ultimately, the end goal is the same—to help you achieve your best and safest workout possible. Peloton instructors Christine D’Ercole and Robin Arzón share their advice on how to perfect your cycling form to make your workout more effective.
How To Set Up Your Bike
Proper cycling form starts with a good fit, so you want to make sure your Peloton Bike settings are adjusted to your body. Here are the key things to think about when setting up your bike for the best posture and your strongest ride yet.
Get Seated
Christine suggests starting from the bottom up—with the saddle. Your seat can make all the difference to your bike posture, so think about its height and its distance from the handlebars. Studies show optimal saddle height not only helps with performance but also reduces the risk of injury during your ride.
“So often riders are either too low or high or too far forward or back in the saddle,” Christine explains. “These issues can cause discomfort in the joints as well as muscle engagement imbalances and reduced efficiency.”
Christine’s rule of thumb is to make sure that when the foot is at the bottom of the pedal stroke, there should be a slight bend in the knee; when the leg is in the front of the pedal stroke (think the 3:00 position on a clock face, looking at the drive side of the bike), the knee should be directly over the ball of the foot. “You’ll need to adjust the fore and aft of the saddle in order to achieve this alignment,” says Christine.
Experiment with moving your seat closer to and further away from the handlebars. You’ll know you’ve found the right spot when you feel comfortable and powerful. “Note that every time you raise the seat height, it takes you further from the bars and every time you lower it, the saddle comes closer to the bars, because of the angle of the seat post.”
Another way to check your saddle height is; “If, when riding, your hips are rocking, knees are locking out and toes are dropping down at the bottom of the pedal stroke, consider lowering your saddle. Alternatively, if your knees are bowing out to the sides, your saddle could stand to be higher.”
Set Your Handlebars
Handlebars are another key element in ensuring good bike posture. Maintaining a long spine is the goal. Your core should be engaged, shoulders down and relaxed, your chest open, and nothing should be clenched or slouching. Set your handlebars so that you’re leaning slightly forward at a comfortable angle where you’re evenly balanced and you’re not putting too much pressure on your forearms.
“You’ll want to adjust your handlebars to make sure your reach is at a comfortable distance. It’s best to recruit a buddy to make sure your alignment is right, since they will have the best perspective to confirm that your setup looks correct,” notes Christine.
Fitting the Pedals
Checking your pedals is an important factor in making sure you’re in the correct bike riding position. Make sure your cleats are straight on your shoes and then clip securely onto your pedals one foot at a time, starting with your first foot at the 6 o’clock position and your other foot at 12 o’clock. Listen out for that clipped-in click before starting to pedal. A little bit of movement side to side is normal and still means you’re clipped in.
Once you start pedaling, check in to see if your knees are tracking over the middle of your feet. Make sure your leg movement involves both pushing and pulling, says Robin. “Think: push forward, push down, pull backward, and pull up—in that order,” she explains. “Instead of looking like the up and down movement of a sewing machine, think of engaging your hamstrings and glutes to glide the pedal up in a circular motion.
We recommend tightening pedals after a few rides so they stay secure. Your pedals should last you at least a year before they need replacing. Signs it’s time to replace your pedal include if they feel loose even after you’ve tightened them, if they’re noisy, or if there are visible signs of wear on the pedals.
Check Your Resistance
The final check-in for your best bike posture is to make sure you always have a light grip on the handlebars. “If you feel the need to have a death grip, you likely need to add resistance,” says Robin. “Throughout the ride, check for any excess pressure on your wrists or in your hands, and if necessary, shift your weight back to where it belongs in your legs.”
Don’t be afraid of that extra resistance making your workout impossible either, it’s what will keep you riding over the long term. Resistance helps you stay stable and balanced. “Riding without enough resistance can wear on your joints and cause injuries and discomfort,” she explains. “If you’re bouncing around in the saddle or jerky with leg movements, add enough resistance until it feels like the rubber meets the road. It should feel gritty even on flat roads and during active recoveries.”
And, unless it’s part of a move your instructor sets you, avoid moving your upper body in a side-to-side motion or up-and-down when you pedal as this could cause shoulder and back strain. Your core should be fired-up to stabilize you, to keep your glutes and legs pedaling without any excessive upper body movement.
Christine adds, “When you’re comfortable on the Bike, you’ll keep coming back to the ride!”
Master the Basics
Bike set up, check, proper cycling form, check. Now it’s time to ride and nail these basic moves to start as you mean to go on. Here’s what to keep an eye out for—straight from the pros.
Get Aligned

“Open up that chest. Roll those shoulders up, down and back. Smooth, even pedal strokes. Hips, toes and knees all in the same line. Push through the pedals.” –Kendall Toole
Relax Already

“Elbows dropped, body in a high diagonal. Let those shoulder blades melt away, let that stress go. Stop clenching your jaw, unfurl your brow, relax your face.” –Ally Love
Get Your Bum in Place

“Make sure that the bum is in the back of the saddle, spine long, shoulders down, chest open, nice loose grip on those handlebars. Settle in.” –Hannah Frankson
Inhale, Exhale

“Breathe. When the effort gets tough, we tend to get tense in the upper body, cutting off necessary oxygen. Focus on releasing tension in your face, jaw and shoulders so that you keep open access to the oxygen needed for the effort.” –Christine D’Ercole
Swim Through Your Stroke

“Think about your pedal stroke like a free stroke in the pool. The stroke comes from back here all the way out here and then back underneath to follow through. Same thing with pedaling: Come on over the top and follow through. It’s not so much pulling up on the back end, but just following through.” –Matt Wilpers
Connect With What Matters

“I want you to start thinking and connecting to your body. Your form does not need to be perfect, but I do need you to be aware of it, okay? Wiggle your toes a little bit. Make sure you feel the weight in that ball of that toe connecting to the Bike underneath you, knees tracking forward. Don’t let the knees open up or cave in; keep them nice and parallel.” –Cody Rigsby
Keep Yourself Accountable
Checking in with yourself regularly is a helpful way to maintain proper cycling form and avoid slipping into any bad habits. “As we ride, we tend to hold the tension of the effort in the parts of our bodies that are not helping to get the work done,” Christine notes. “Creating a healthy habit of checking in with yourself will help you to develop cycling form that will give you more power during the ride, making your workout that much more effective.”
Christine’s tip for this is to take a moment at the beginning of every new song to see where you’re at. “Simply check in,” she says; “drop your shoulders, make sure your knees are straight ahead, and take a moment to wiggle both your fingers and toes.” Run through a mental checklist that includes hinging forward at the hips slightly, a little pressure on the back, knees, and wrists, and minimal rounding of your back and shoulders, and then ride it all out. The more comfortable you are, the better you’ll feel, and the stronger your ride.
Staying Safe in Your Cycling Form
Without those regular check-ins and a consistent focus on your form, over time, you could cause damage throughout your body. “Cycling is a repetitive movement with limited range of motion,” explains Christine. “Improper alignment causes the body to recruit the muscles in a dysfunctional fashion and after a while this can be harmful to different areas.” And, if your core is not stabilized, this can be particularly hard on the lower back as it acts like a buffer to maintain balance.
She also notes that you should check your set-up every six months in order to be sure you’re still riding with the right measurements. “Your fit can go a long way towards keeping you safe from injury and setting you up for success and achieving your goals.”
Remember to start with the right warm up and cool down to also support your cycling and reduce the risks of any strains or injury.
This content is for informational and educational purposes only and does not constitute individualized advice. It is not intended to replace professional medical evaluation, diagnosis, or treatment. Seek the advice of your physician for questions you may have regarding your health or a medical condition. If you are having a medical emergency, call your physician or 911 immediately.
Level up your inbox.
Subscribe for a weekly dose of fitness, plus the latest promos, launches, and events.
By providing your email address, you agree to receive marketing communications from Peloton.
For more about how we use your information, see our Privacy Policy.


