What Muscles Do Push-Ups Work? A Peloton Instructor Breaks It Down
It's one of the most efficient and effective strength moves.
By Colleen Travers•
Why Push Ups Are Still Considered One of the Best Workout Exercises
Benefits of Push-Ups
How to Do a Push-Up
Common Mistakes To Avoid When Doing Push-Ups
Muscles Worked in Push-Ups
How to Get Better at Push-Ups
You can run and you can hide (or in this case, scroll) but you’ll be hard-pressed to find a strength routine on the Peloton App that doesn't include at least one set of push-ups. That’s because push-ups, in essence, are the perfect exercise.
When considering what muscles push-ups work, you may only think of the upper body. But, that’s not the case. “Push-ups really are a full-body exercise,” says Peloton instructor Erik Jäger. “When performed correctly, push-ups improve your posture, and strengthen your core, chest, triceps, and shoulders.”
Sounds great, right? The problem is, if you’ve ever done a push-up, it can be incredibly difficult. Instead of throwing in the towel, take the time to get it right. Read on to learn how to perfect your form to get the most out of this exercise and why it’s worth taking the time and focus to do so.
Why Push Ups Are Still Considered One of the Best Workout Exercises
Fitness fads come and go, but the push-up? This is one move that seems to get more popular as time ticks on. To start, push-ups require no equipment, making this a free and accessible strength training exercise for all.
It’s also one of the few exercises that tailors the amount of weight you’re using based on your own bodyweight. Instead of choosing an arbitrary set of heavy, medium, or light dumbbells you’re challenged to work with what you’ve got—your bodyweight. A controlled trial published in the Journal of Strength and Conditioning Research found that by doing a standard push-up, you’re pressing approximately 64% of your bodyweight. Modified versions, such as a kneeling push-up presses roughly 49% of your bodyweight.
Benefits of Push-Ups
Improves Functional Fitness
There’s a lot to be said for the power of a push-up. To start, push-ups play a role in increasing your functional fitness. This can make it easier to do everyday tasks and movements, from carrying your kids to your groceries, especially as you age. Having solid functional fitness will prevent injury when you train and increase your power when you work out.
Targets Multiple Muscles
Push-ups are crucial to strength training because of how many muscles they hit at once. “The upper body certainly gets targeted during a push-up,” says Erik. “This includes the chest, triceps, and shoulders.” To practice correct form during a push-up, you must activate your core and keep your legs strong and steady.
This type of movement, where the arms and legs are in a fixed position and cannot move is what’s called a closed kinetic chain exercise, says Erik. Maintaining a straight line as you slowly lower your body to the ground and back up increases resistance for the whole body, working all those major muscles at once.
Improves Endurance
Practicing push-ups is also a sneaky way to increase your endurance. Those reps that you’re able to increase over time? That means your muscles can withstand the resistance your body is providing for a longer period, so you can push yourself harder. More endurance leads to increased strength for the muscles that you’re zoning in on.
Push-ups provide benefits well beyond your workout, too. Research published in JAMA Network Open found that in a 10-year longitudinal study of male firefighters 18 years and older, those who could crank out more than 40 push-ups had a significant reduction in cardiovascular disease and events associated with it such as a heart attack. Those who performed 10 or less push-ups saw a higher incidence of cardiovascular disease and its related events.
How to Do a Push-Up
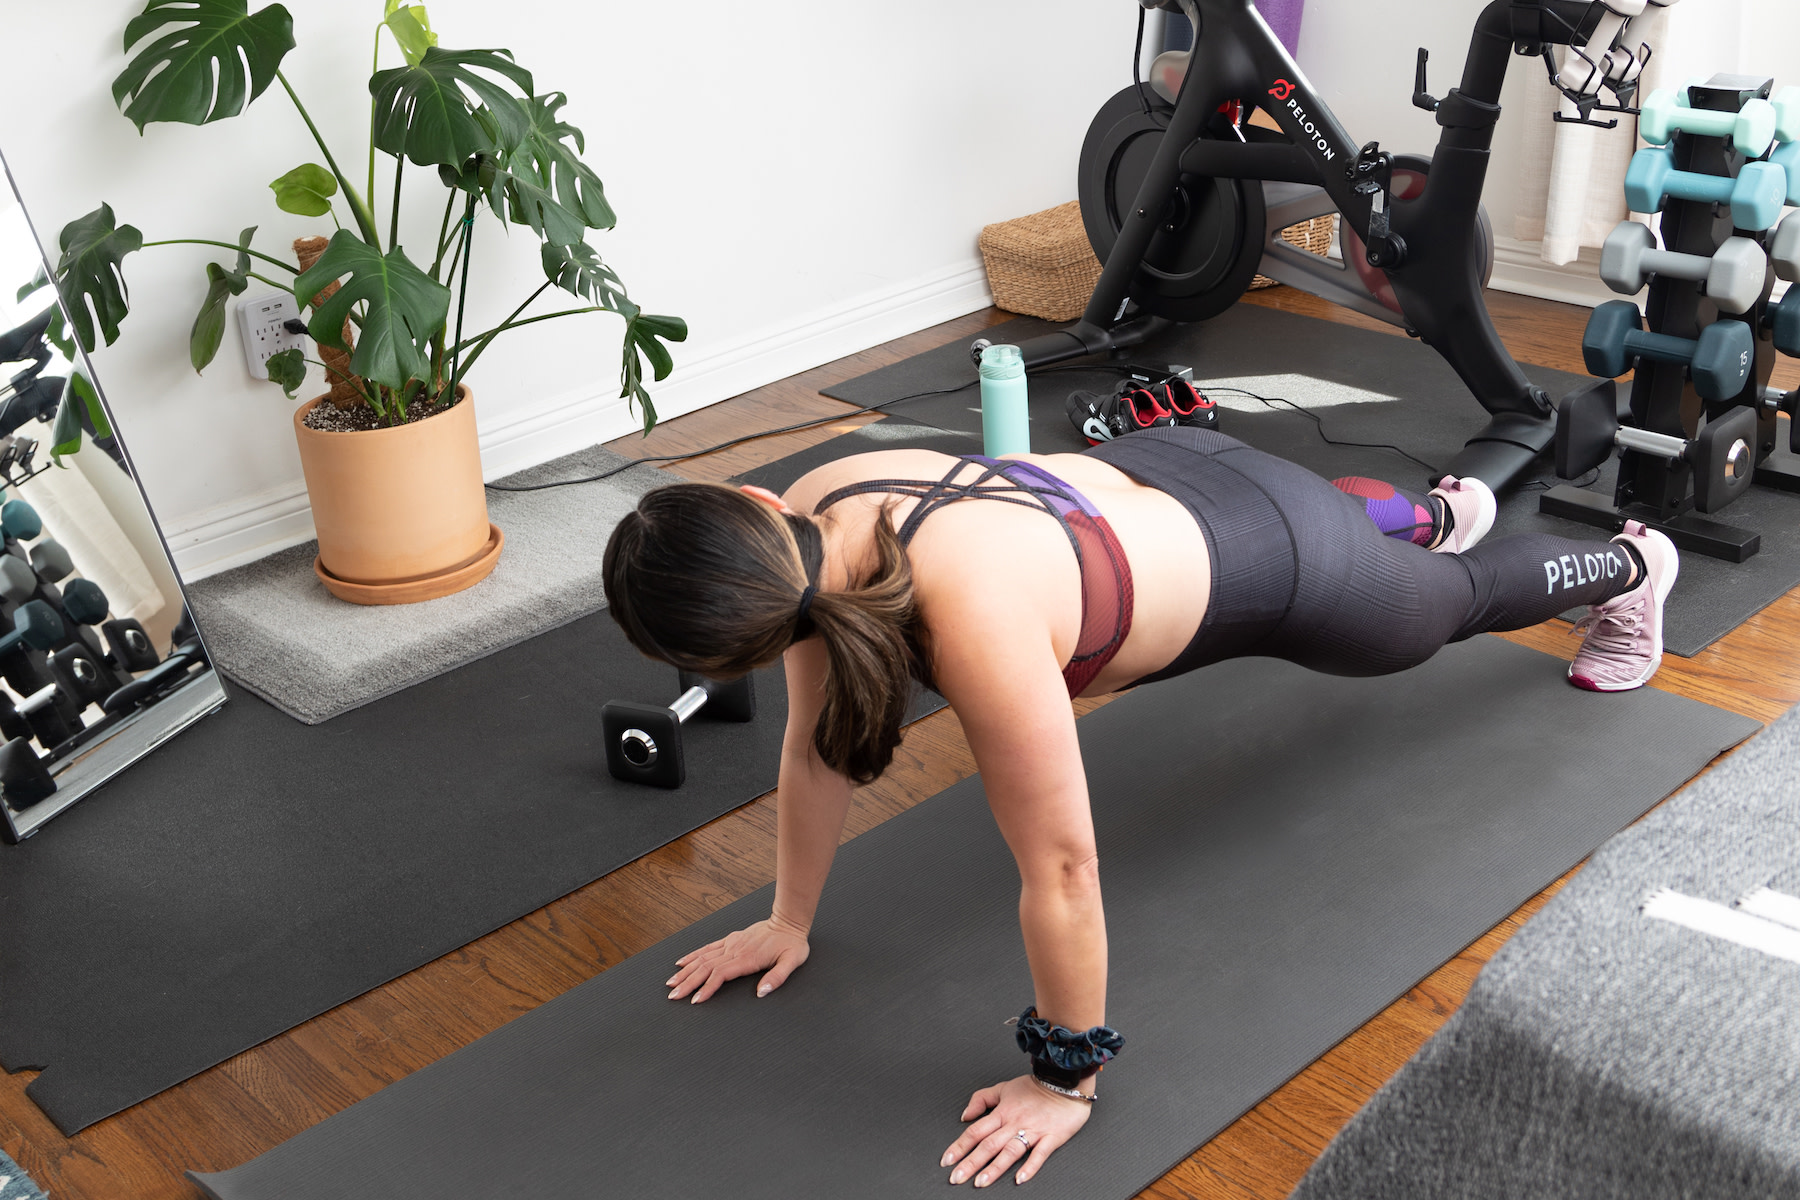
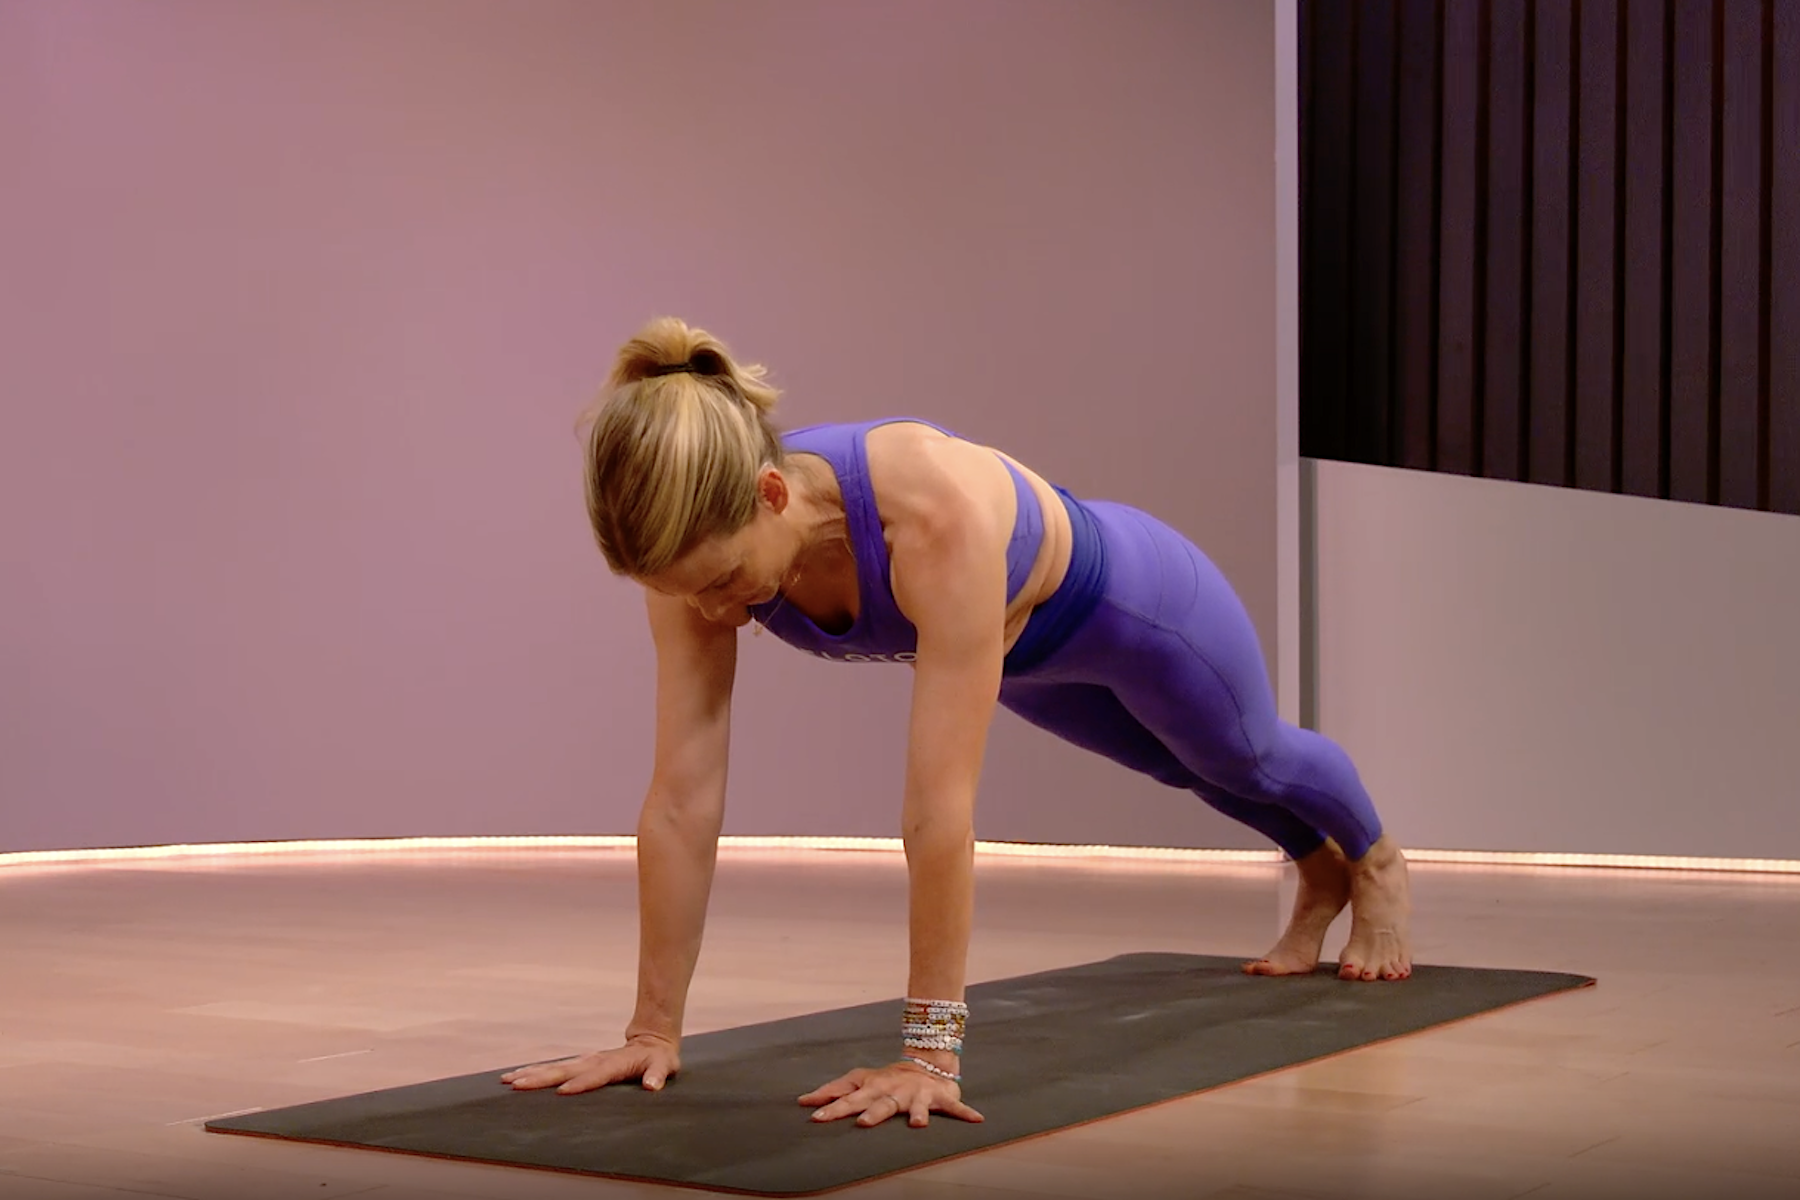
The first step of a push-up is to make sure you’re practicing proper form. Try this step-by-step from Erik to check yours:
Get into a high plank position, hands under shoulders and feet shoulder-width apart.
Your fingers should be spread out on the mat for better grip. Squeeze your core to prevent a hollow, or arched back.
Keeping your elbows close to your body, slowly lower your chest down to graze the mat, or as far as you can. Remember to pull the shoulder blades down as you do this. You want space between your ears and shoulders.
When you have reached the bottom, push yourself back up in a straight line. Keep your elbows rotated in toward the mat (instead of pointing them out) as you exhale and push the floor out from under you.
For beginners, modify this move by starting on your knees first, then progress to a high plank position. If you’re still having difficulty, raise the upper body so you’re working less against gravity. For example, start by doing push-ups standing against a wall, then progress down to the floor as you adapt.
“The magic ingredient in a push-up is the negative push-up, when you can lower yourself slowly,” says Erik. “Always try to go down to the mat with as much control as possible to increase the eccentric—the work or amount of resistance against gravity.”
Common Mistakes To Avoid When Doing Push-Ups
There are some uniform mistakes that happen when someone starts to incorporate push-ups into their routine. Here are the ones Erik sees the most of, and how to correct them:
Not going down far enough. Stopping halfway won’t work your muscles as effectively, meaning you’re doing a push-up without getting the full pay off. “Try raising your hands with yoga blocks or books to achieve the full range of motion,” says Erik.
The hips hit the mat first. This is a sign you’re not activating your core. If your body resembles a hammock (back arched and belly or hips grazing the mat) return to plank, squeeze your abdominals and start from there.
Pushing up from the neck. Make sure you don’t jut your neck forward. Instead, picture your body as one straight line, ears over your shoulders. This all starts with your hand alignment. “By keeping your hands directly under your shoulders, you’ll be able to be more aware of your power axis and help the rest of your body stay straight,” says Erik.
Elbows point out. To avoid your elbows pushing too far out to the sides, rotate them in slightly, so that they are pointing toward your hips. Keeping your hands pointed forward instead of out will help keep your elbows in line, too.
Muscles Worked in Push-Ups
Even if it doesn’t seem like you’re using a certain muscle during a push-up rep, engaging surrounding muscles (looking at you, core) is a type of focused, isometric hold that also strengthens specific muscles through contractions. Here’s a closer look at which muscles benefit from consistent push-ups:
Core
To have proper alignment in a push-up you must engage your core. If not, you risk your hips hitting the mat first, along with possibly some lower back pain. This means you really must focus on pulling in your belly button toward the ceiling. Doing so activates your abdominal muscles (like a plank) and helps them get stronger while protecting your back in the process.
Chest Muscles
Your chest (which consists of the pectoralis muscles) is the main target of push-ups, primarily because it’s such a large muscle group to begin with. Your chest is also what controls how slowly you lower to the mat and push back up. Because it’s the primary muscle group working against gravity, it’s one of the first muscles to get stronger as your push-up reps increase.
Triceps
Your triceps connect to the bones on the back of the elbow. This is why it’s important to make sure your elbows rotate in when you do a push-up, rather than point them out. It’s this rotation that helps strengthen your triceps as they work to keep your core engaged and assist your biceps to lower your body to the mat and move back up.
Shoulders
The deltoids in your shoulders are responsible for controlling the upper body movement (such as your arms) in a push-up. Keeping your body in a straight line means they will have to work against the resistance of your bodyweight. Plus, as they lower and raise, these muscles are pushing against gravity. Both help increase power and strength over time.
Upper Back
Your shoulder blades are just a piece of the push-up puzzle when it comes to controlling the movement of your triceps. Rhomboids, the collective group of muscles that make up the upper back, connect between the spine and shoulder blades. Together with your shoulders, this group of muscles controls the descent and ascent of your upper body when you do a push-up.
How to Get Better at Push-Ups
Push-ups may seem intimidating at first, but if you take the time to focus on your form, the rest of the rep will follow.
One of the first things you can do to get better at a push-up is to work on your high plank. Aim to hold your plank for 30 seconds up to 1 minute to ensure that you have the core strength you need to do push-ups properly.
“It’s important not to have false pride when learning how to do a push-up,” says Erik. “This means that if you know your form is off (i.e., you feel your back arching, have lower back pain, notice your elbows pointing out, or anything else) you should start with knee push-ups and work up from there.” By reducing your incline (and thus, the amount of resistance) this will allow you to focus on the muscle groups you may be neglecting in your high plank, such as your core and triceps.
As you start doing push-ups in a high plank position, remember to keep your reps as clean as possible. Once your form becomes compromised, you’re no longer strengthening your muscles. Instead, you risk injury from having one part of your body (like your back) overcompensate for another (such as your core).
“If you really want to focus on push-ups, use them in your training three times a week,” says Erik. “Train in a pyramid with five sets.” A set can be anywhere from five to 12 reps, depending on your fitness level. Here’s what a pyramid push-up training plan looks like:
Set #1: 60 percent of your max possible push-ups, followed by a 2 to 3-minute rest. So, if your set is 10, you’ll do six push-ups in this first set.
Set #2: 80 percent of your max possible push-ups, followed by a 2 to 3-minute rest. Working off the example of 10 reps, now you’ll do 8.
Set #3: 100 percent of your max possible push-ups, followed by a 2 to 3-minute rest. Now you’ll do 10 complete push-ups, making sure to practice solid form.
Set #4: 100 percent of your max possible push-ups, followed by a 2 to 3-minute rest.
Set #5: 80 percent of your max possible push-ups.
After a week or two of trying this pyramid style of push-ups in your training, Erik says to aim to increase your max set by 5 percent to 10 percent. So, if you focused on 10 reps, aim for 11 the next week as you continue to build your max base.
Level up your inbox.
Subscribe for a weekly dose of fitness, plus the latest promos, launches, and events.